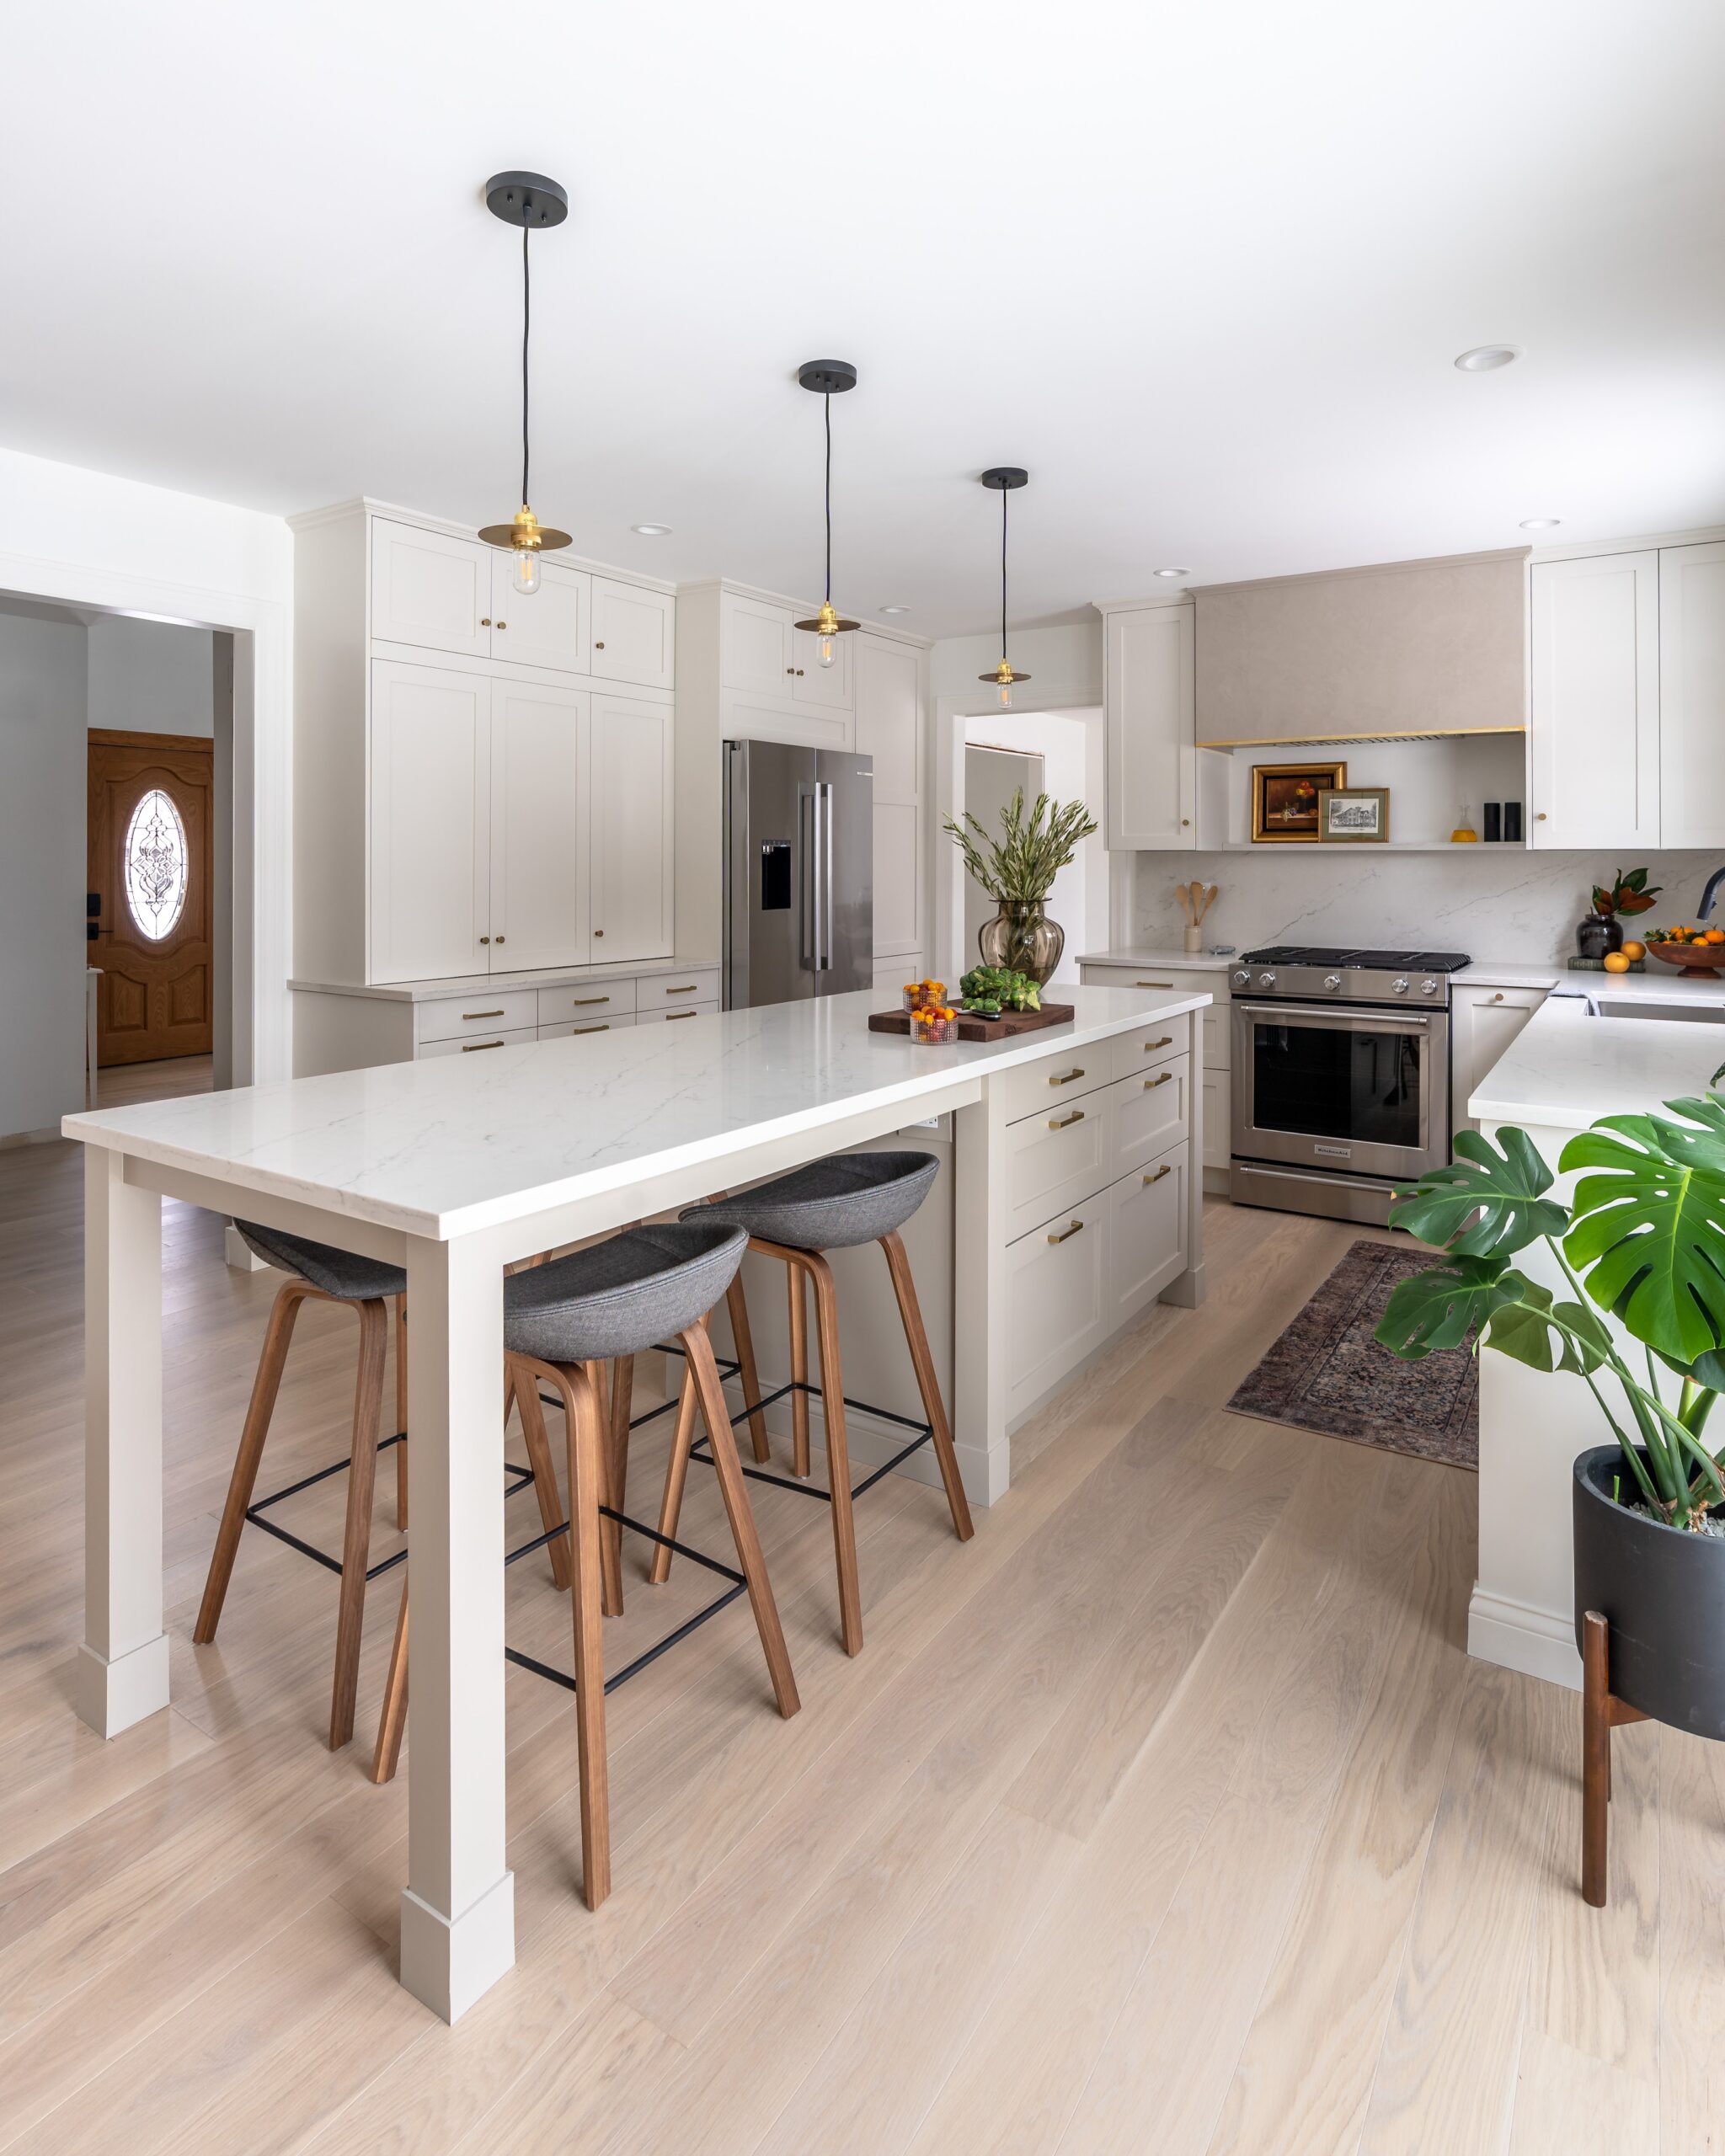
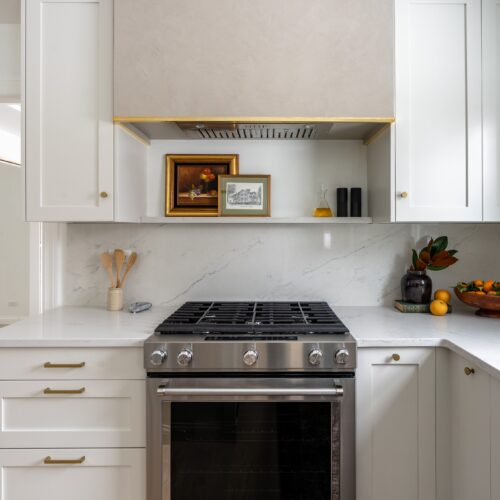
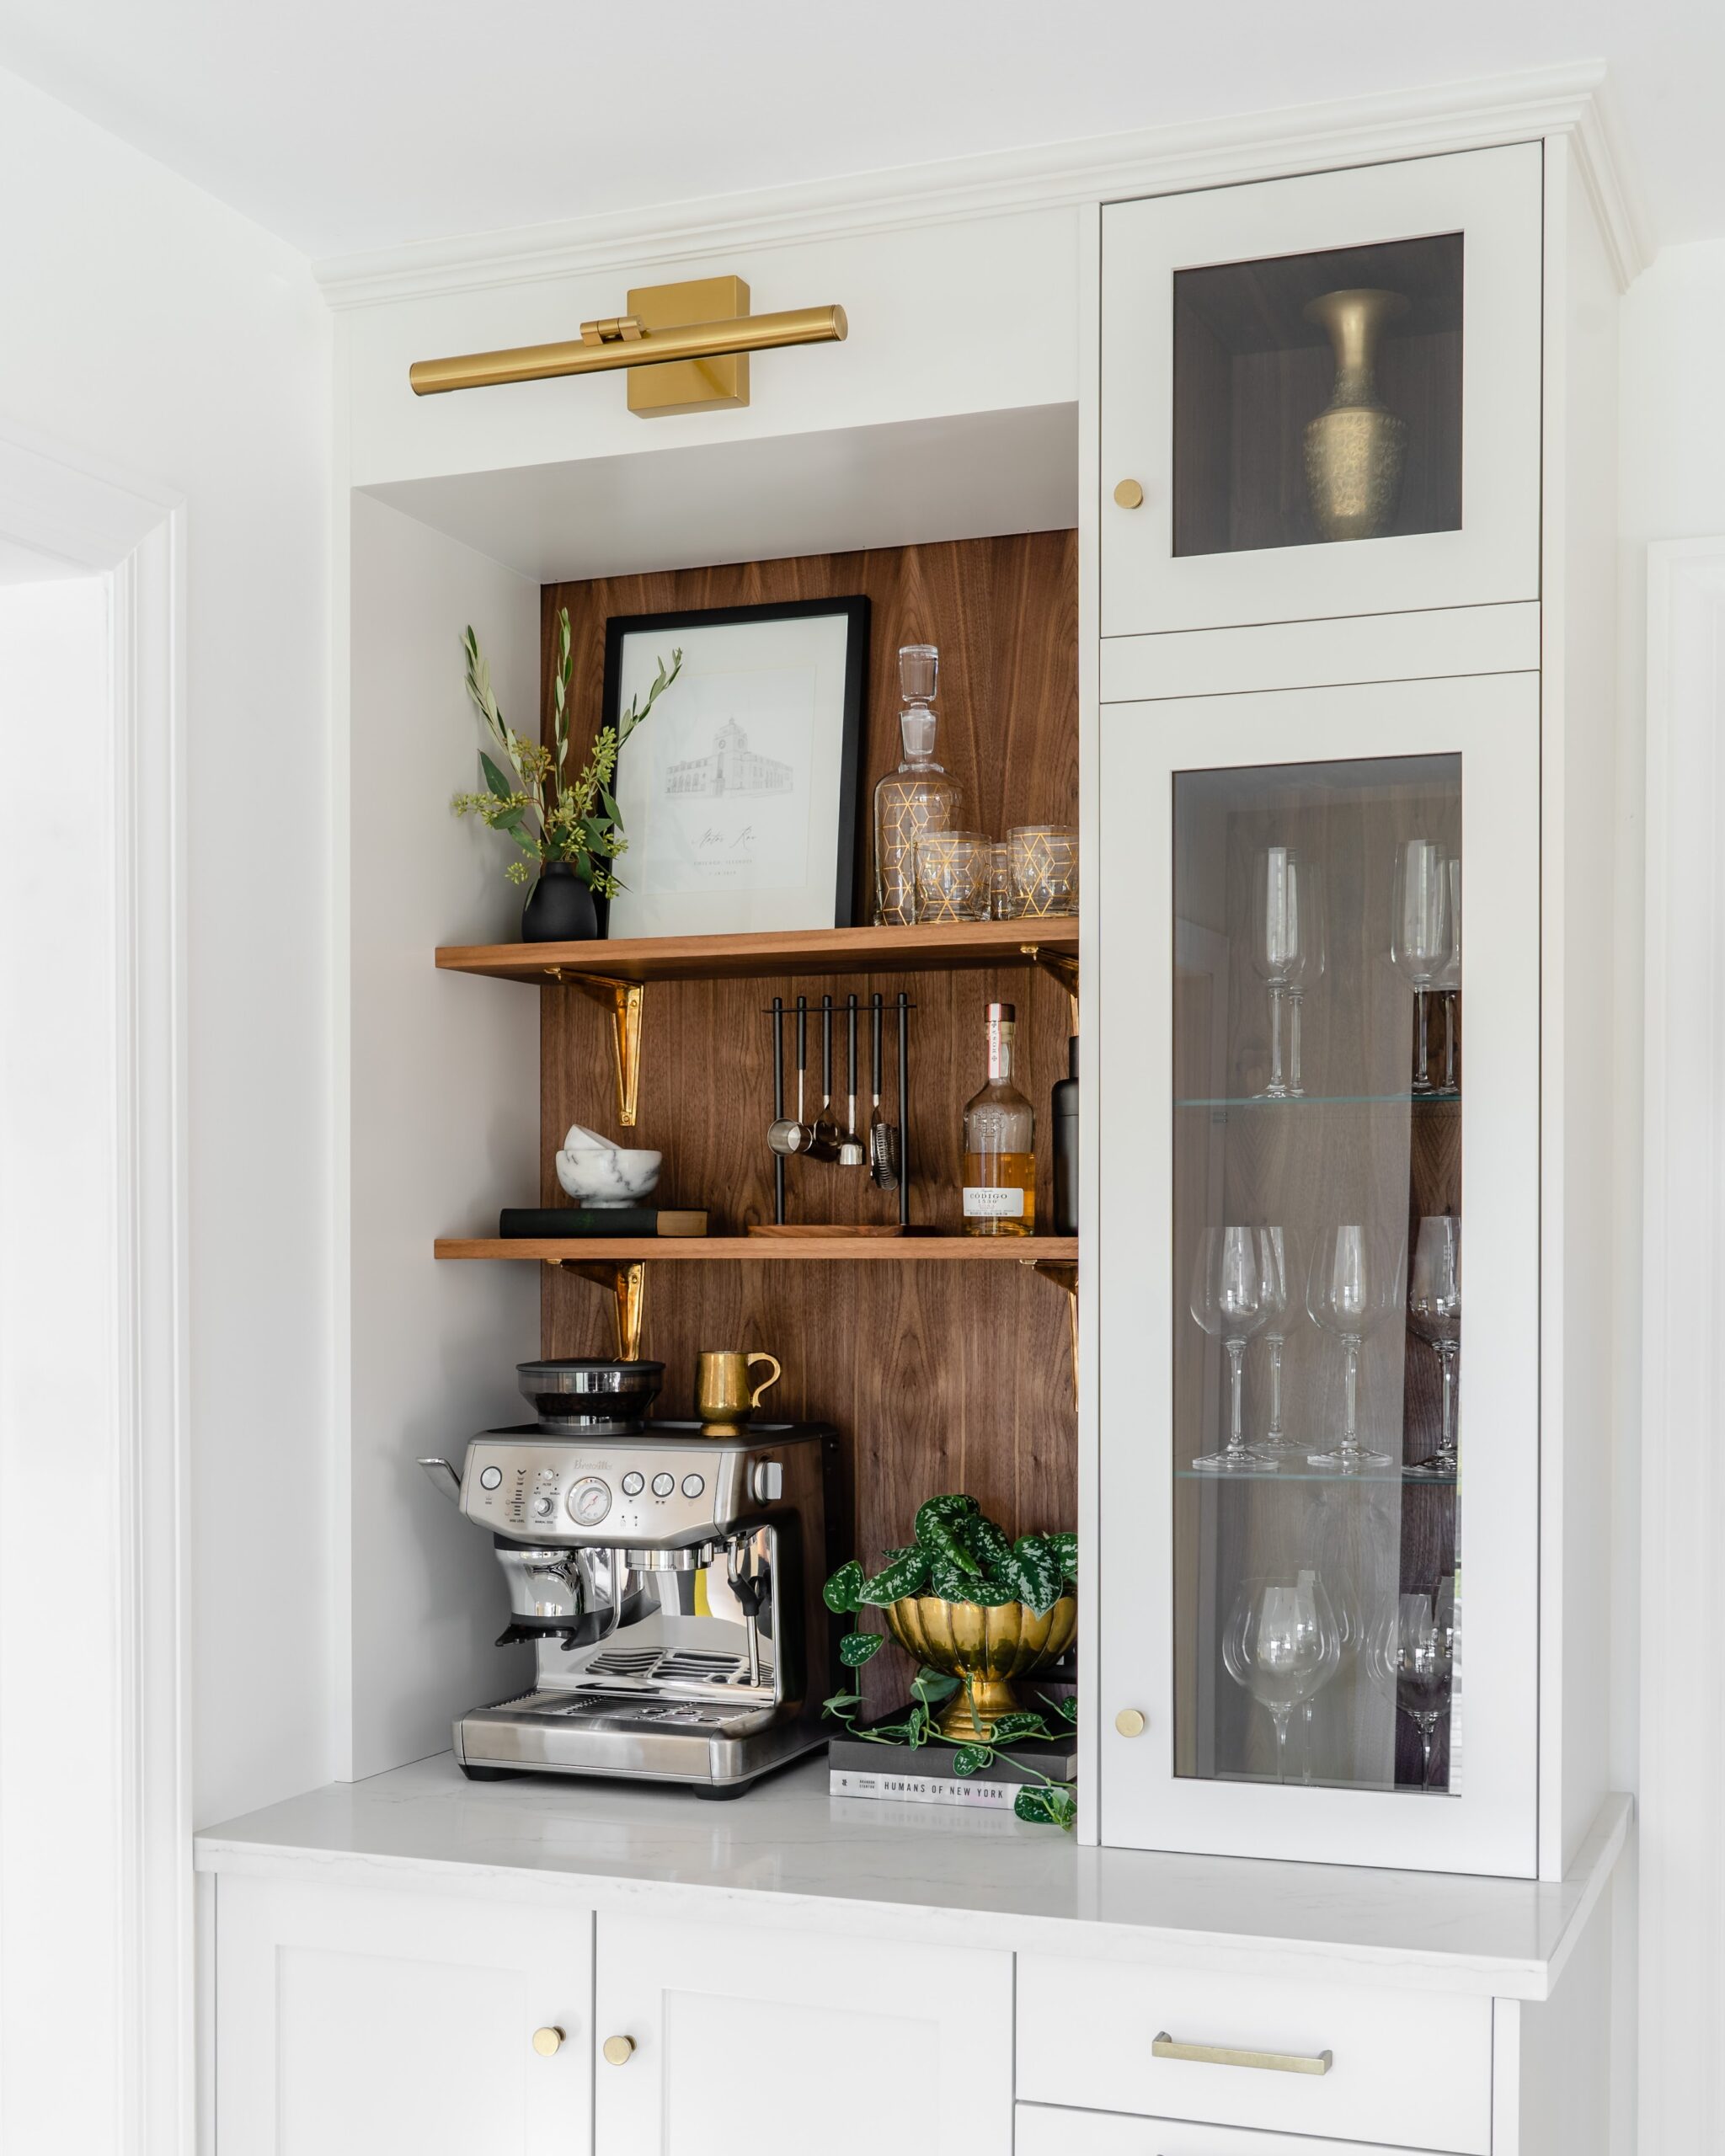
At our new kitchen, we are going to DIY install our kitchen cabinets, using the IKEA SEKTION kitchen cabinet system! The IKEA SEKTION kitchen cabinet system is very DIY friendly, straightforward to install, and a cost-effective option for a complete kitchen renovation. This will be our second IKEA kitchen because we were very pleased with how our first condo kitchen turned out.
We vlogged the whole process of our DIY install of IKEA SEKTION kitchen cabinets, including our ups and downs of installation, which is linked above. Our kitchen plan calls for 22 base and upper cabinets in total. You can imagine how long this took us to assemble!
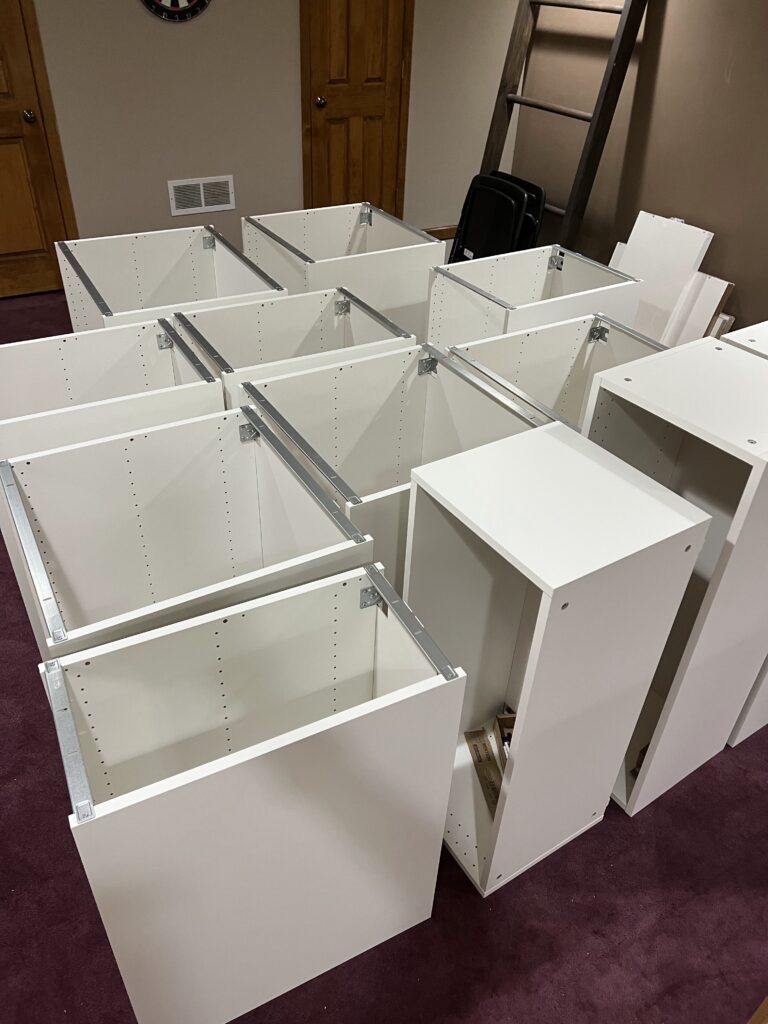
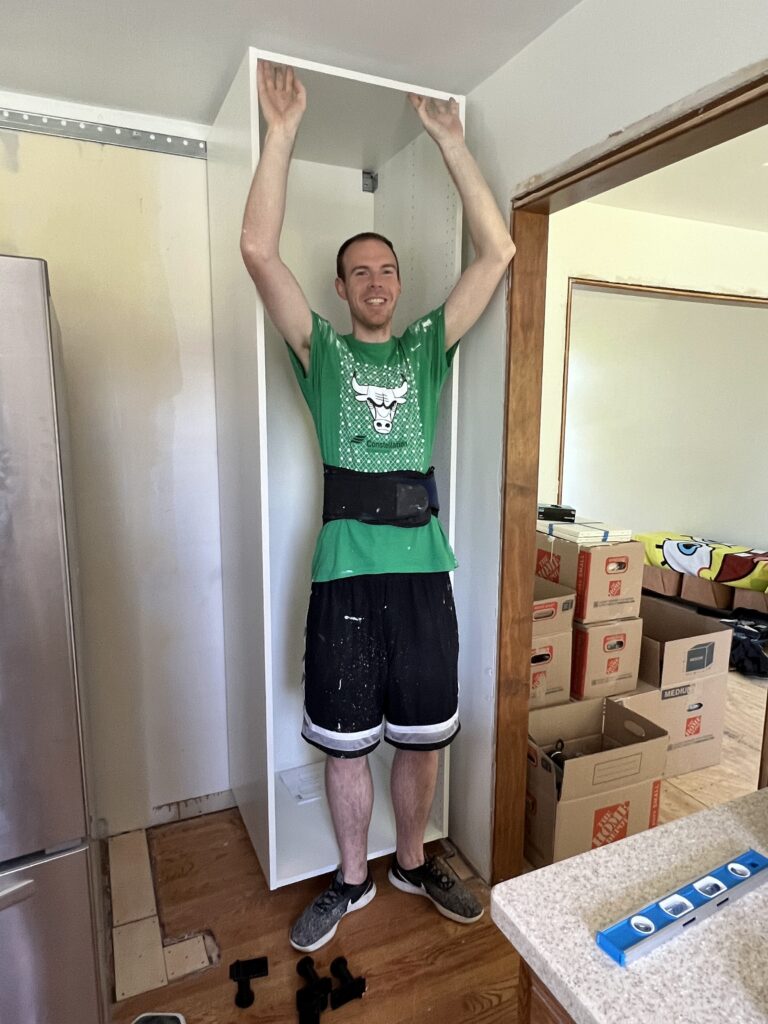
The first steps were to finalize our kitchen design, order our kitchen cabinets from IKEA, and have them delivered to our home. After that, Kam spent a lot of hours assembling all of our cabinet boxes. Once all of the boxes were assembled it was time for us to being installing!
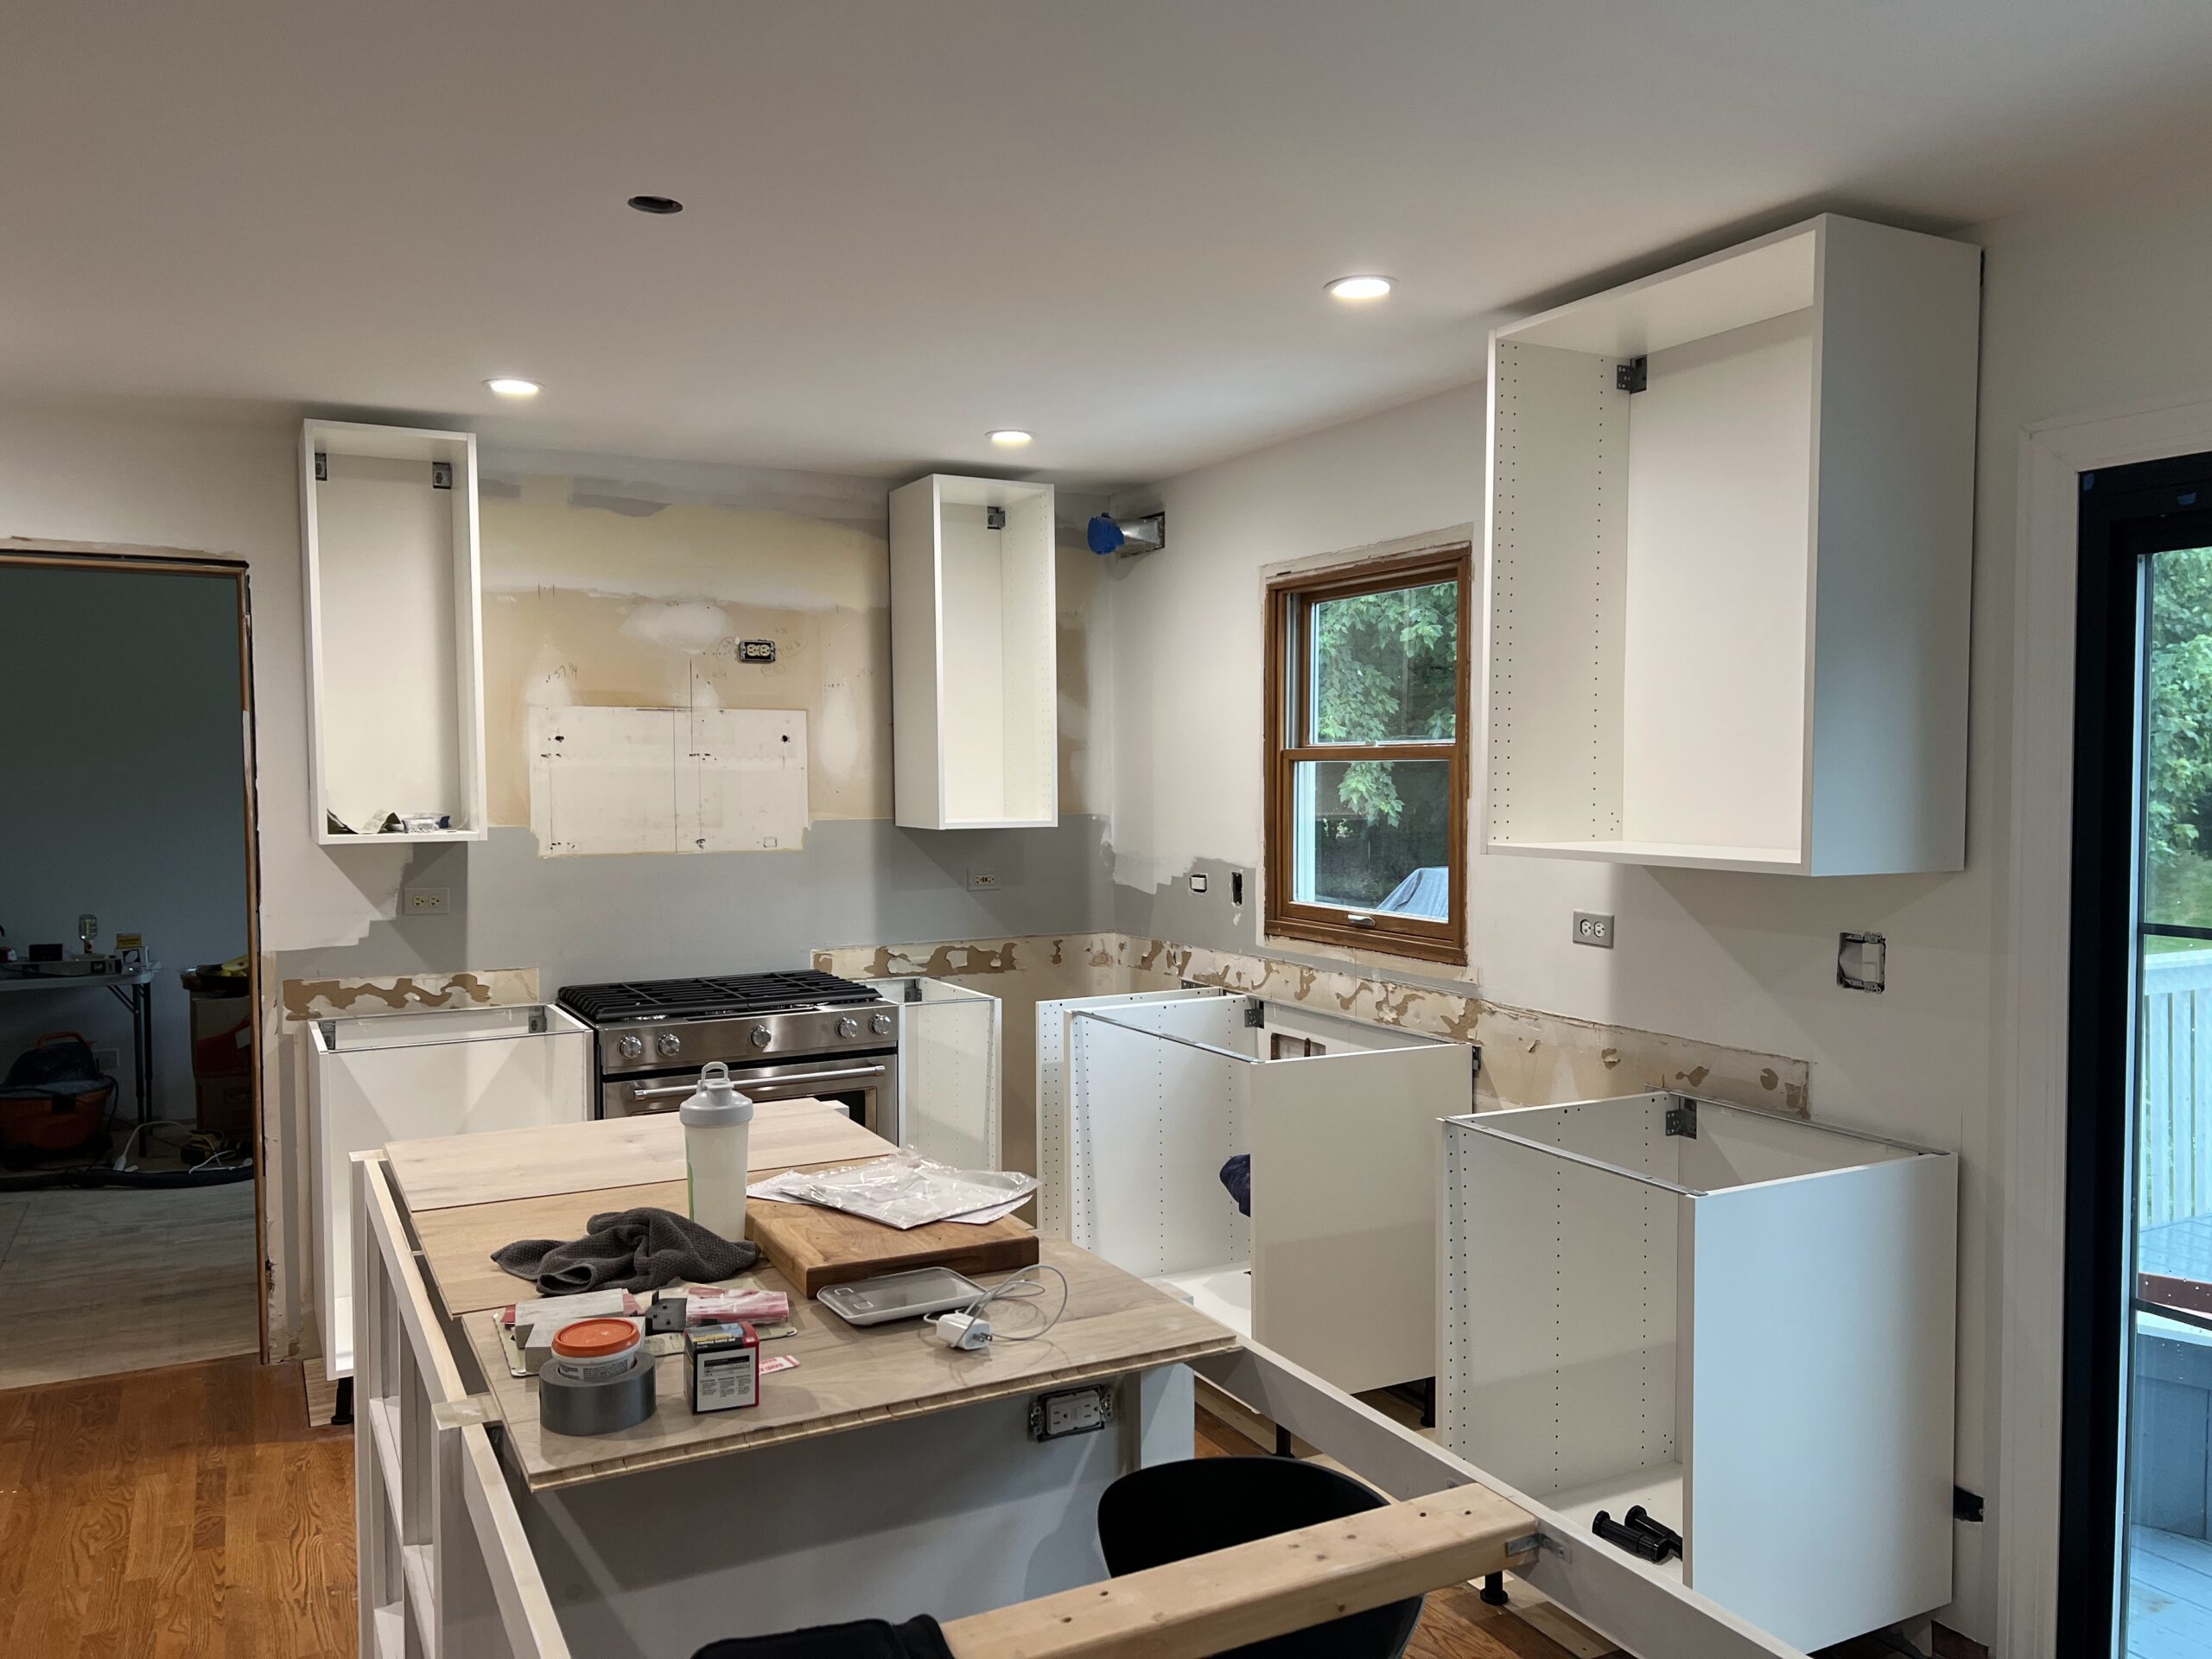
We used IKEA’s SEKTION suspension rail to mount all of our upper and lower cabinets. One of the most important steps in hanging the cabinets is to double check your base cabinet mounting height with your countertop thickness. For example, standard kitchen countertops are at 36″ above finish floor. Our countertop thickness was 3cm (1.18″), so we deducted that amount from 36″ and mounted (measured from the top of the cabinet) our base cabinets at approximately 34.75″.
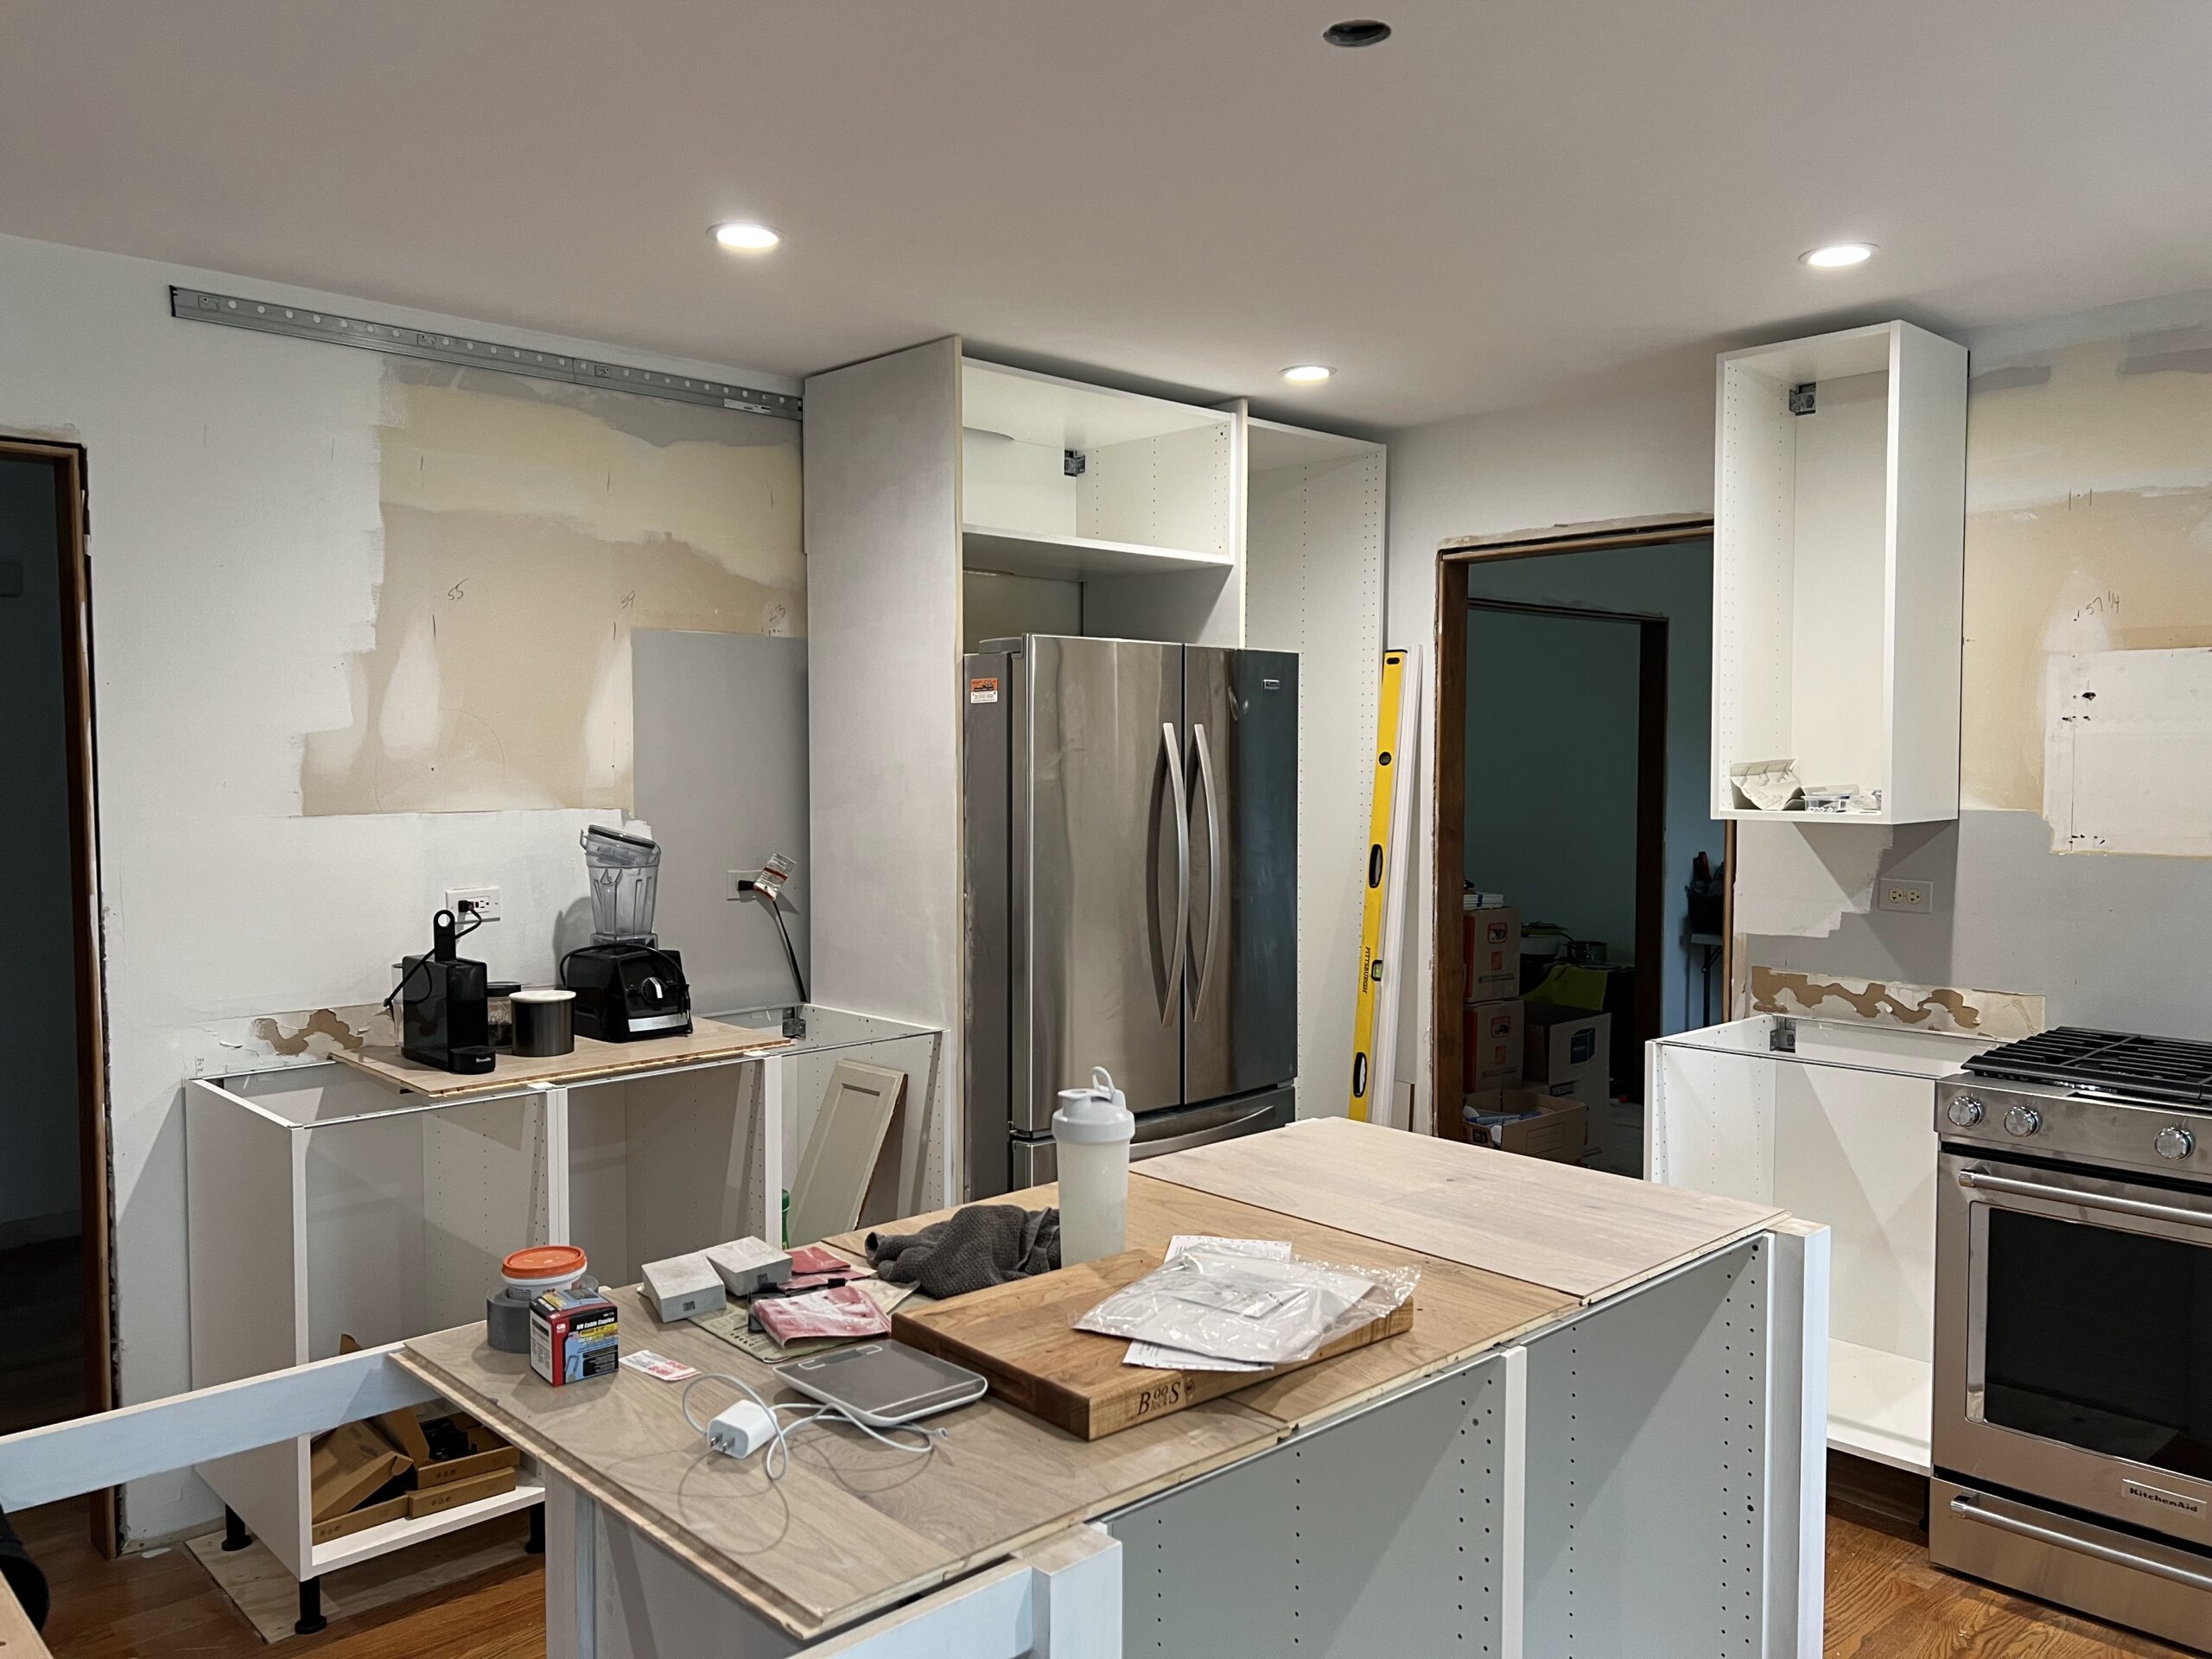
Some of the most important tools you’ll need to have on hand for this project include a power drill, extra long level, small level, laser level, and tape measure. Some of our favorite of these products are linked below (and may contain affiliate links) that we used for our personal installation.
If you have any questions about our DIY install of IKEA SEKTION kitchen cabinets, feel free to leave a comment or reach out to us!

