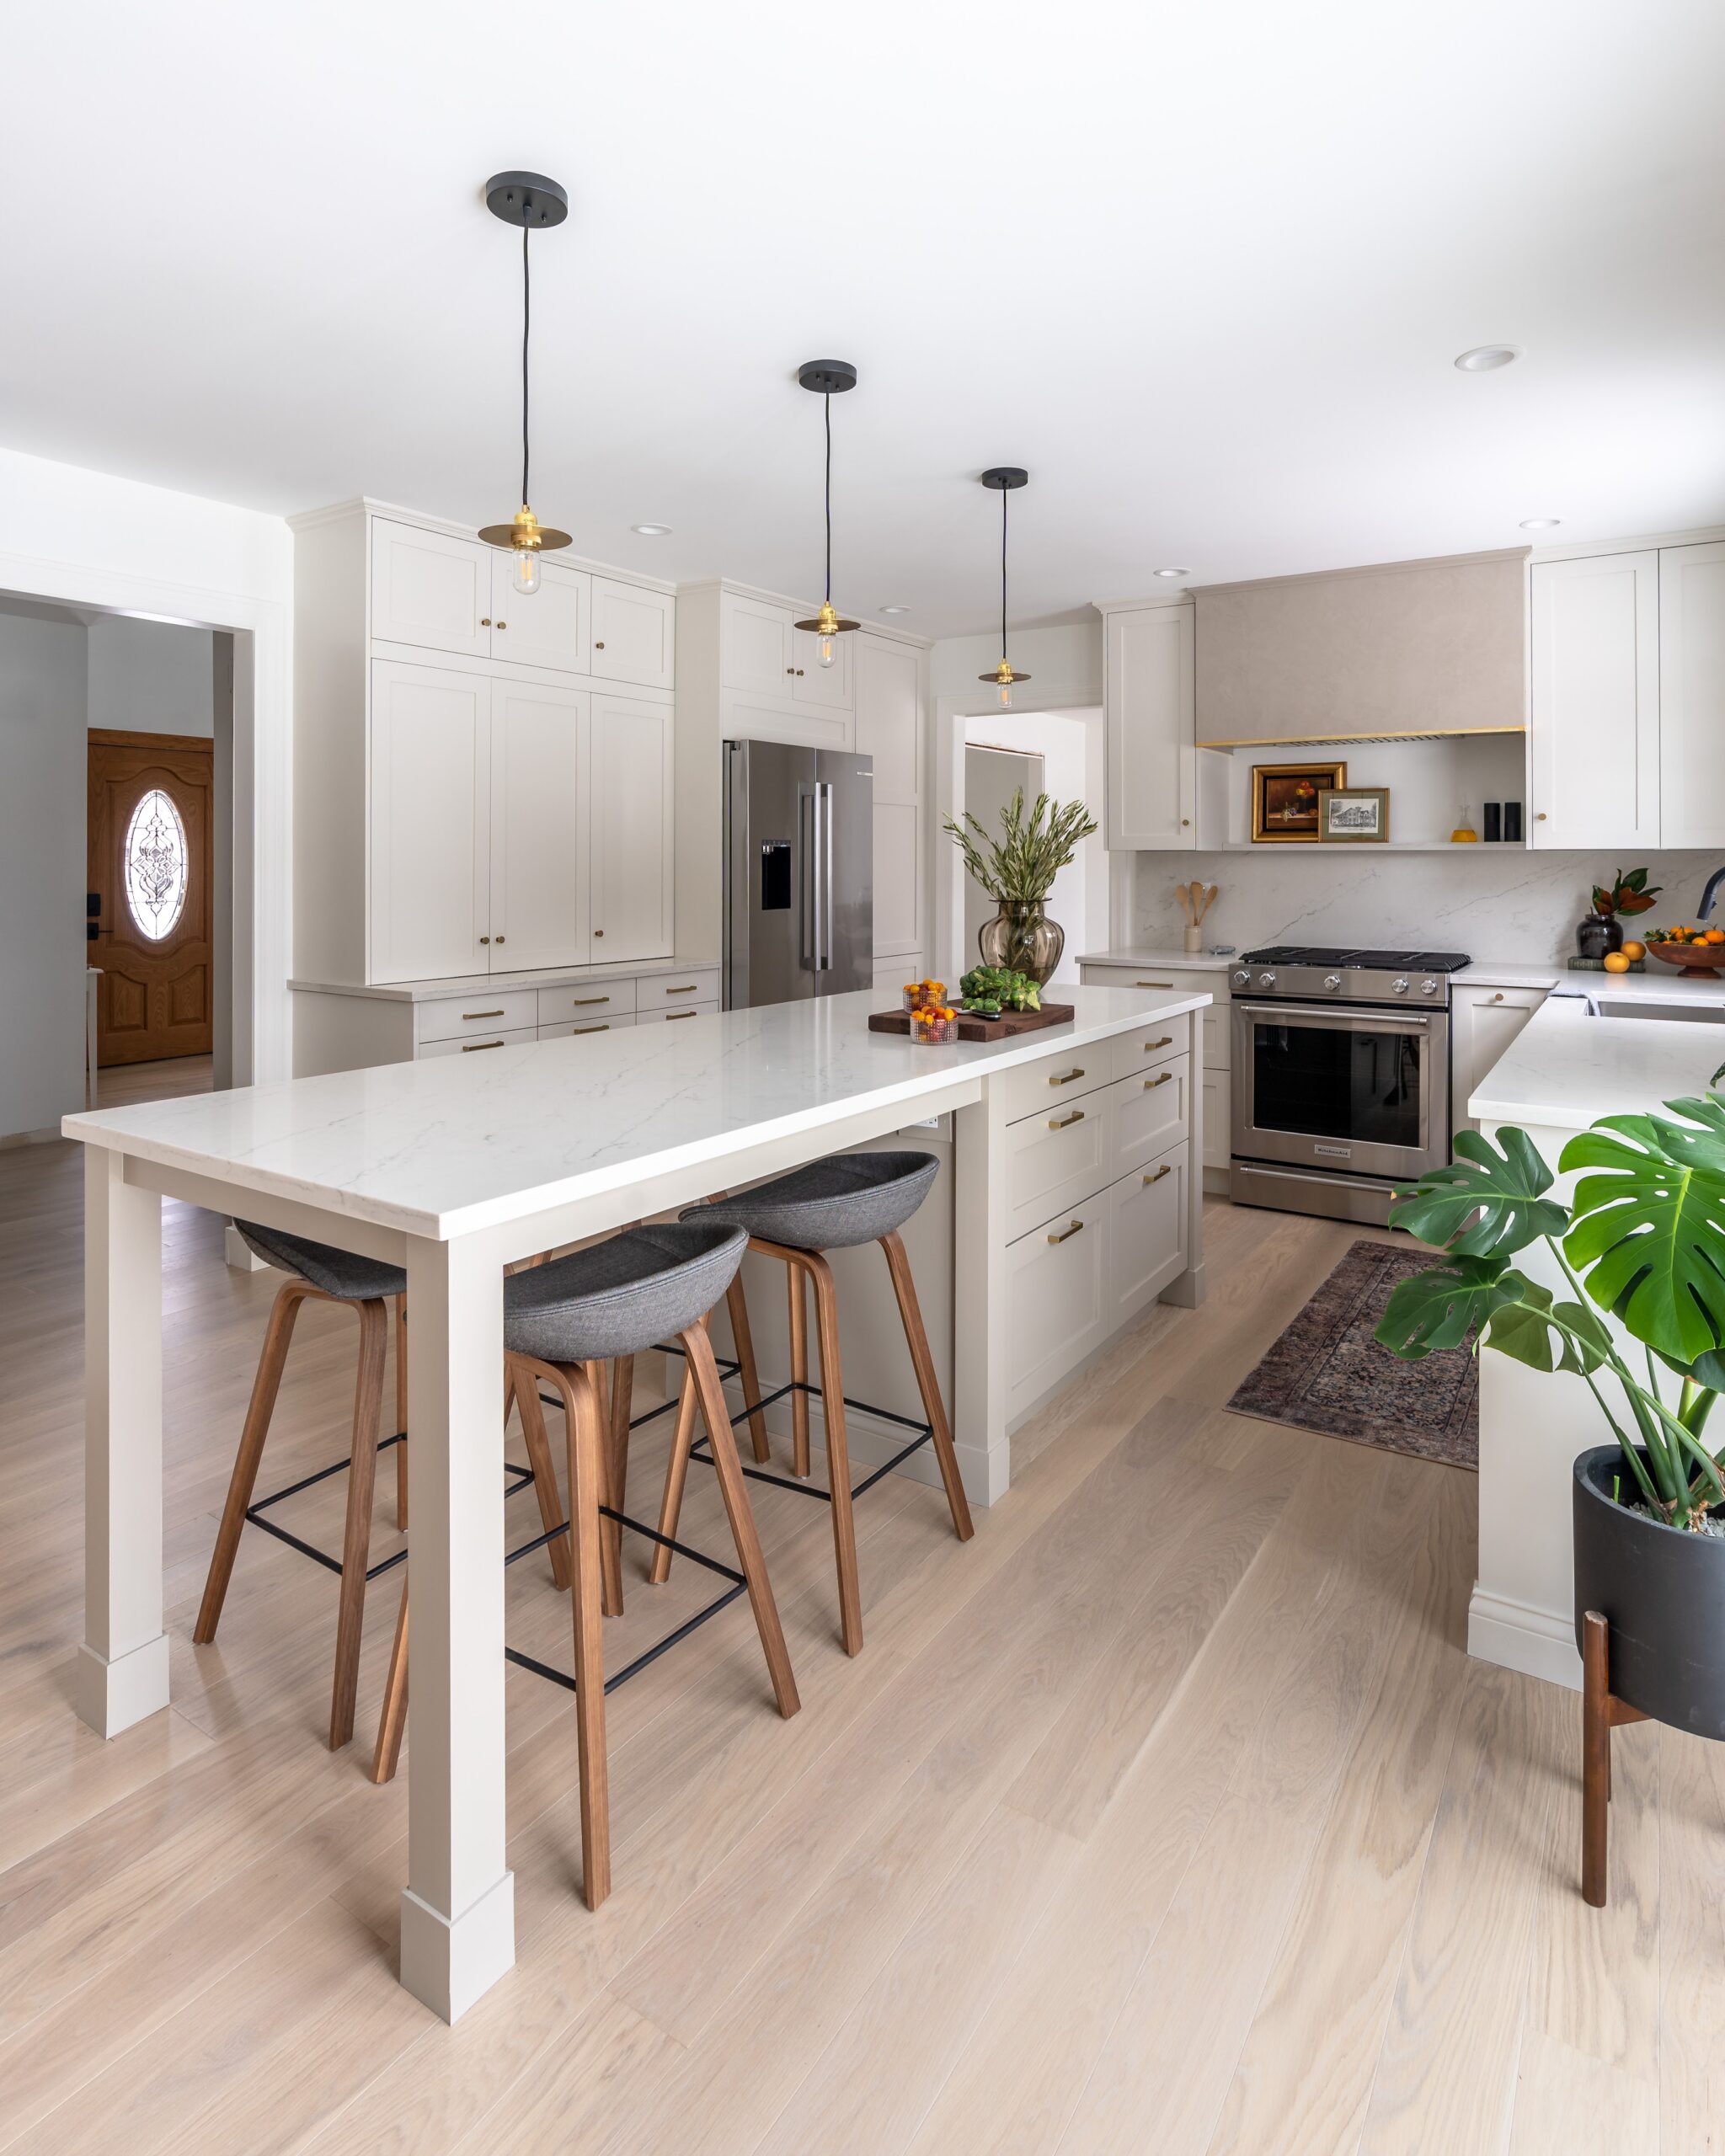
Our DIY plaster range hood is the last major project in our kitchen renovation. We’ll be framing out a new 4 foot range hood, installing the insert, and applying a roman clay finish. We’ve never done this before, but we are feeling confident in our abilities after all of the kitchen projects we’ve tackled to date.
We’ve got a YouTube vlog on the project from start to finish, showing all of the steps from framing to finishing our DIY plaster range hood.
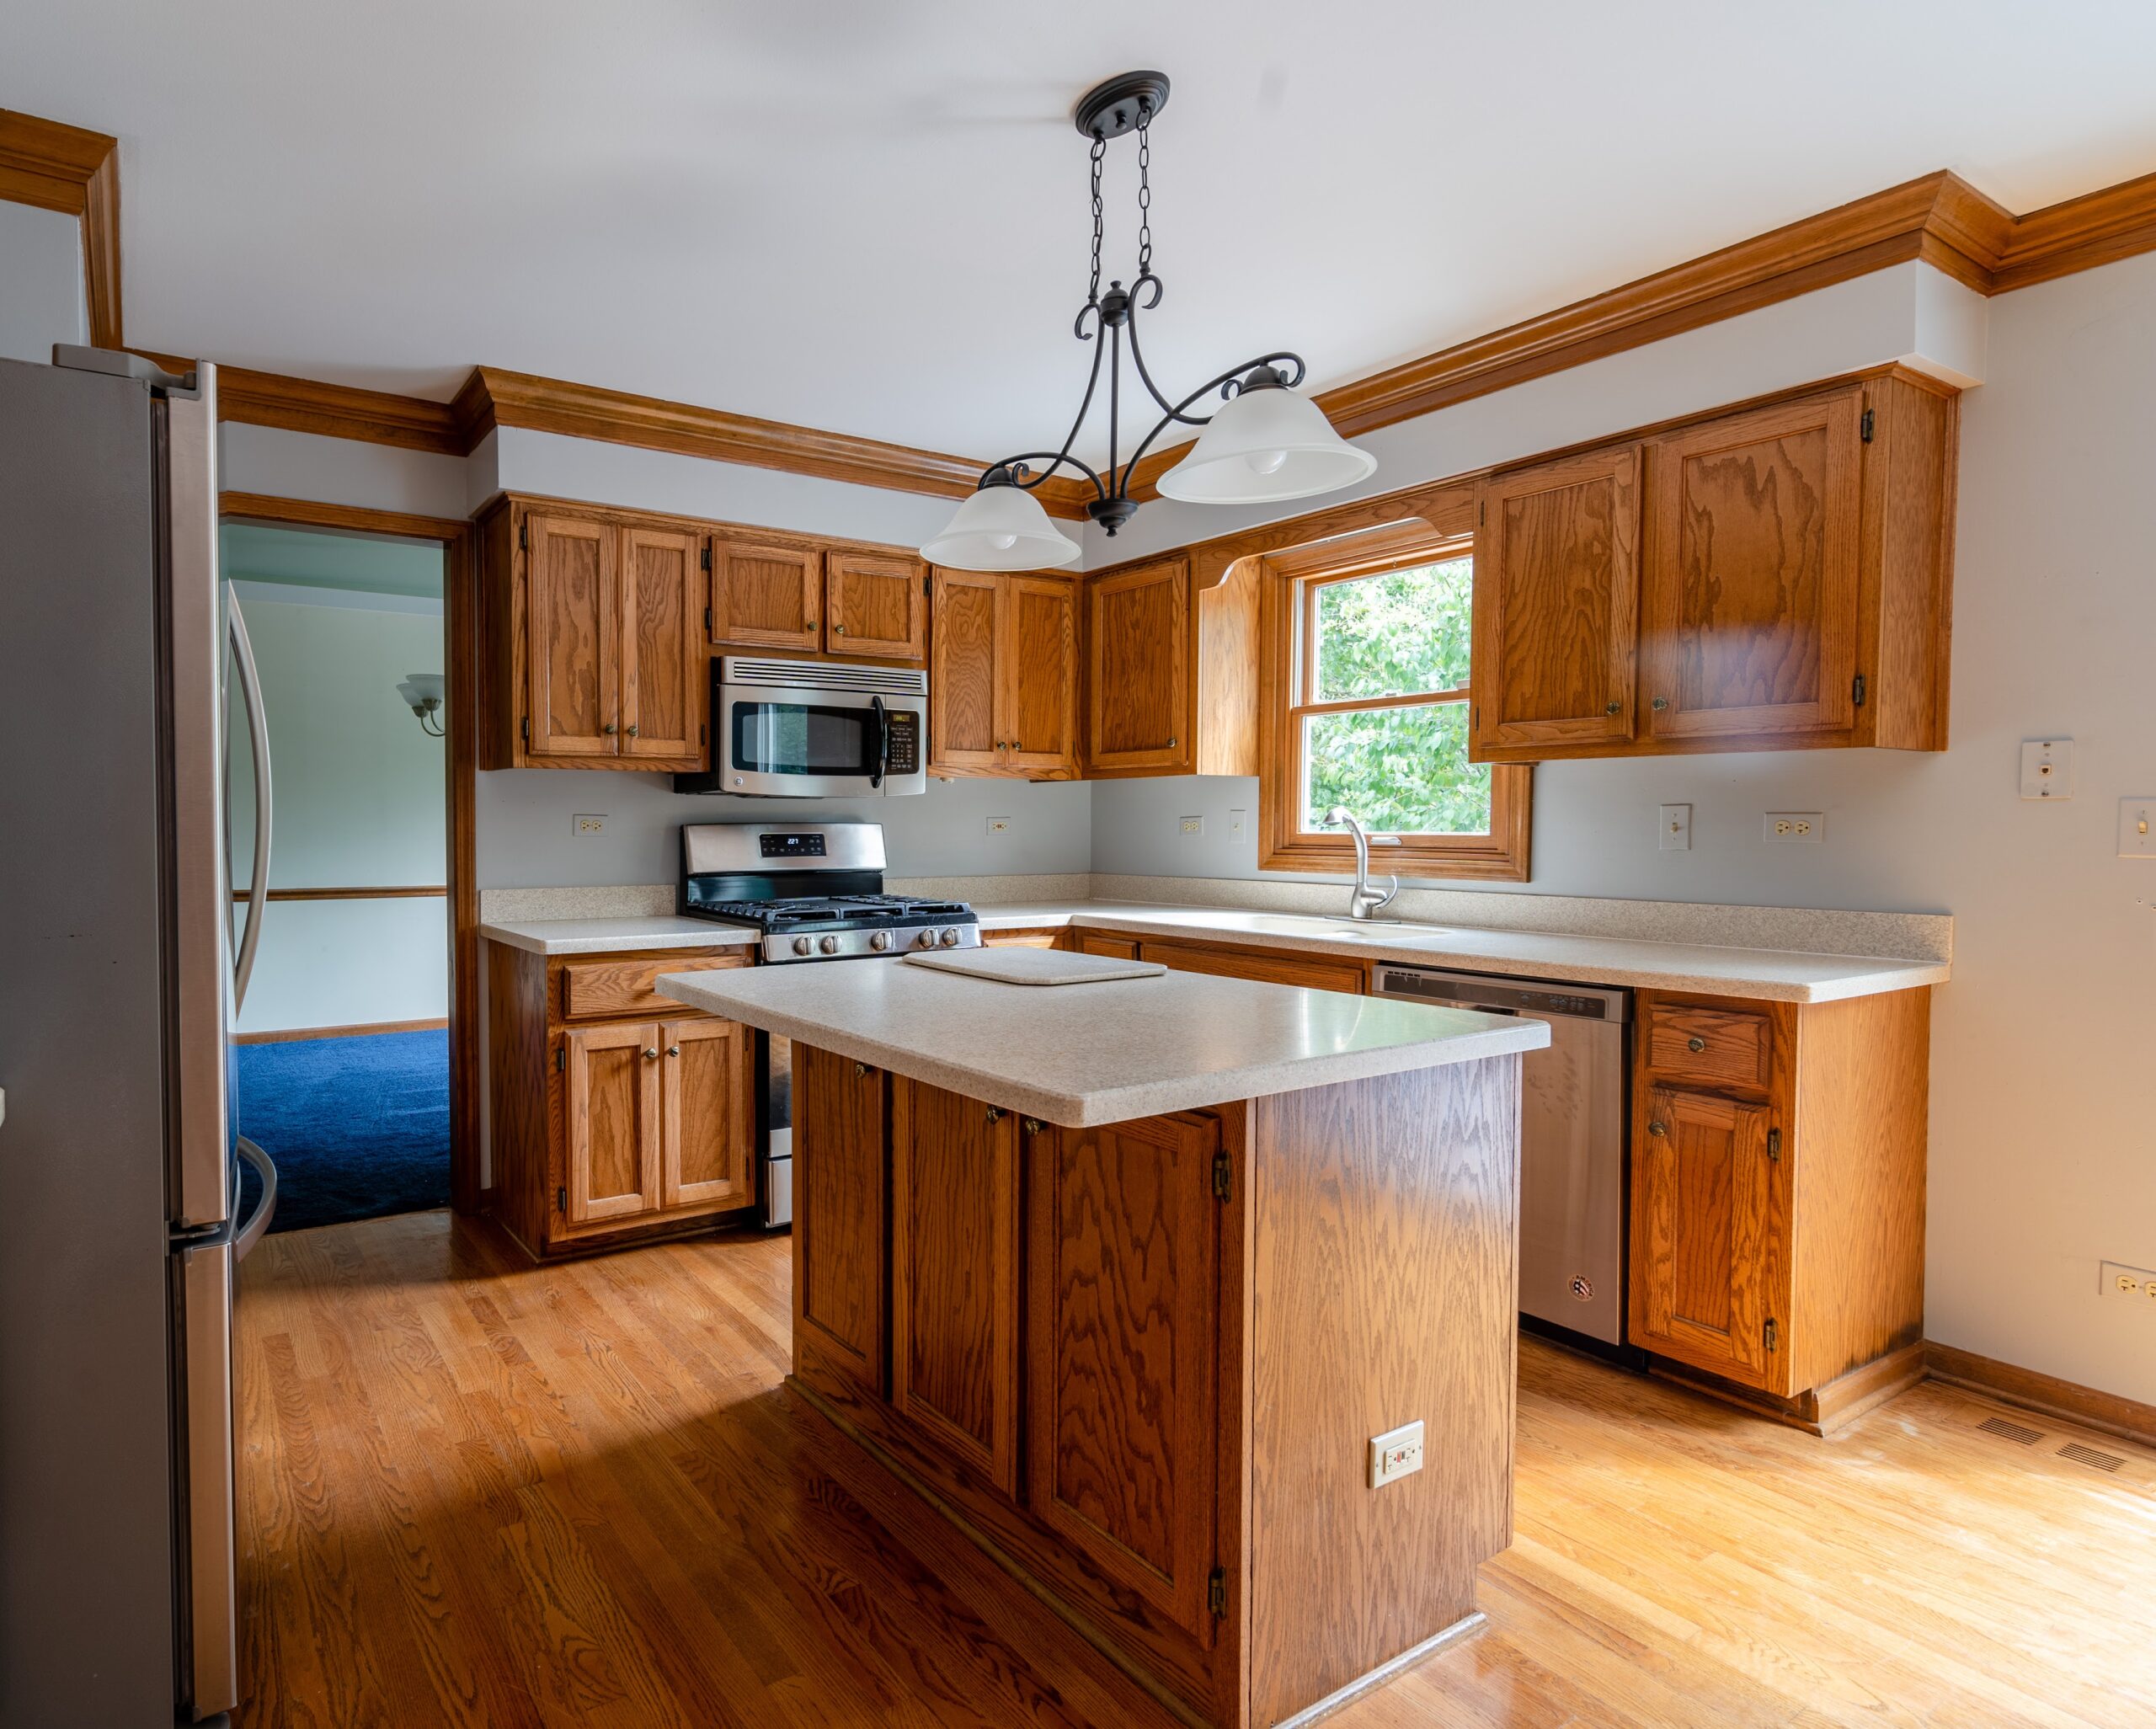
Our existing range had a standard 30″ microwave above. We wanted to make this one of the focal points of our kitchen so it was going to need a major upgrade.
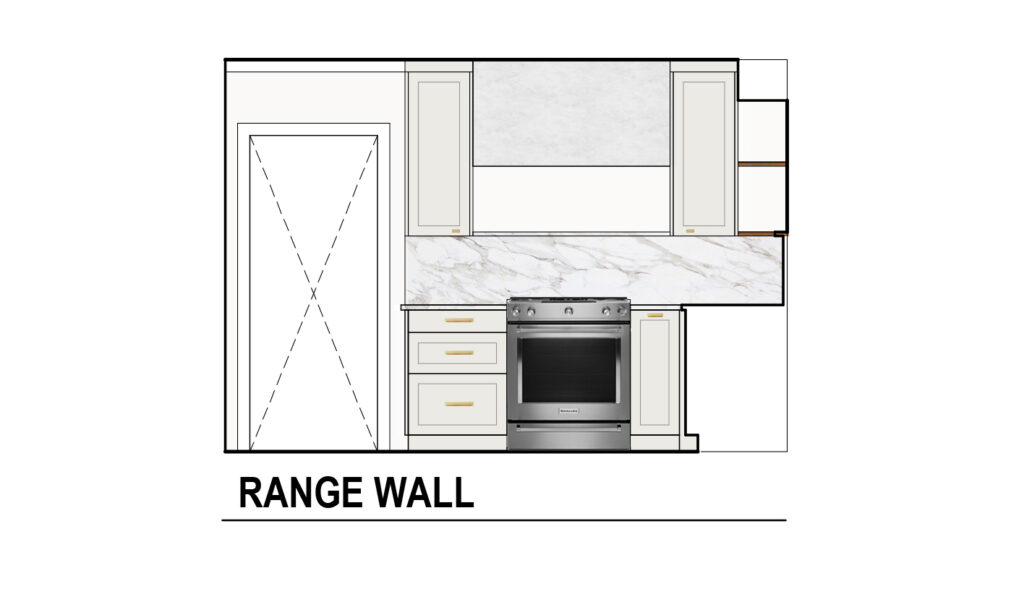
The plan for the range wall is to oversize the range hood to 4 feet wide even though our new range is still only a standard 30″ wide range. We’ll have single upper cabinets flanking each side of the range hood.
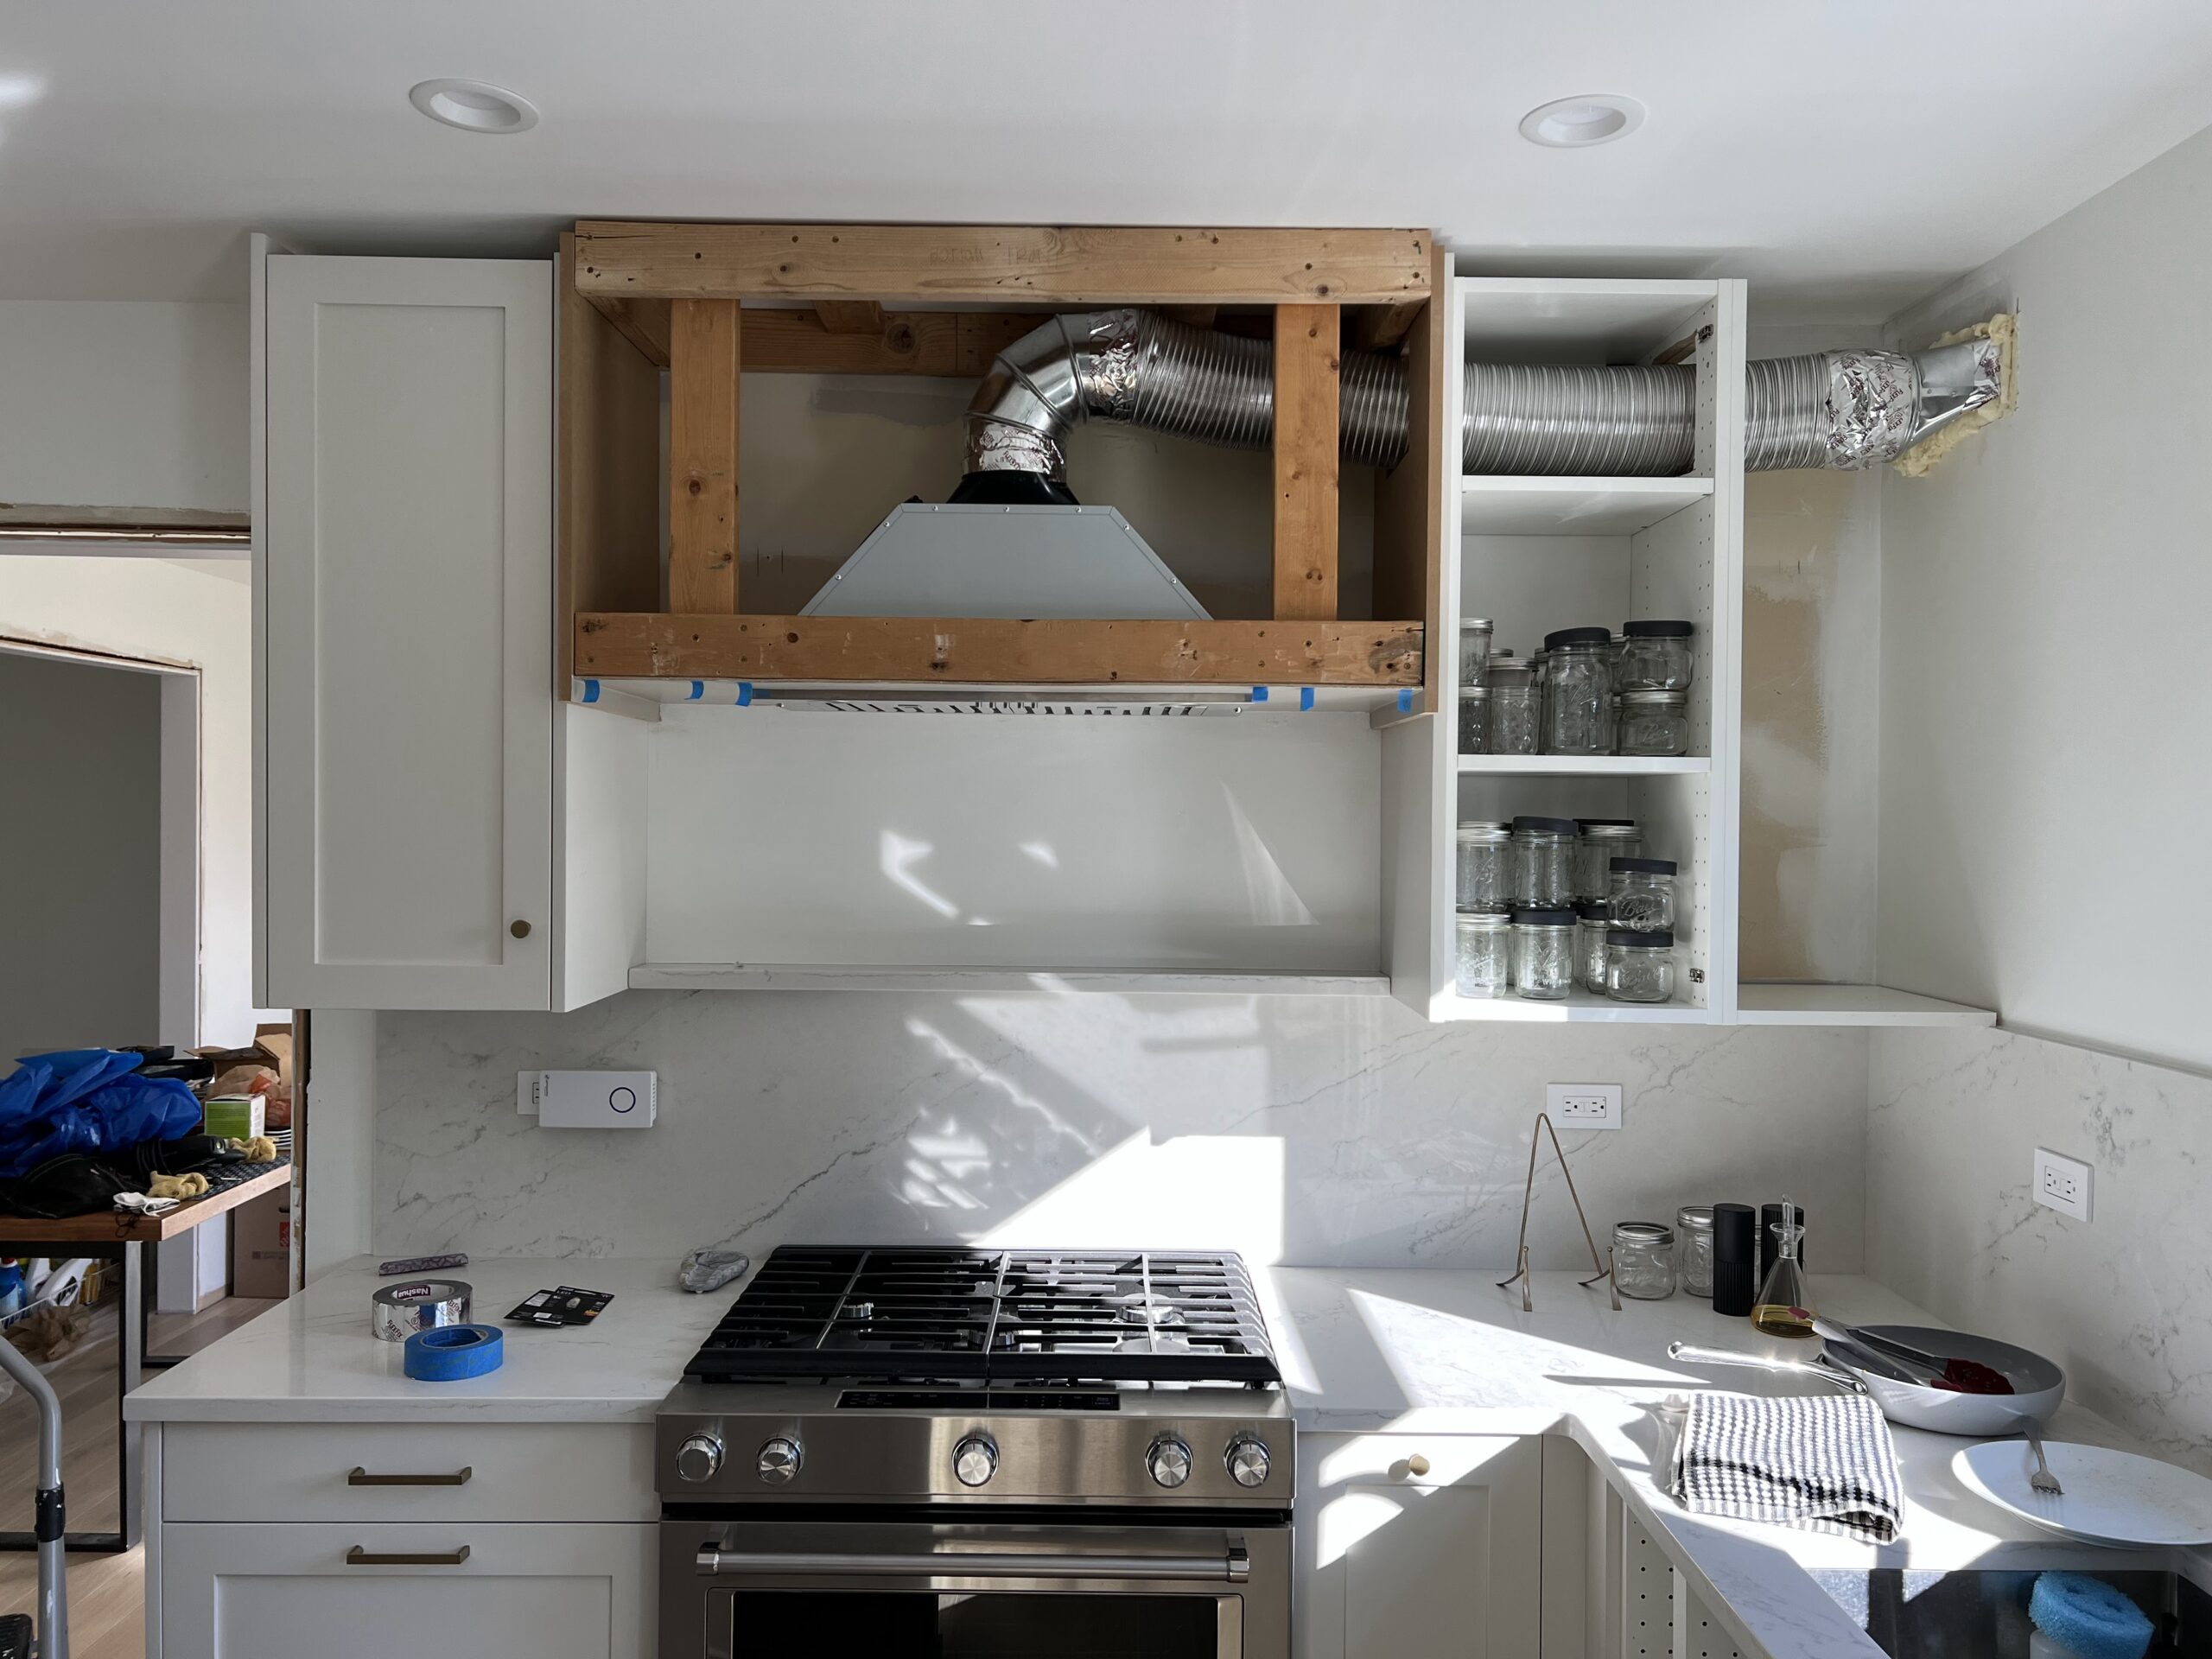
After the cabinets were installed, the first step in this project was to begin framing out the new hood. We made sure to plan this around the opening required by our Kobe range hood insert. We used 2x4s to frame it out and GRK multi-purpose screws. We made sure to attach the framing to both the wall studs and ceiling joists.
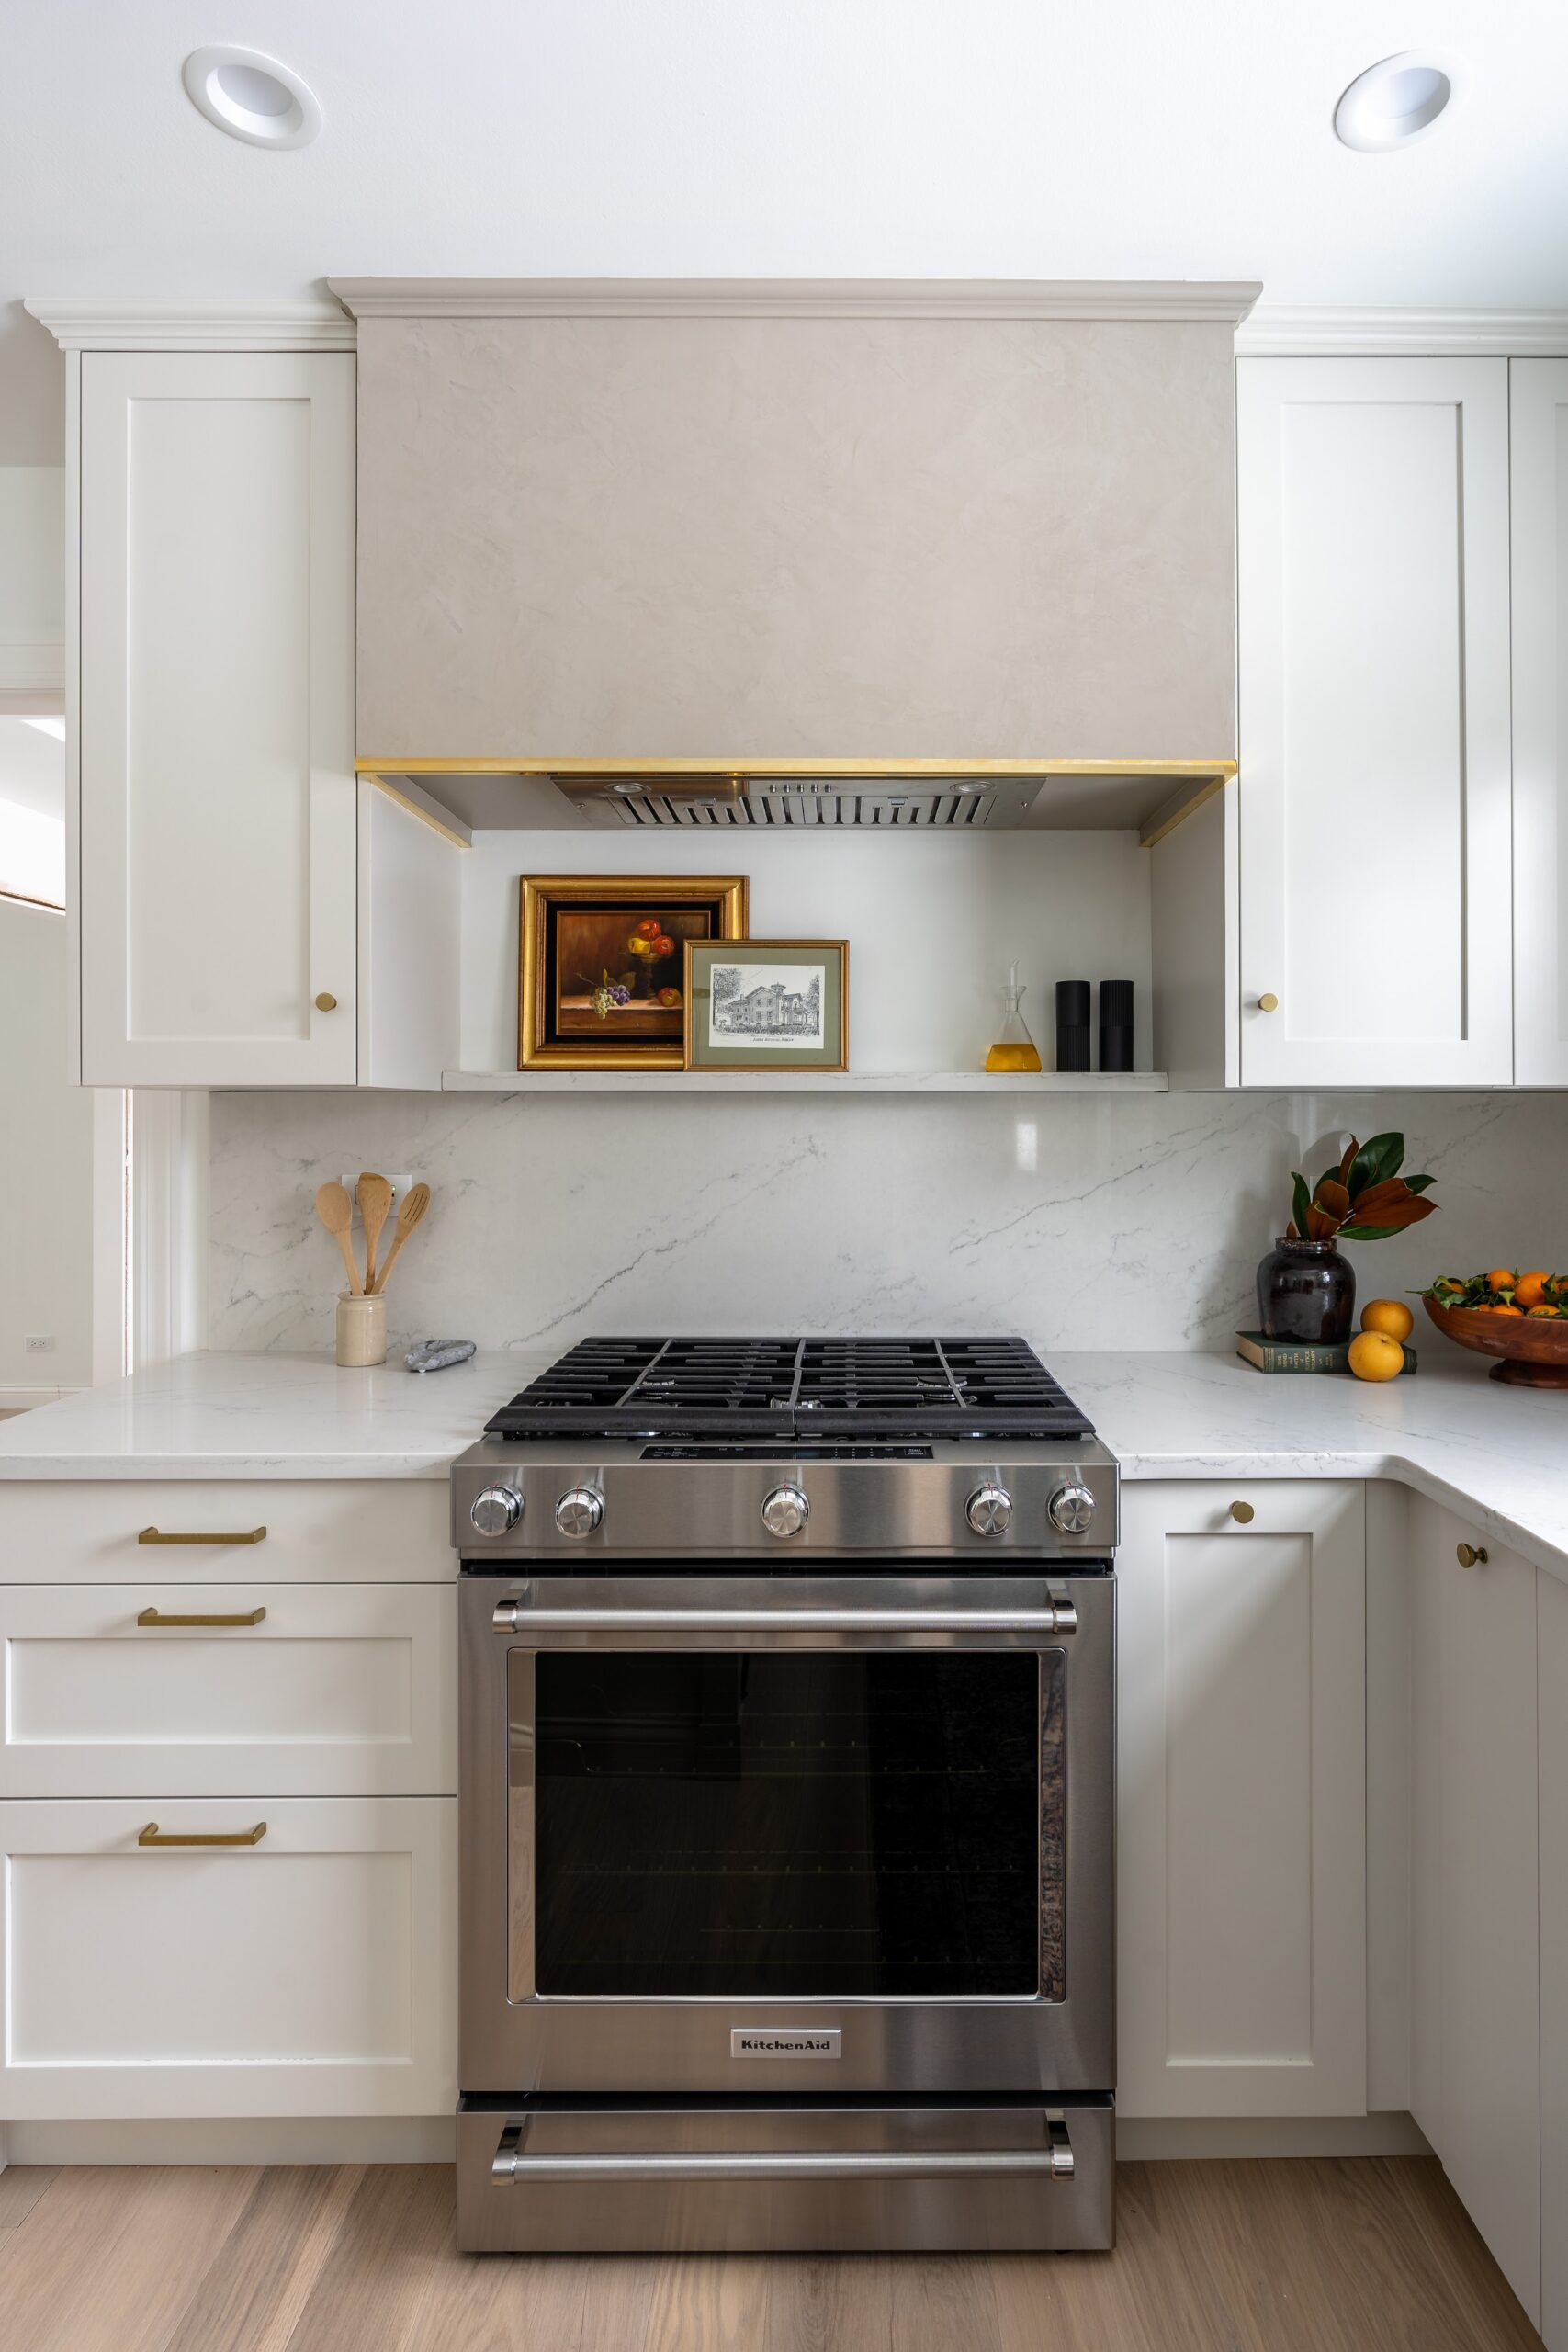
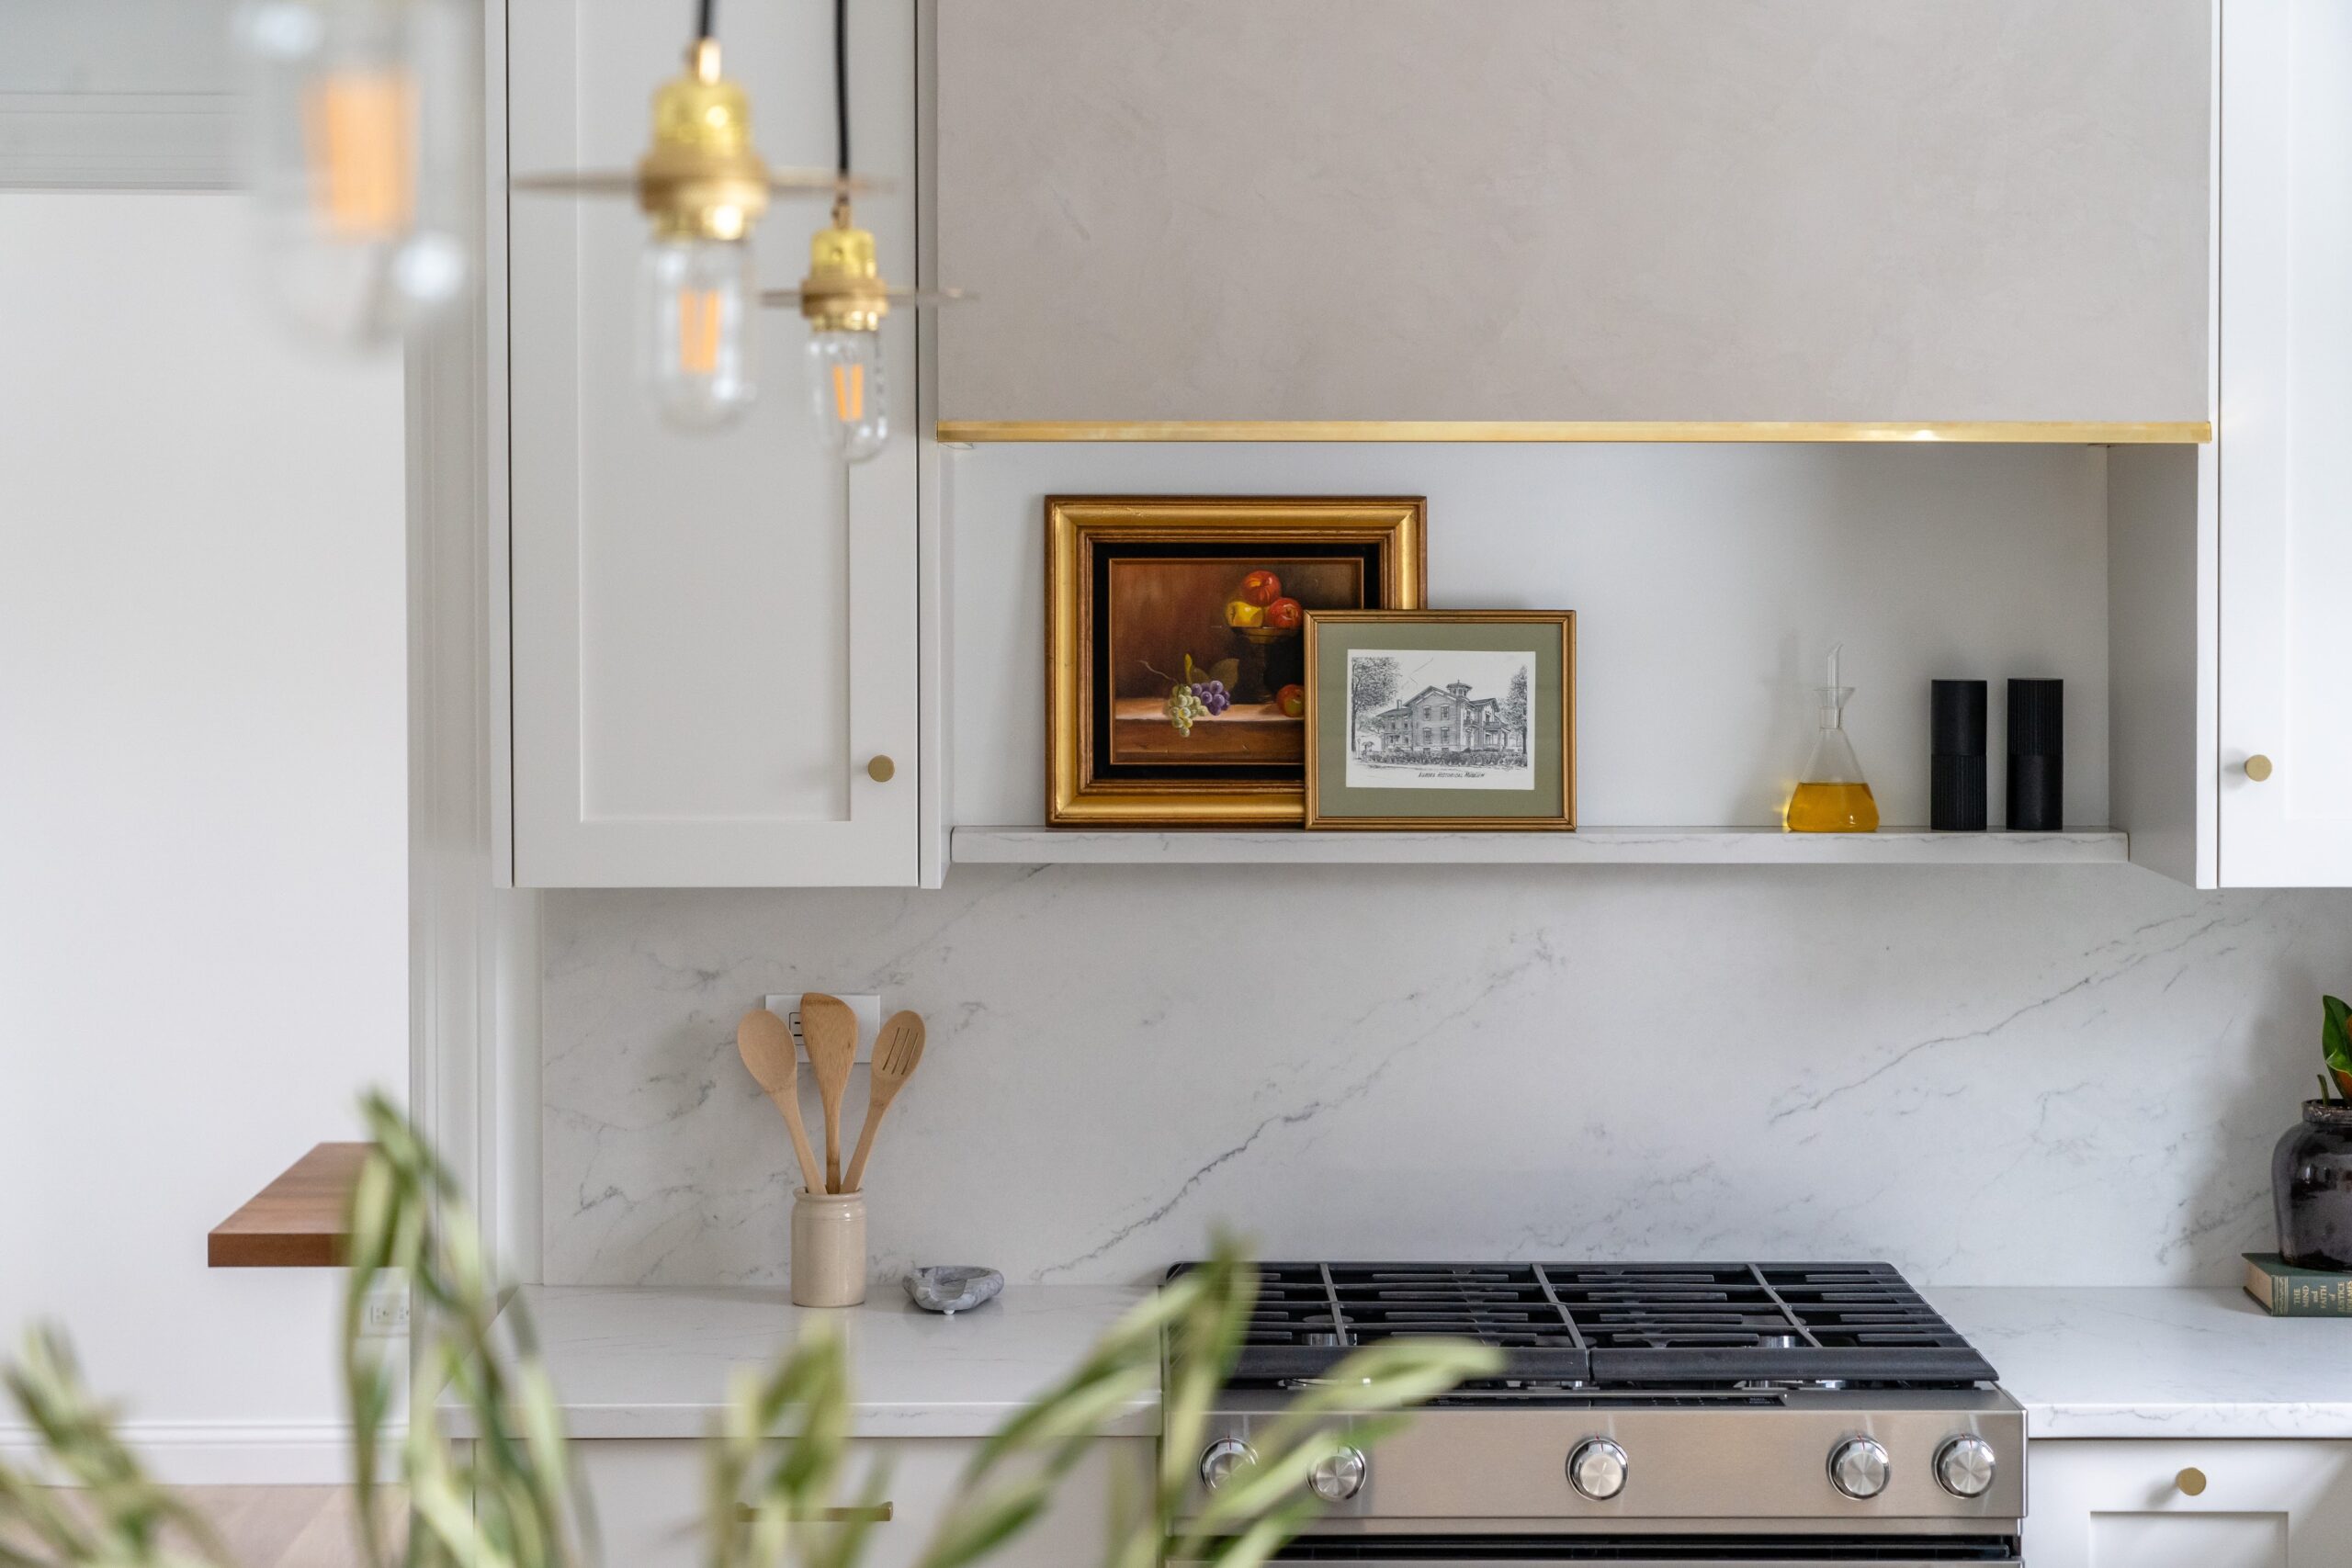
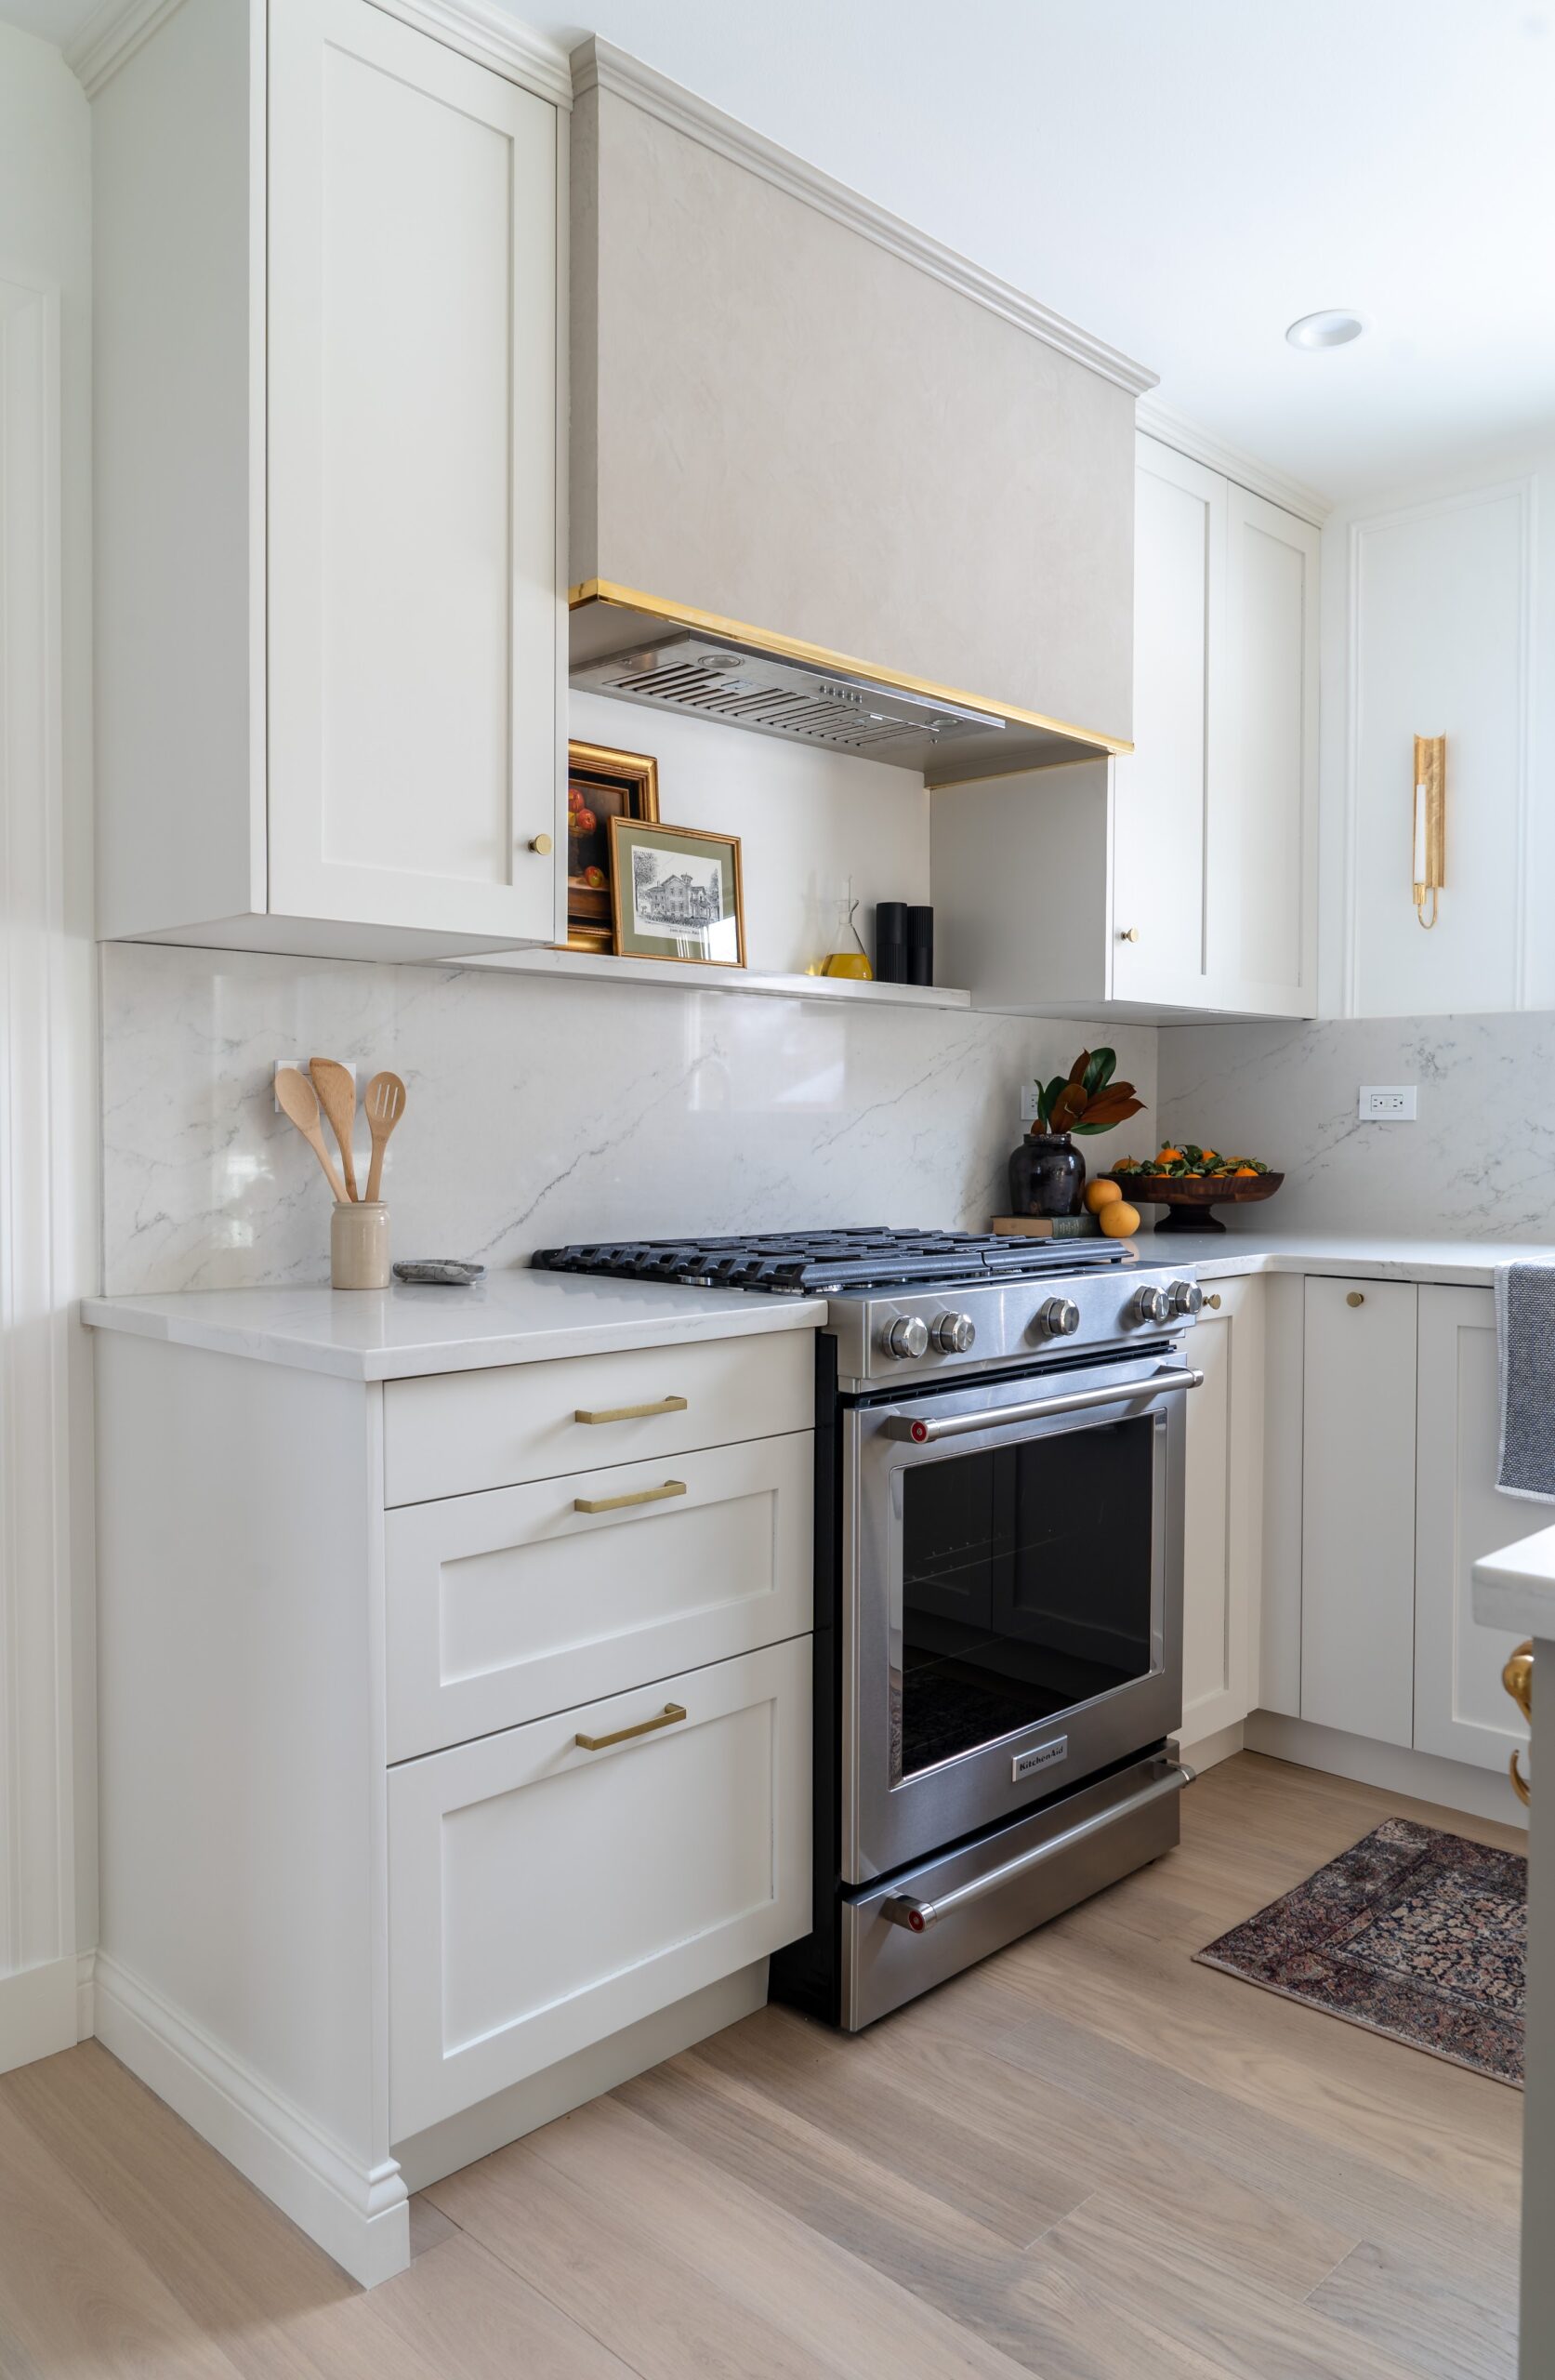
In the end, we’re really satisfied with how our custom plaster range hood turned out. It adds a nice pop of color, some additional warmth, and serves as a focal point for the range wall!

