It’s hard to believe we made it, but it is finally time for our full kitchen renovation reveal! We DIY renovated this entire kitchen by ourselves and sometimes we have “pinch me” moments that we were able to execute our vision. This certainly wasn’t built overnight and it took us about 6 months total. We worked every weekend, holidays, and PTO days to get this kitchen completed.
Check out our full YouTube kitchen reveal video for all of the details on each area of the kitchen. We still can’t decide what our favorite part of the kitchen is and honestly for me it changes weekly! We love everything about it and we’re really happy we took our time, not rushing any decisions or cutting any corners along the way.
The Before Kitchen
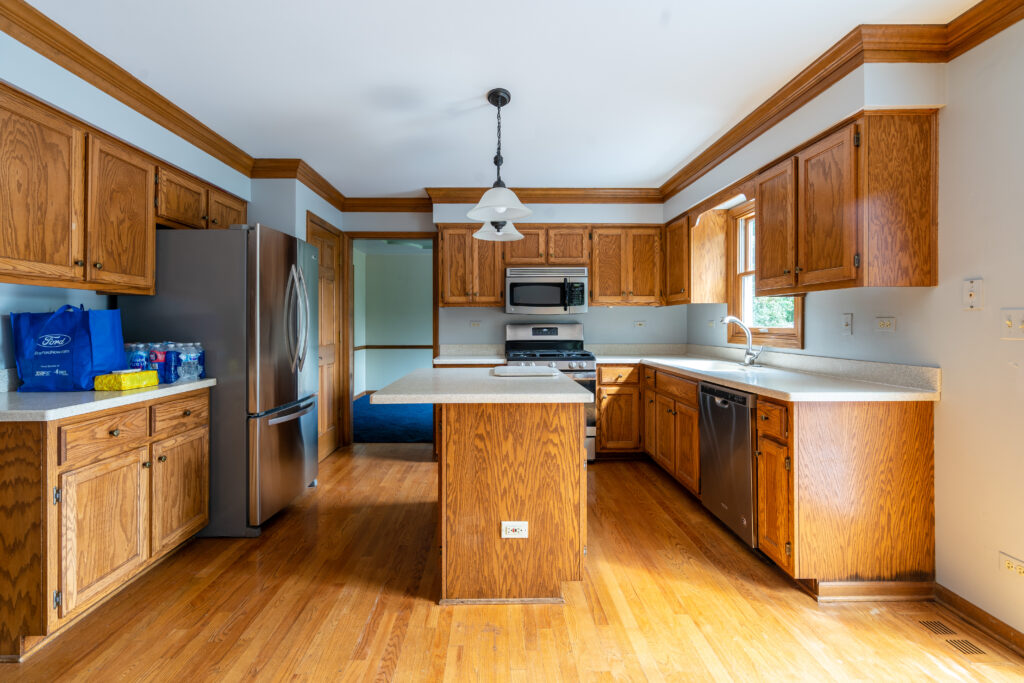
Would you believe me if I said one of the major reasons we purchased this house in the first place was because of the kitchen?! Not because of how it looked, but based solely on the size and layout of the existing kitchen. This kitchen had good bones, especially compared to a lot of the other houses we considered buying. We knew from day 1 that we’d do a full gut-renovation on this kitchen and build the kitchen of our dreams.
The After Kitchen
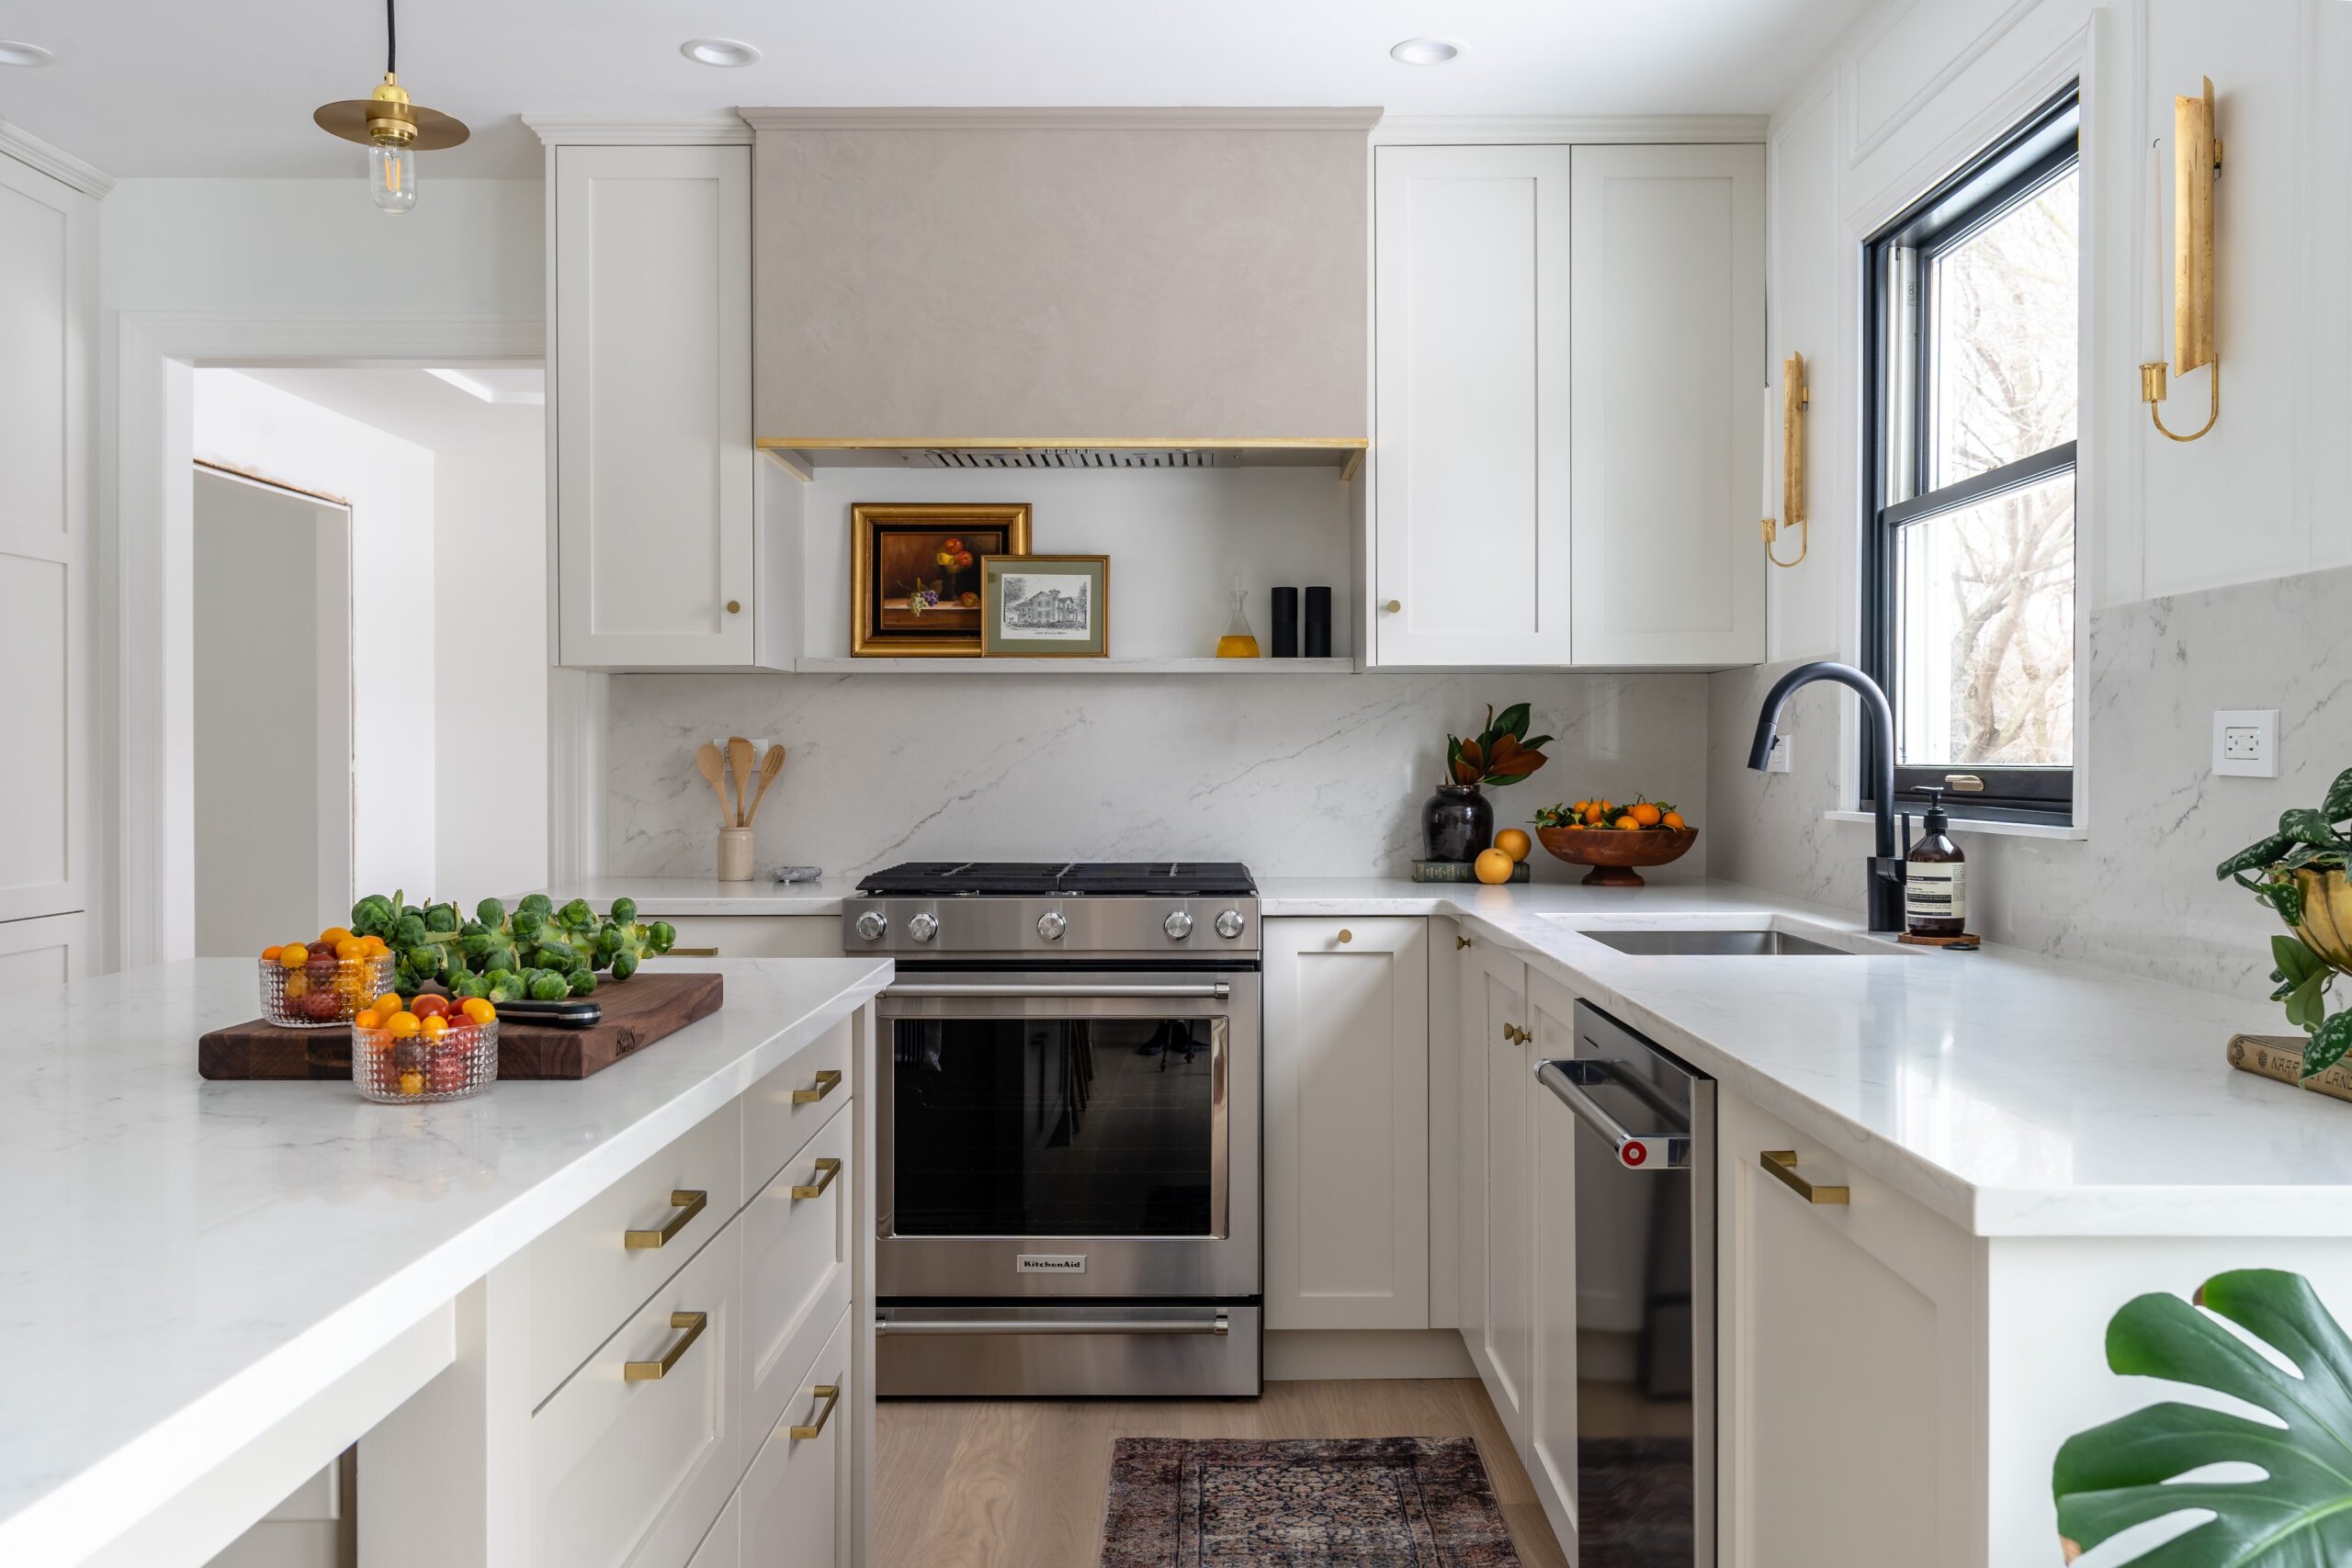
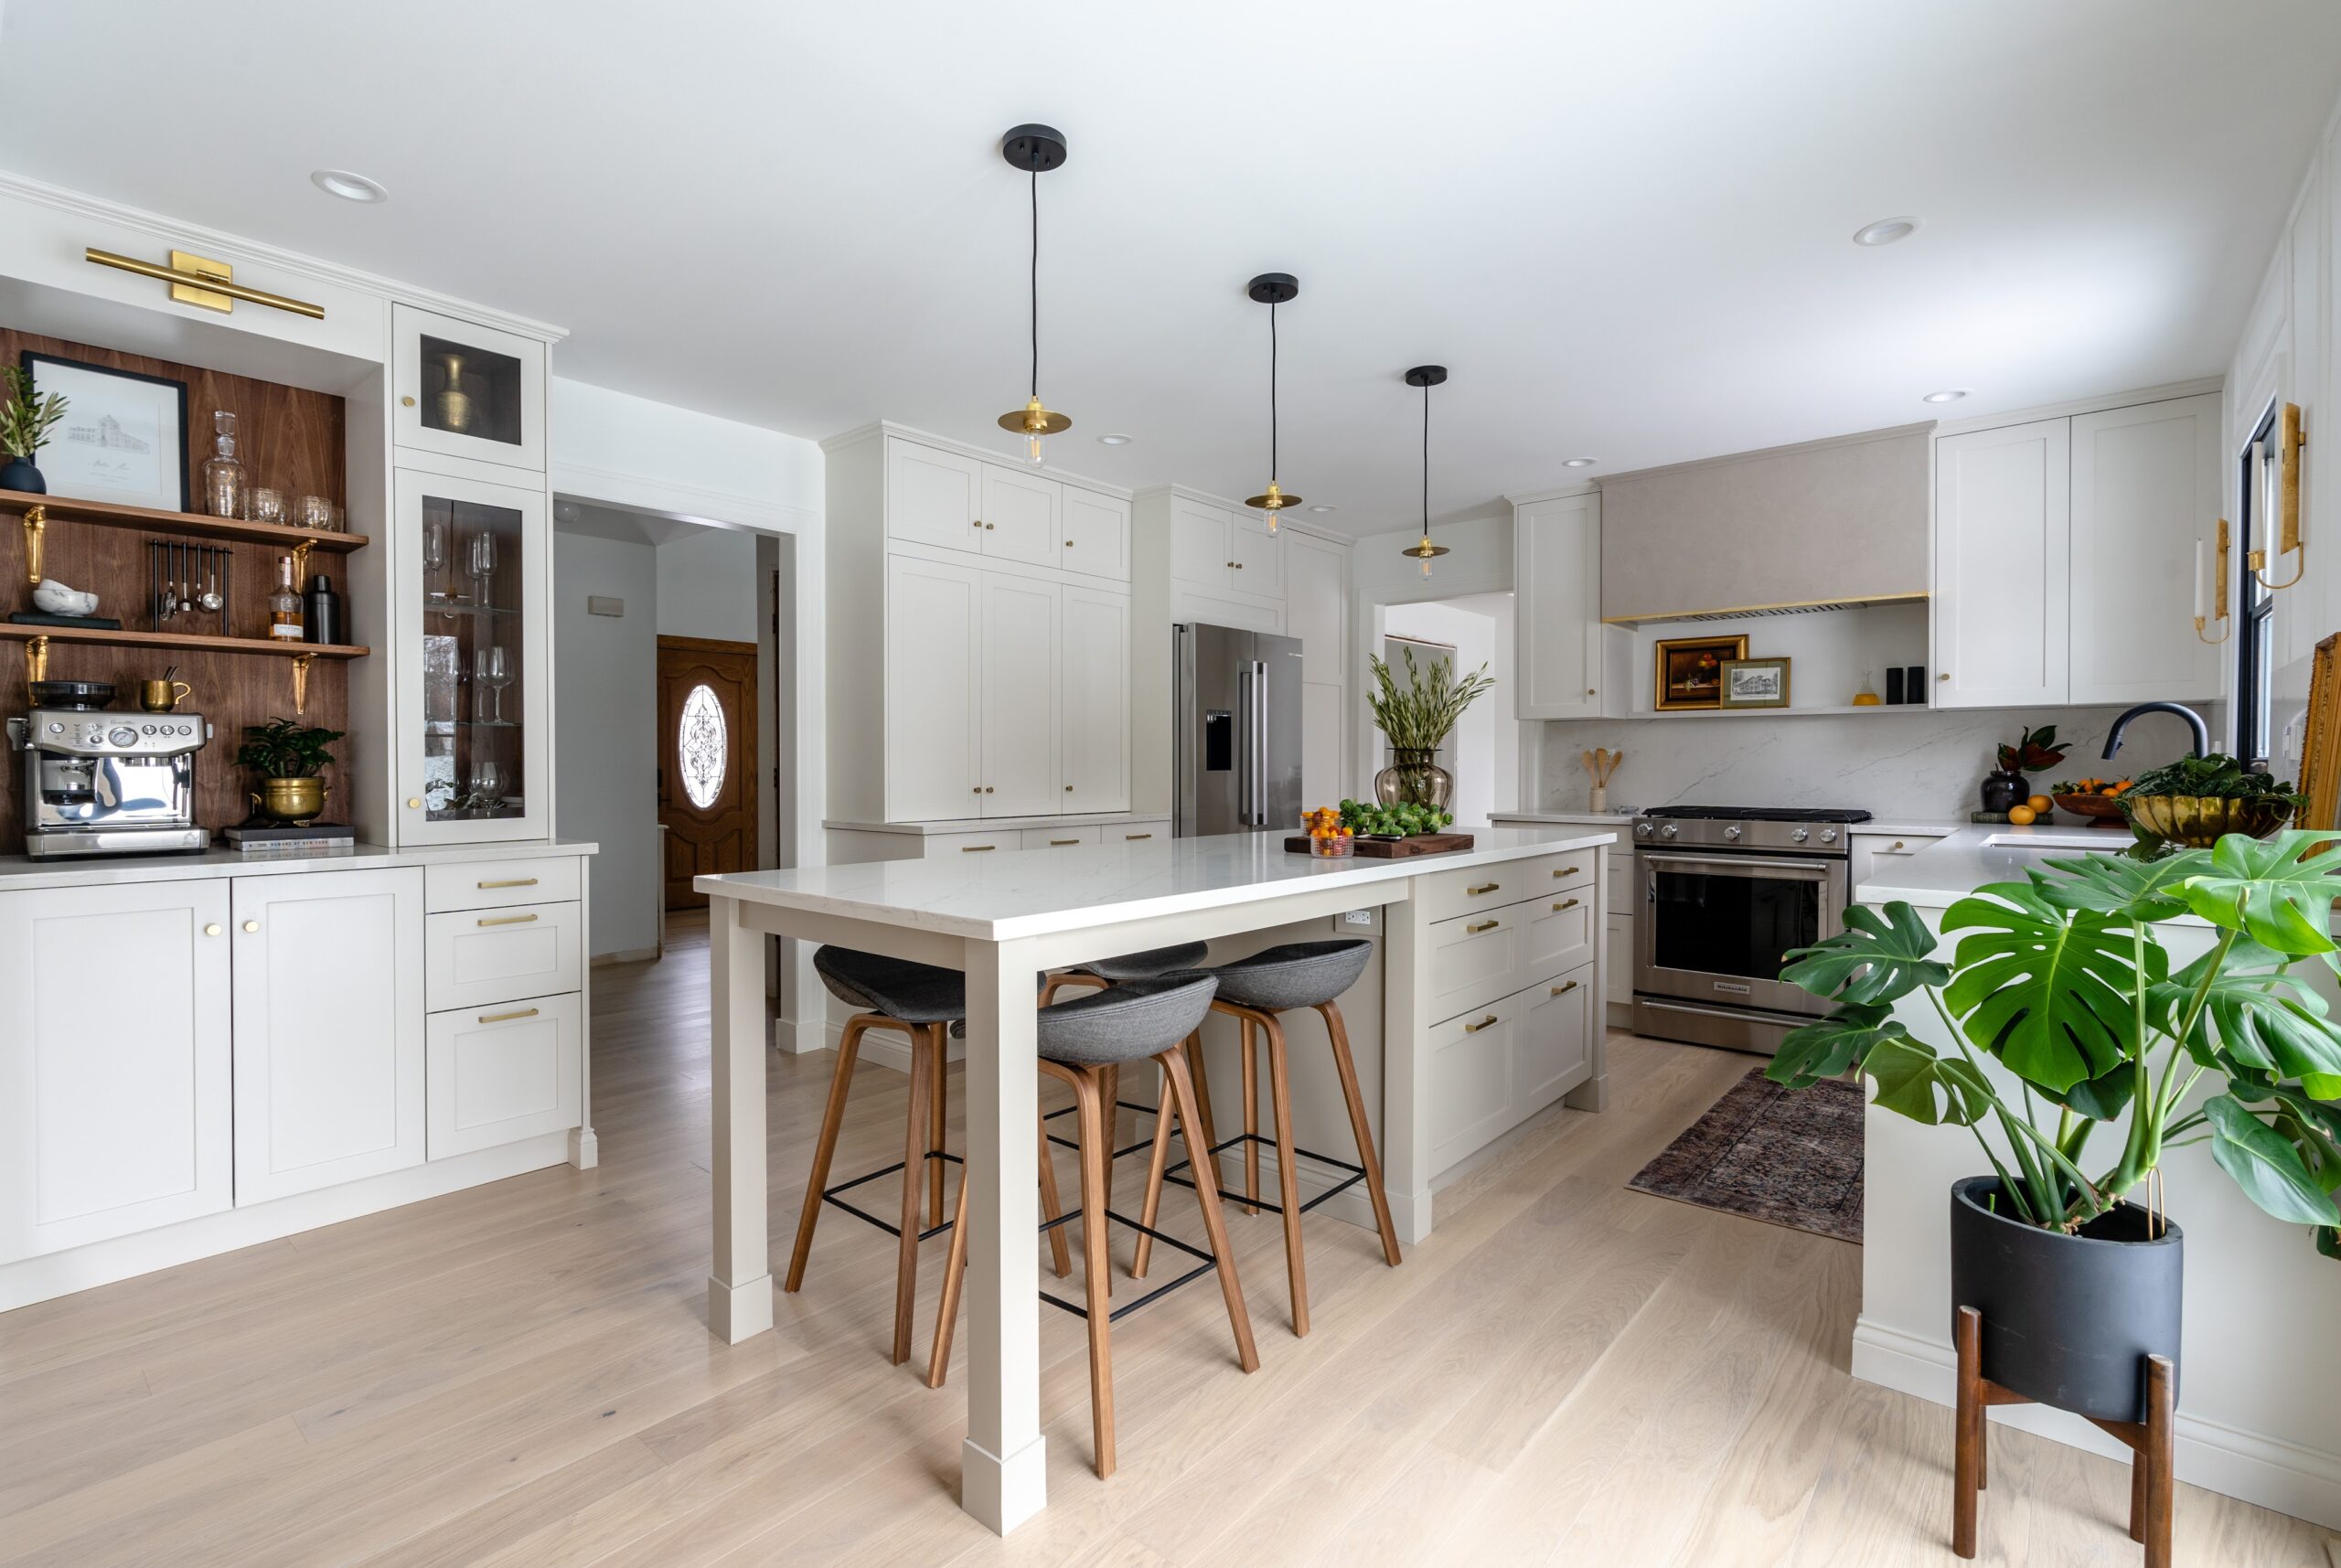
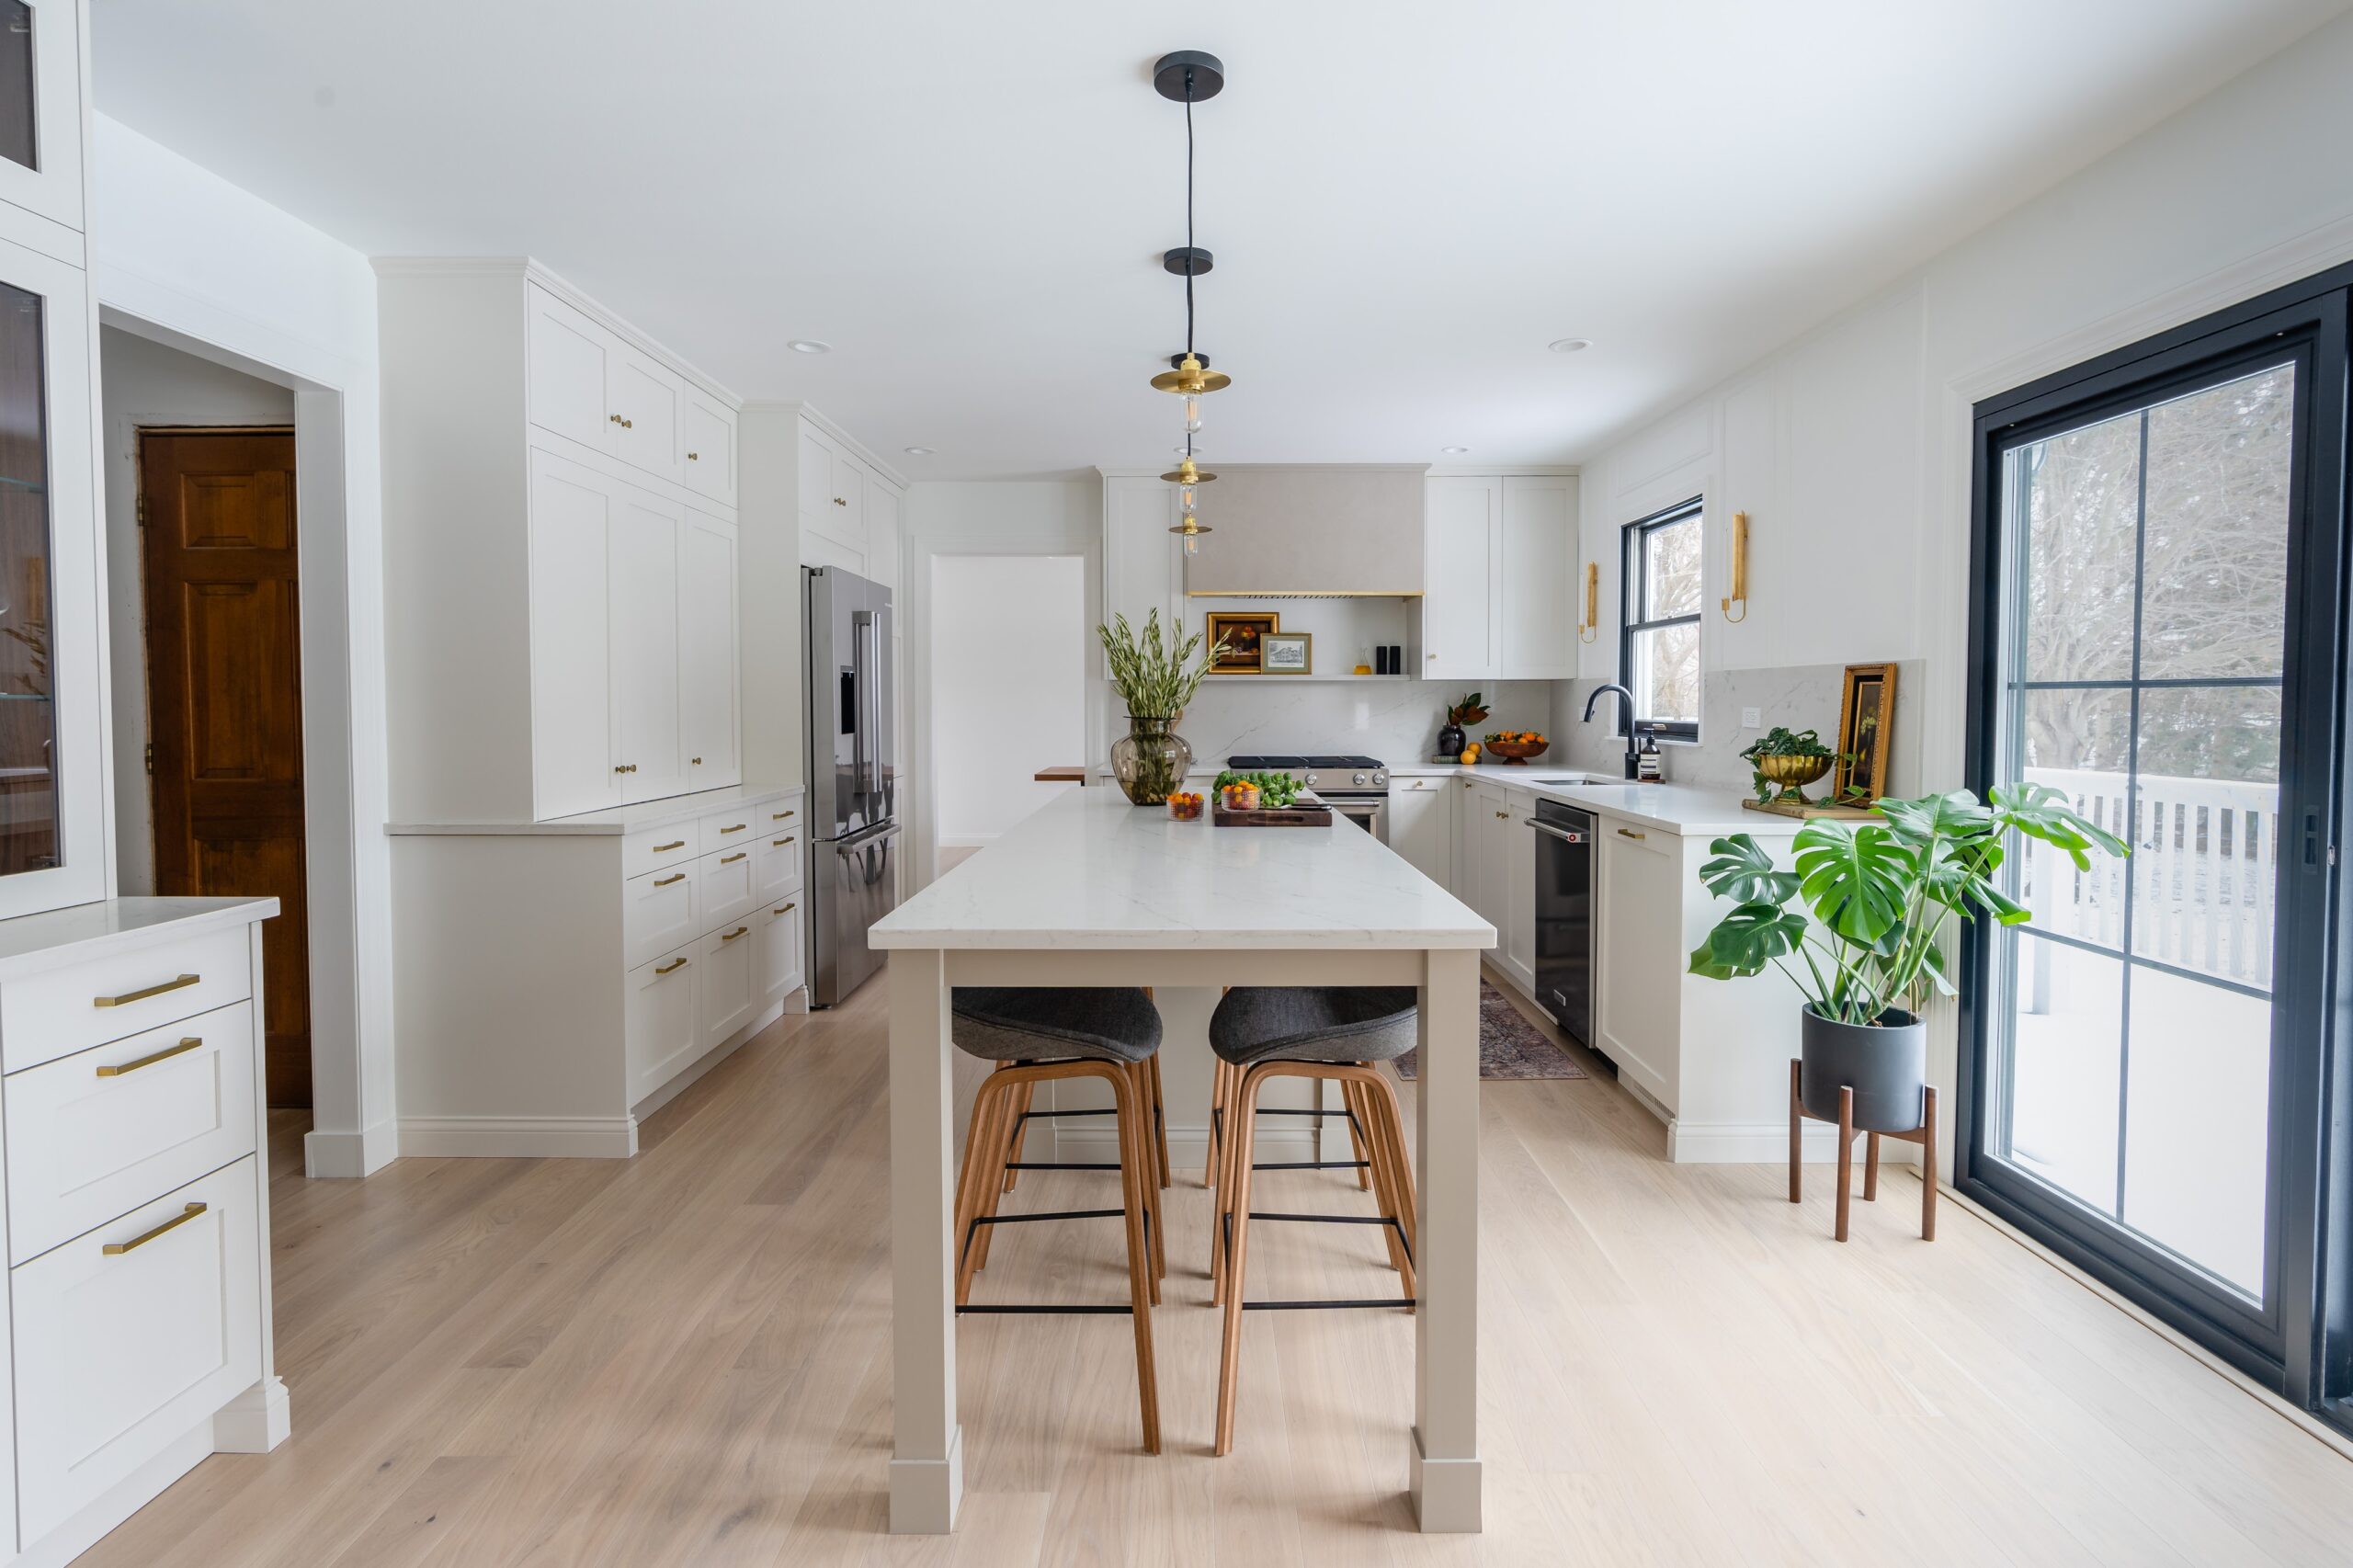
In terms of layout, nothing in this area of the kitchen changed. Our kitchen sink, dishwasher, and range all remained in the same exact spot but our new finishes make a visual impact!
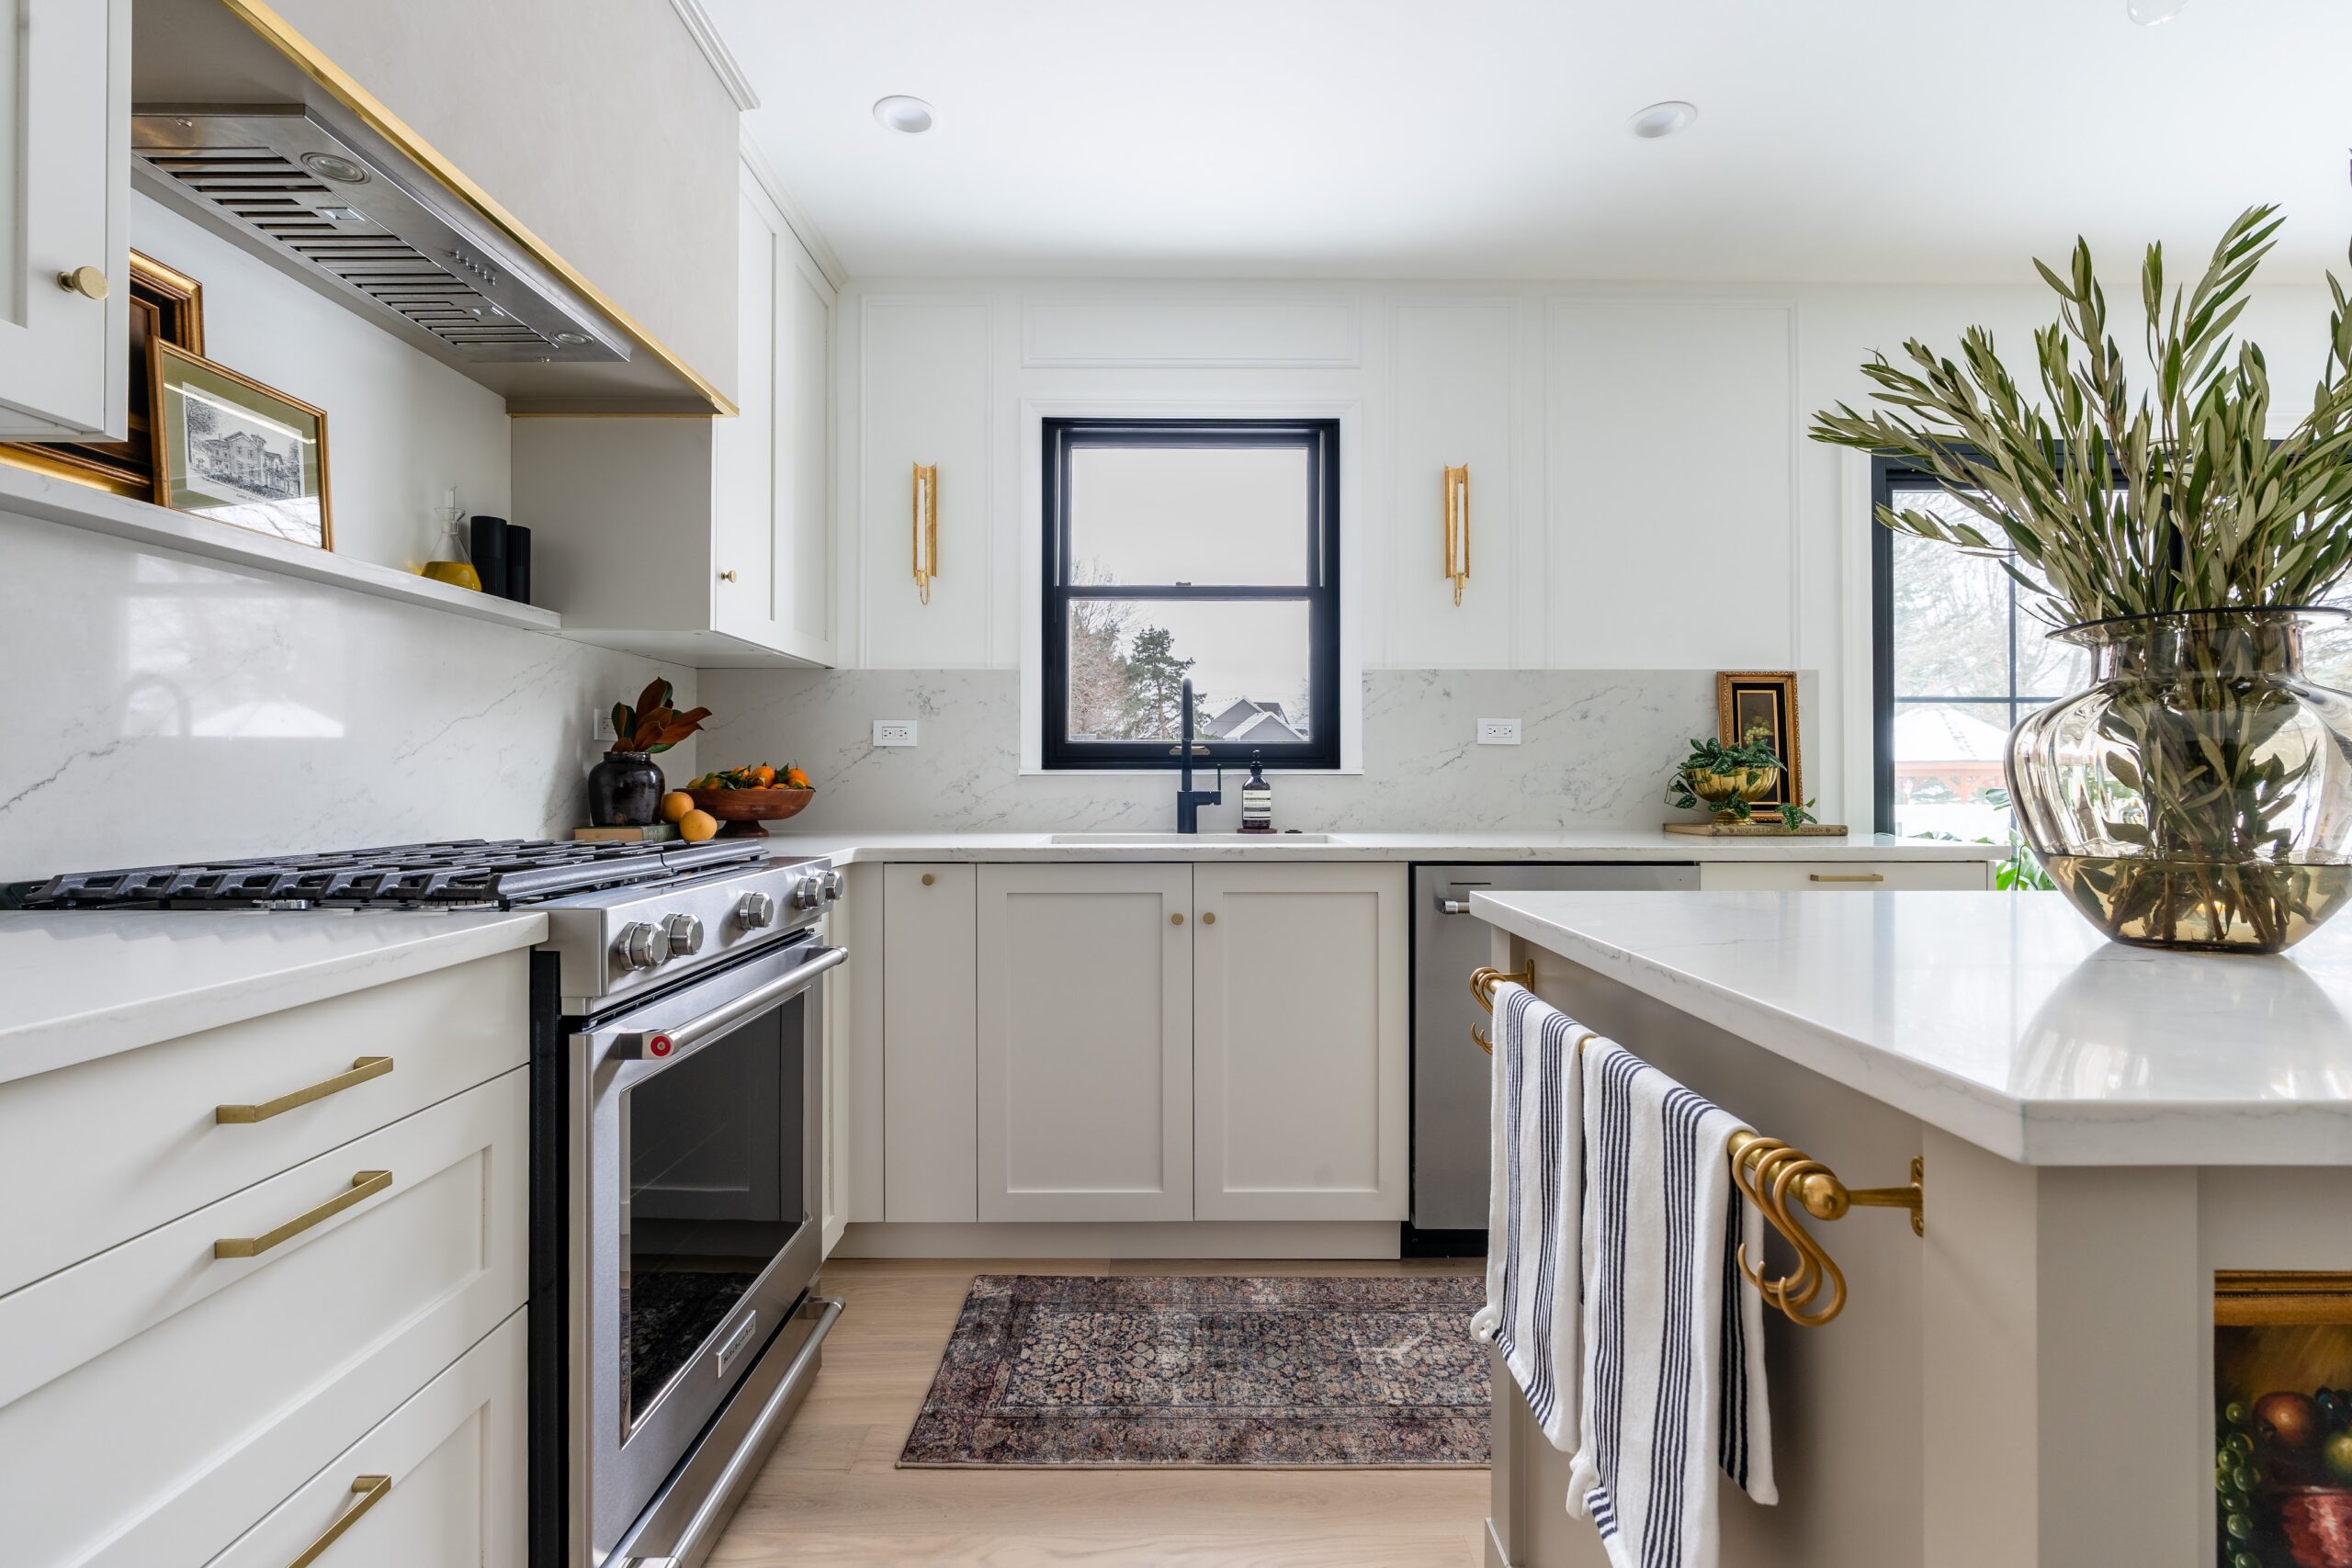
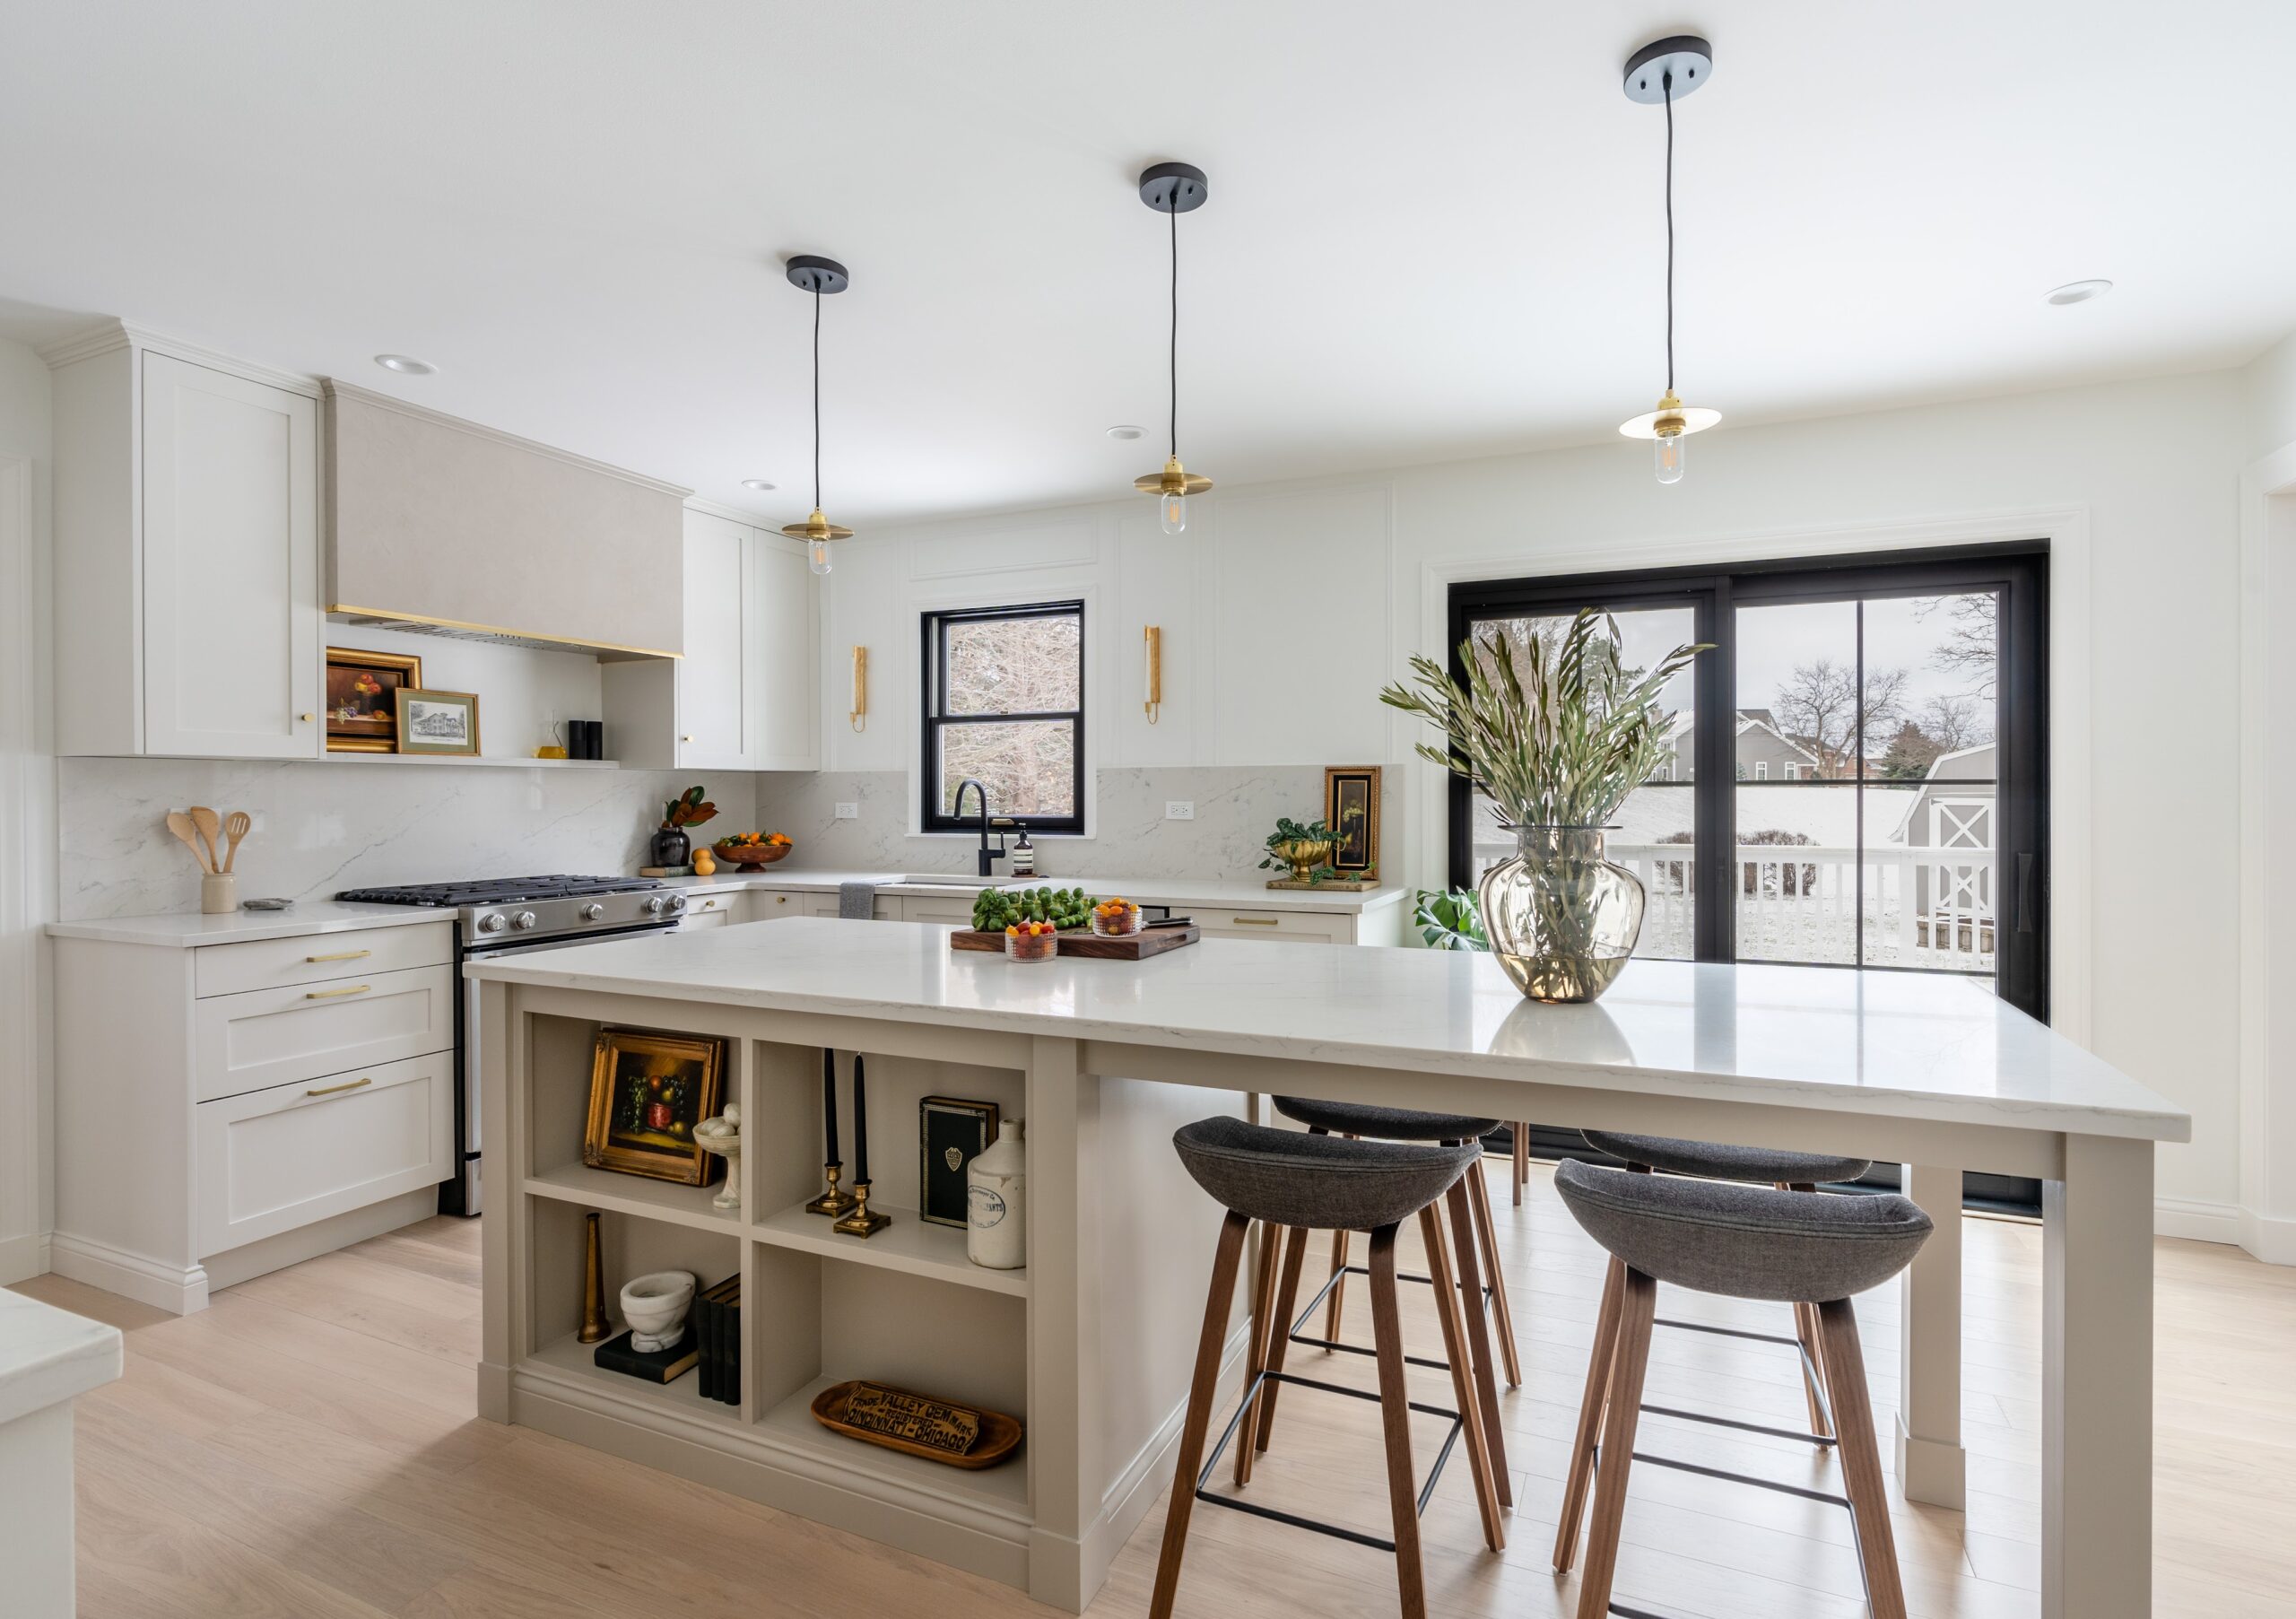
At the sink wall, we opted to remove all upper cabinets. Visually, we wanted to create areas of light and heavy with our sink wall being light. This allowed us to show off our solid stone backsplash. We also added candle scones on either size of the window and finished it off with box trim.
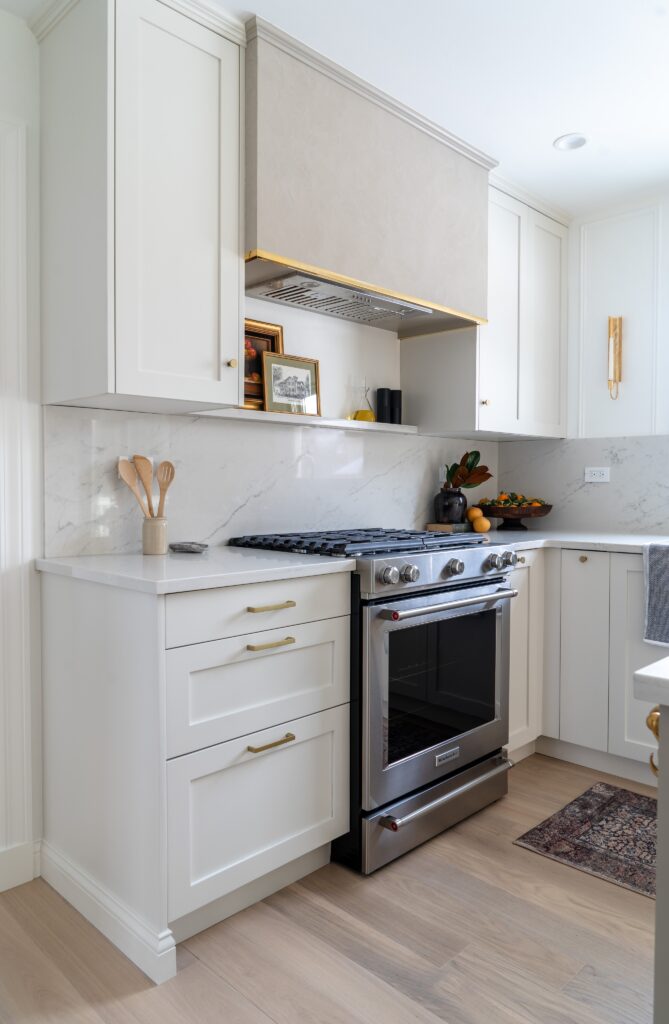
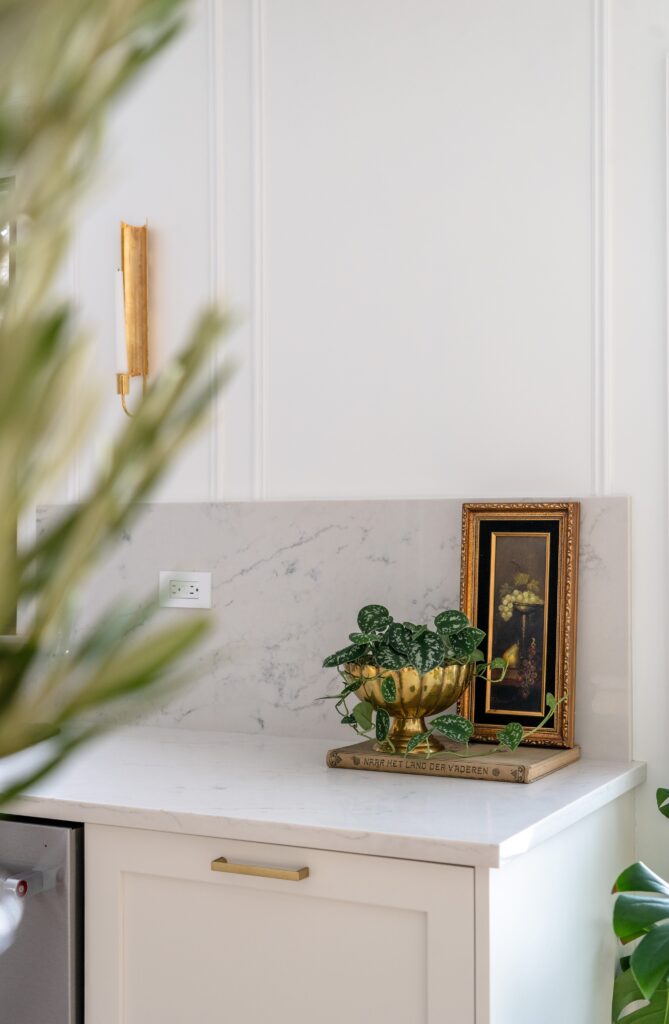
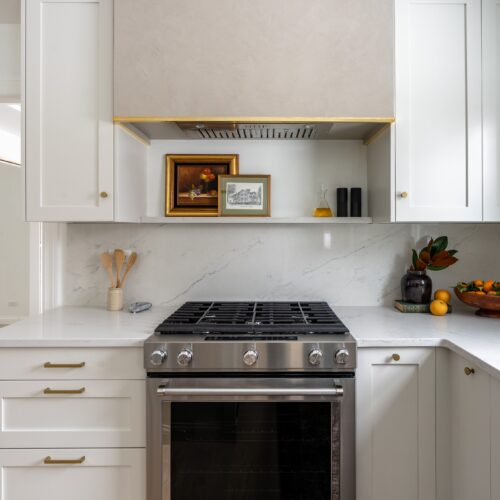
At the range wall to create the illusion of a range niche, we oversized the range hood to 4 feet wide. We love how it is the feature element of the range wall. Kam and I also made sure to sprinkle in old and new elements throughout, such as antique paintings, bowls, and books.
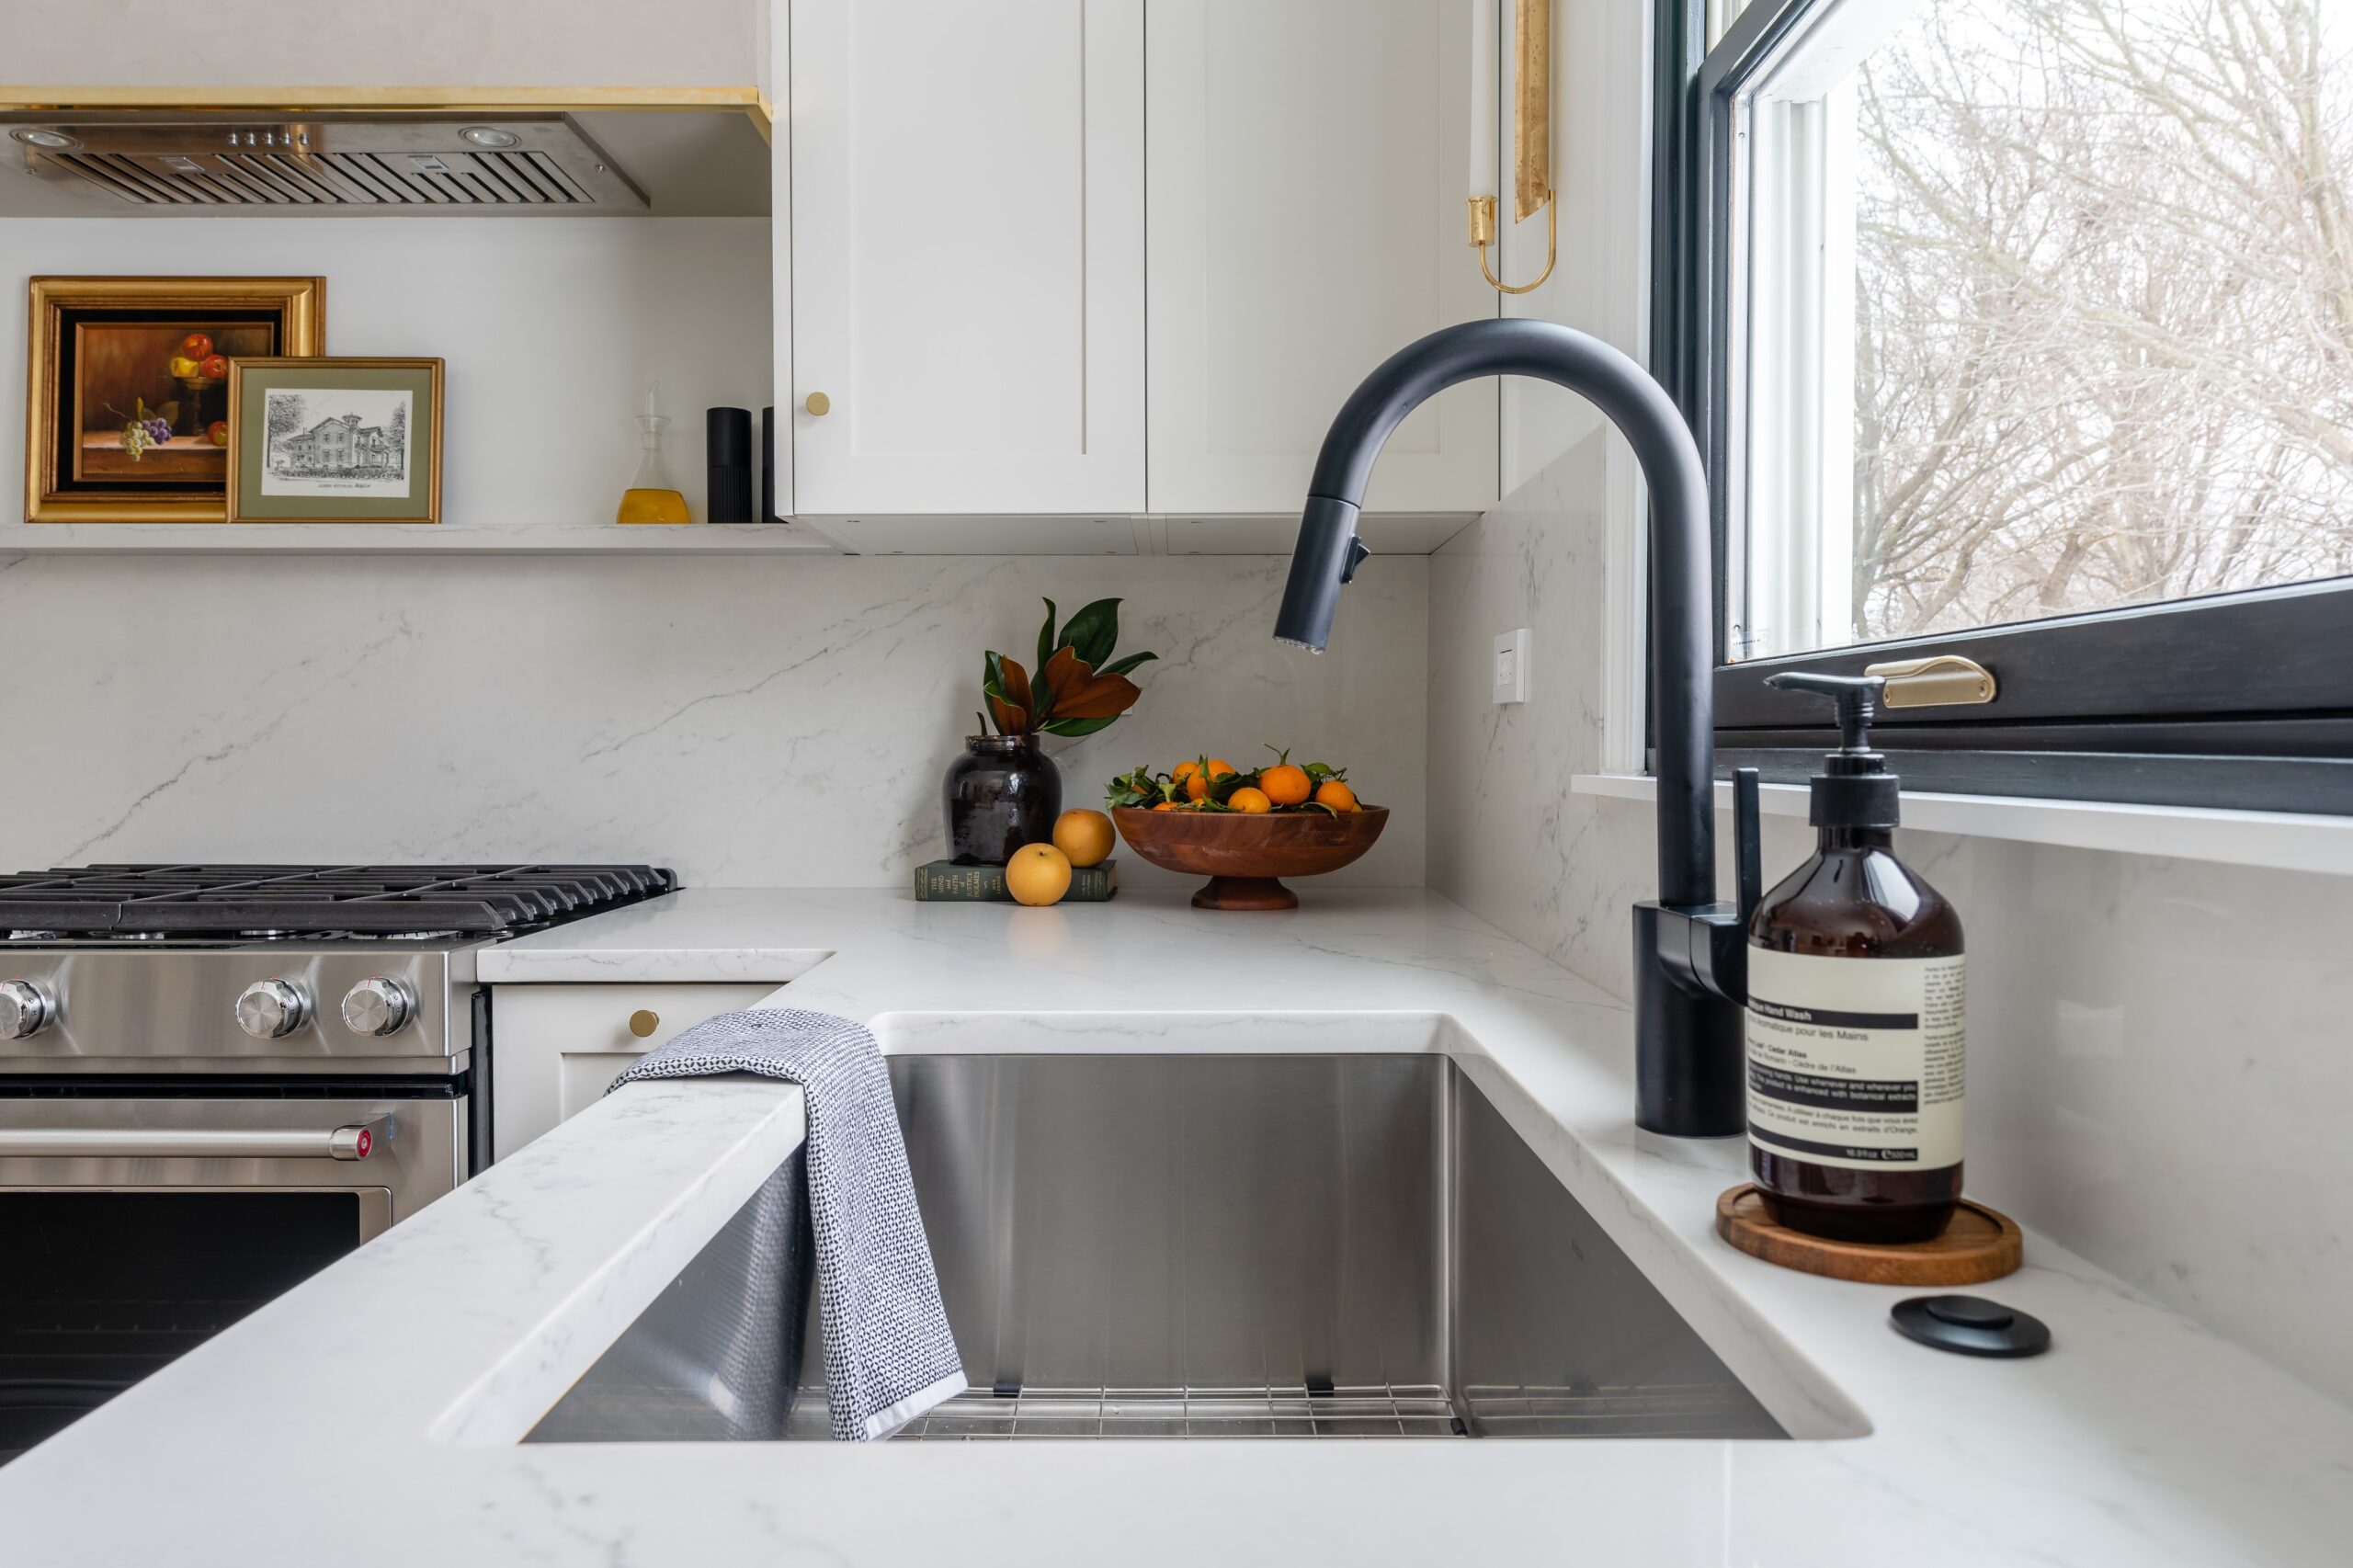
We kept it simple with the kitchen sink and faucet. We chose a black faucet with the idea that it blends into the black kitchen window.
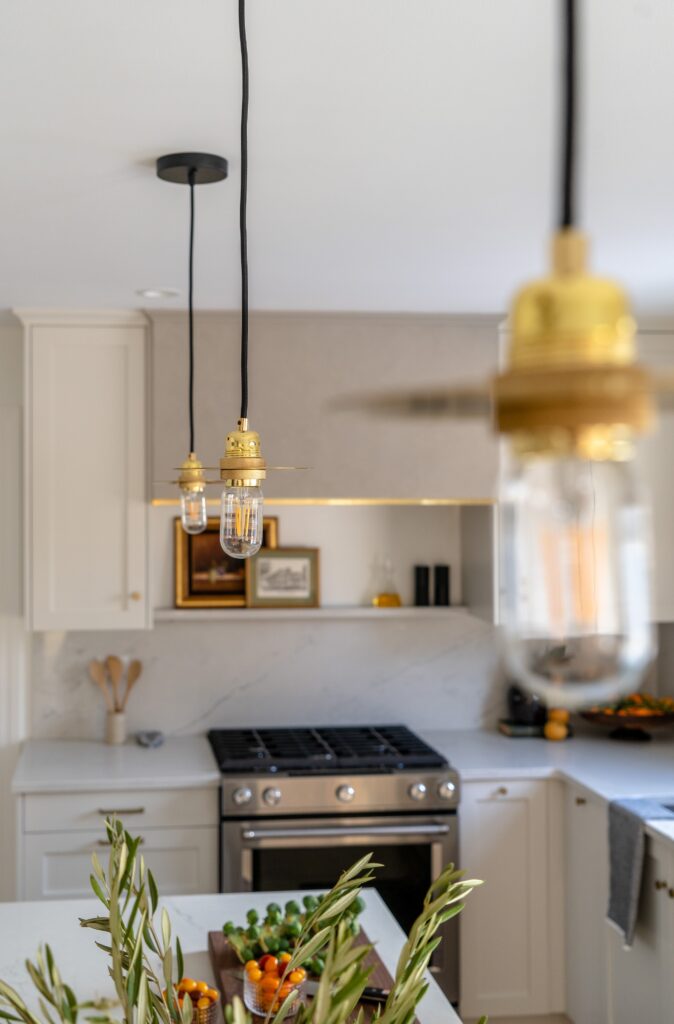
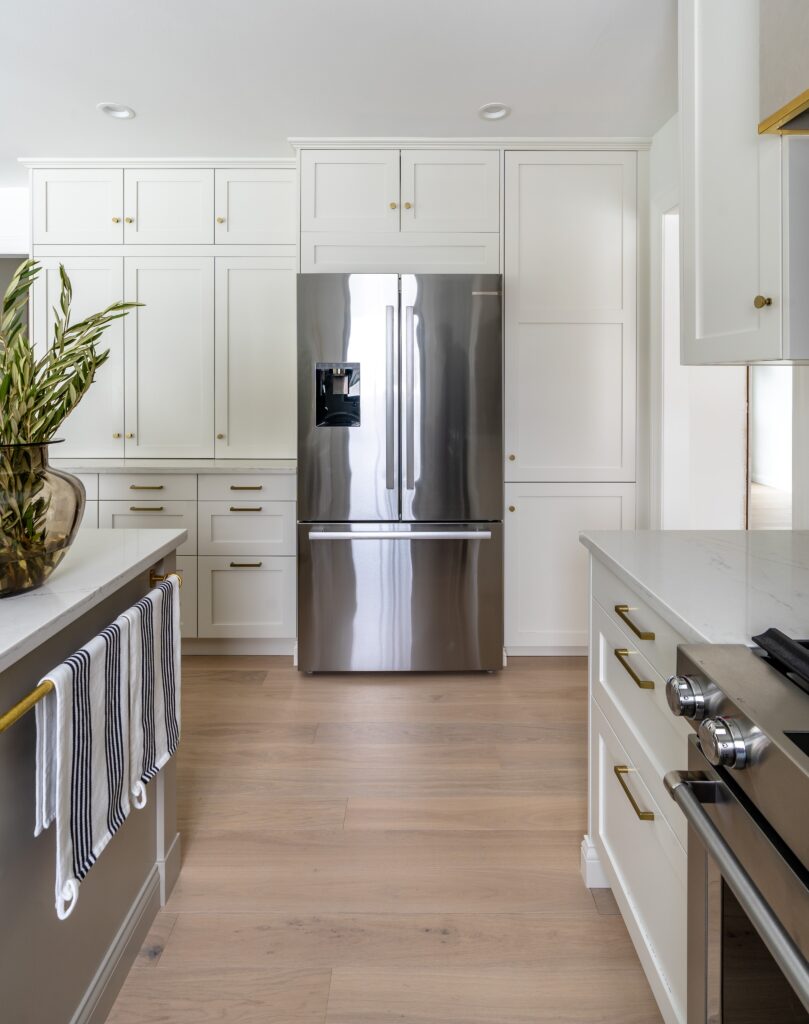
Since we doubled the length of the kitchen island, we installed 3 pendants to reinforce the new island footprint. At our pantry and storage wall, we shifted the refrigerator slightly to the right so it has a clear area in front.
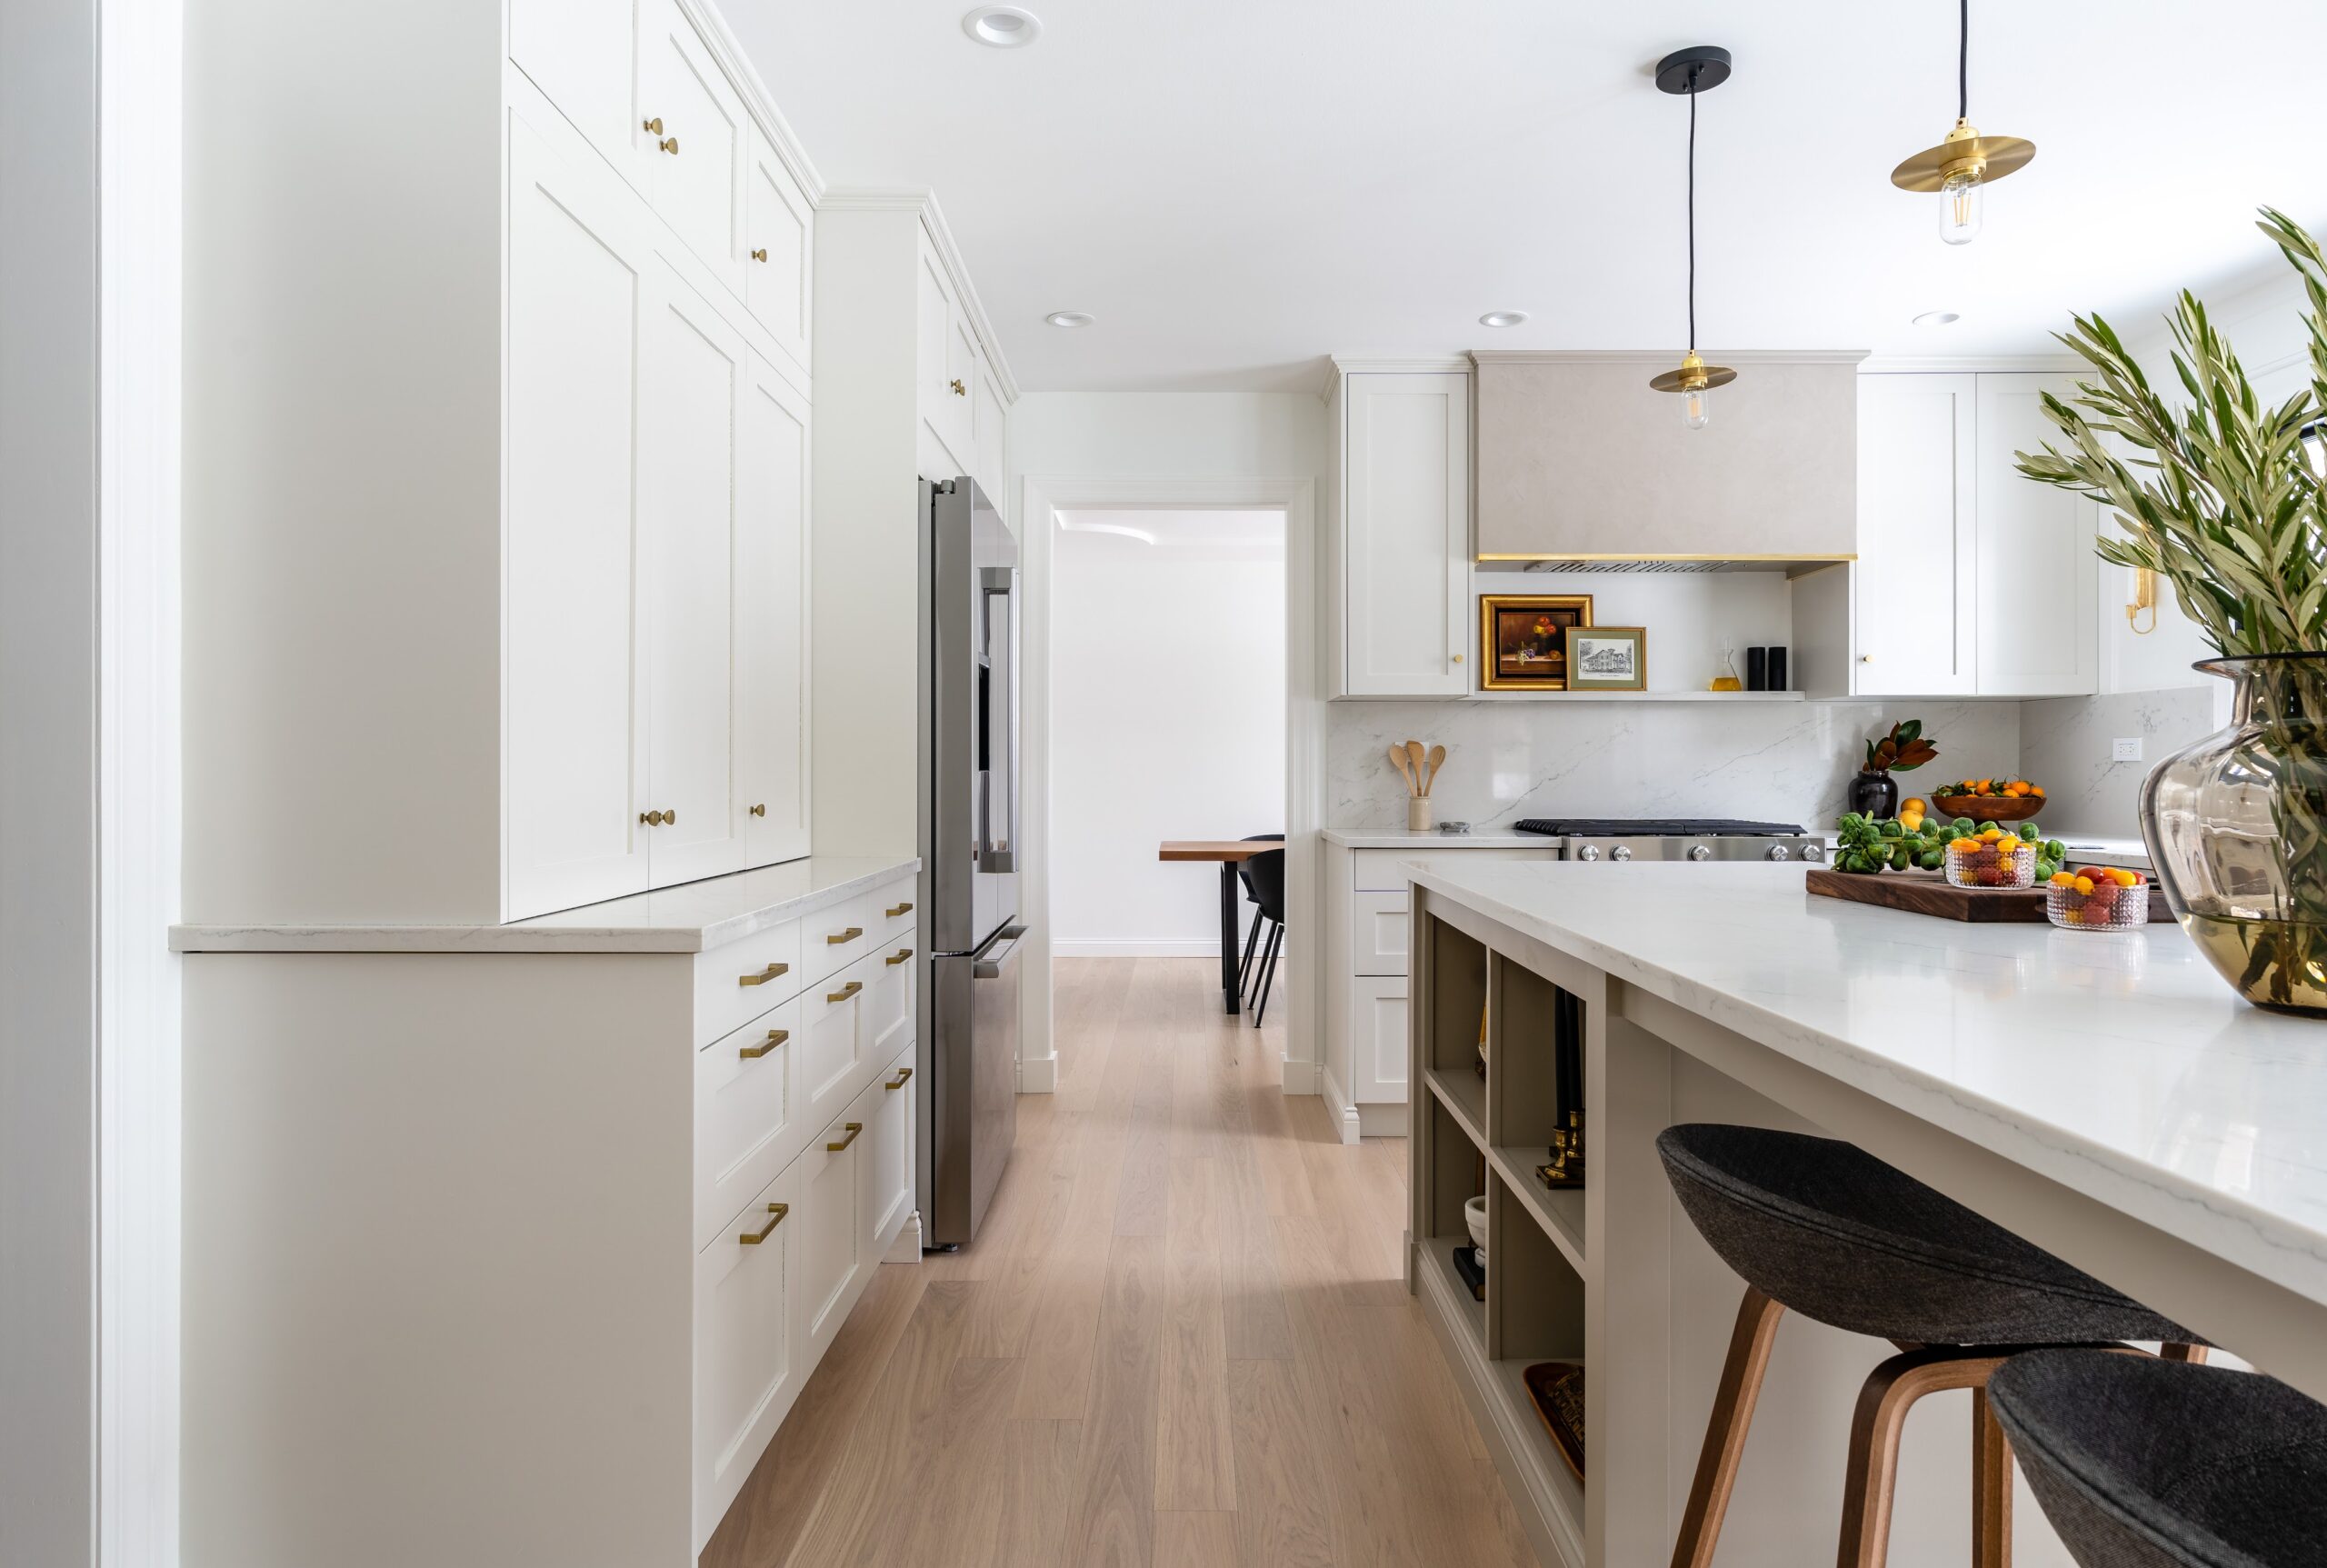
The far half of our new island has cabinets and open shelves. The other half now includes seating for four. This is our informal seating area, finished off with countertop height barstools. Kam and I eat all of our meals here right now, because our dining room is still untouched!
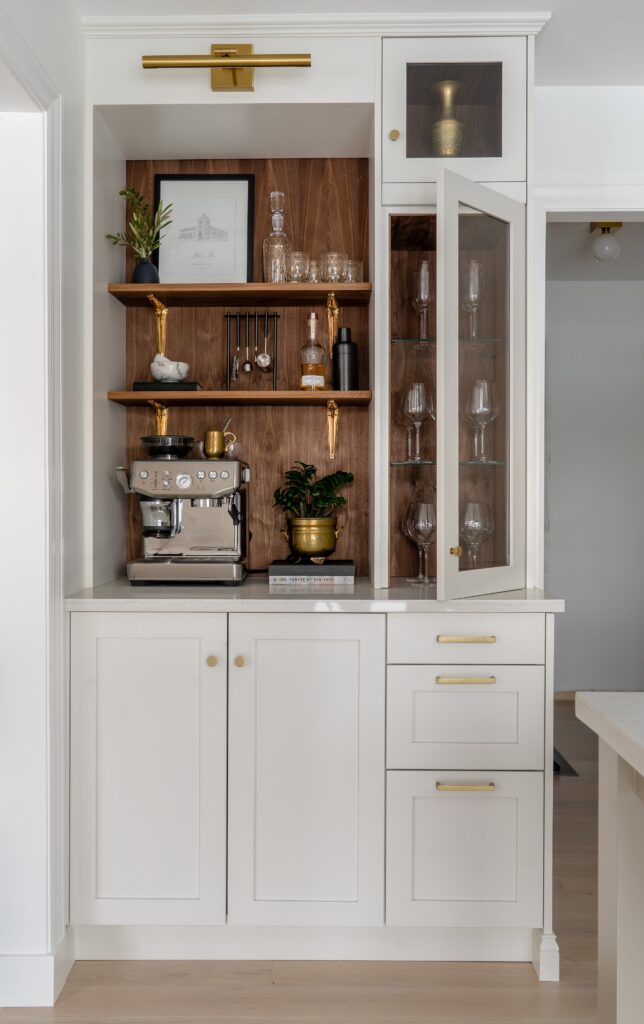
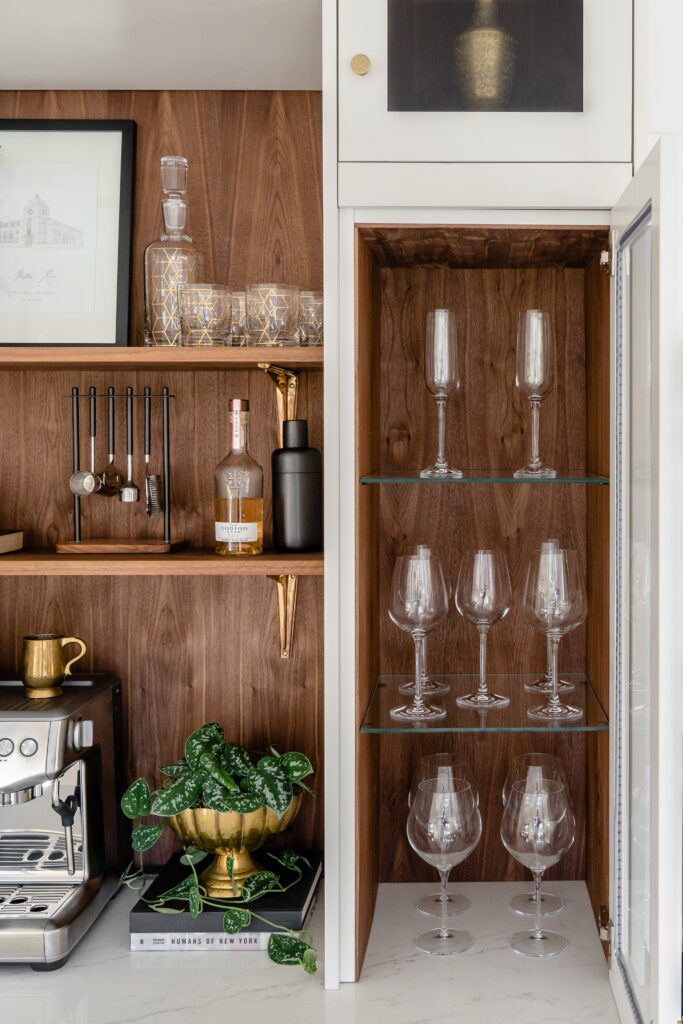
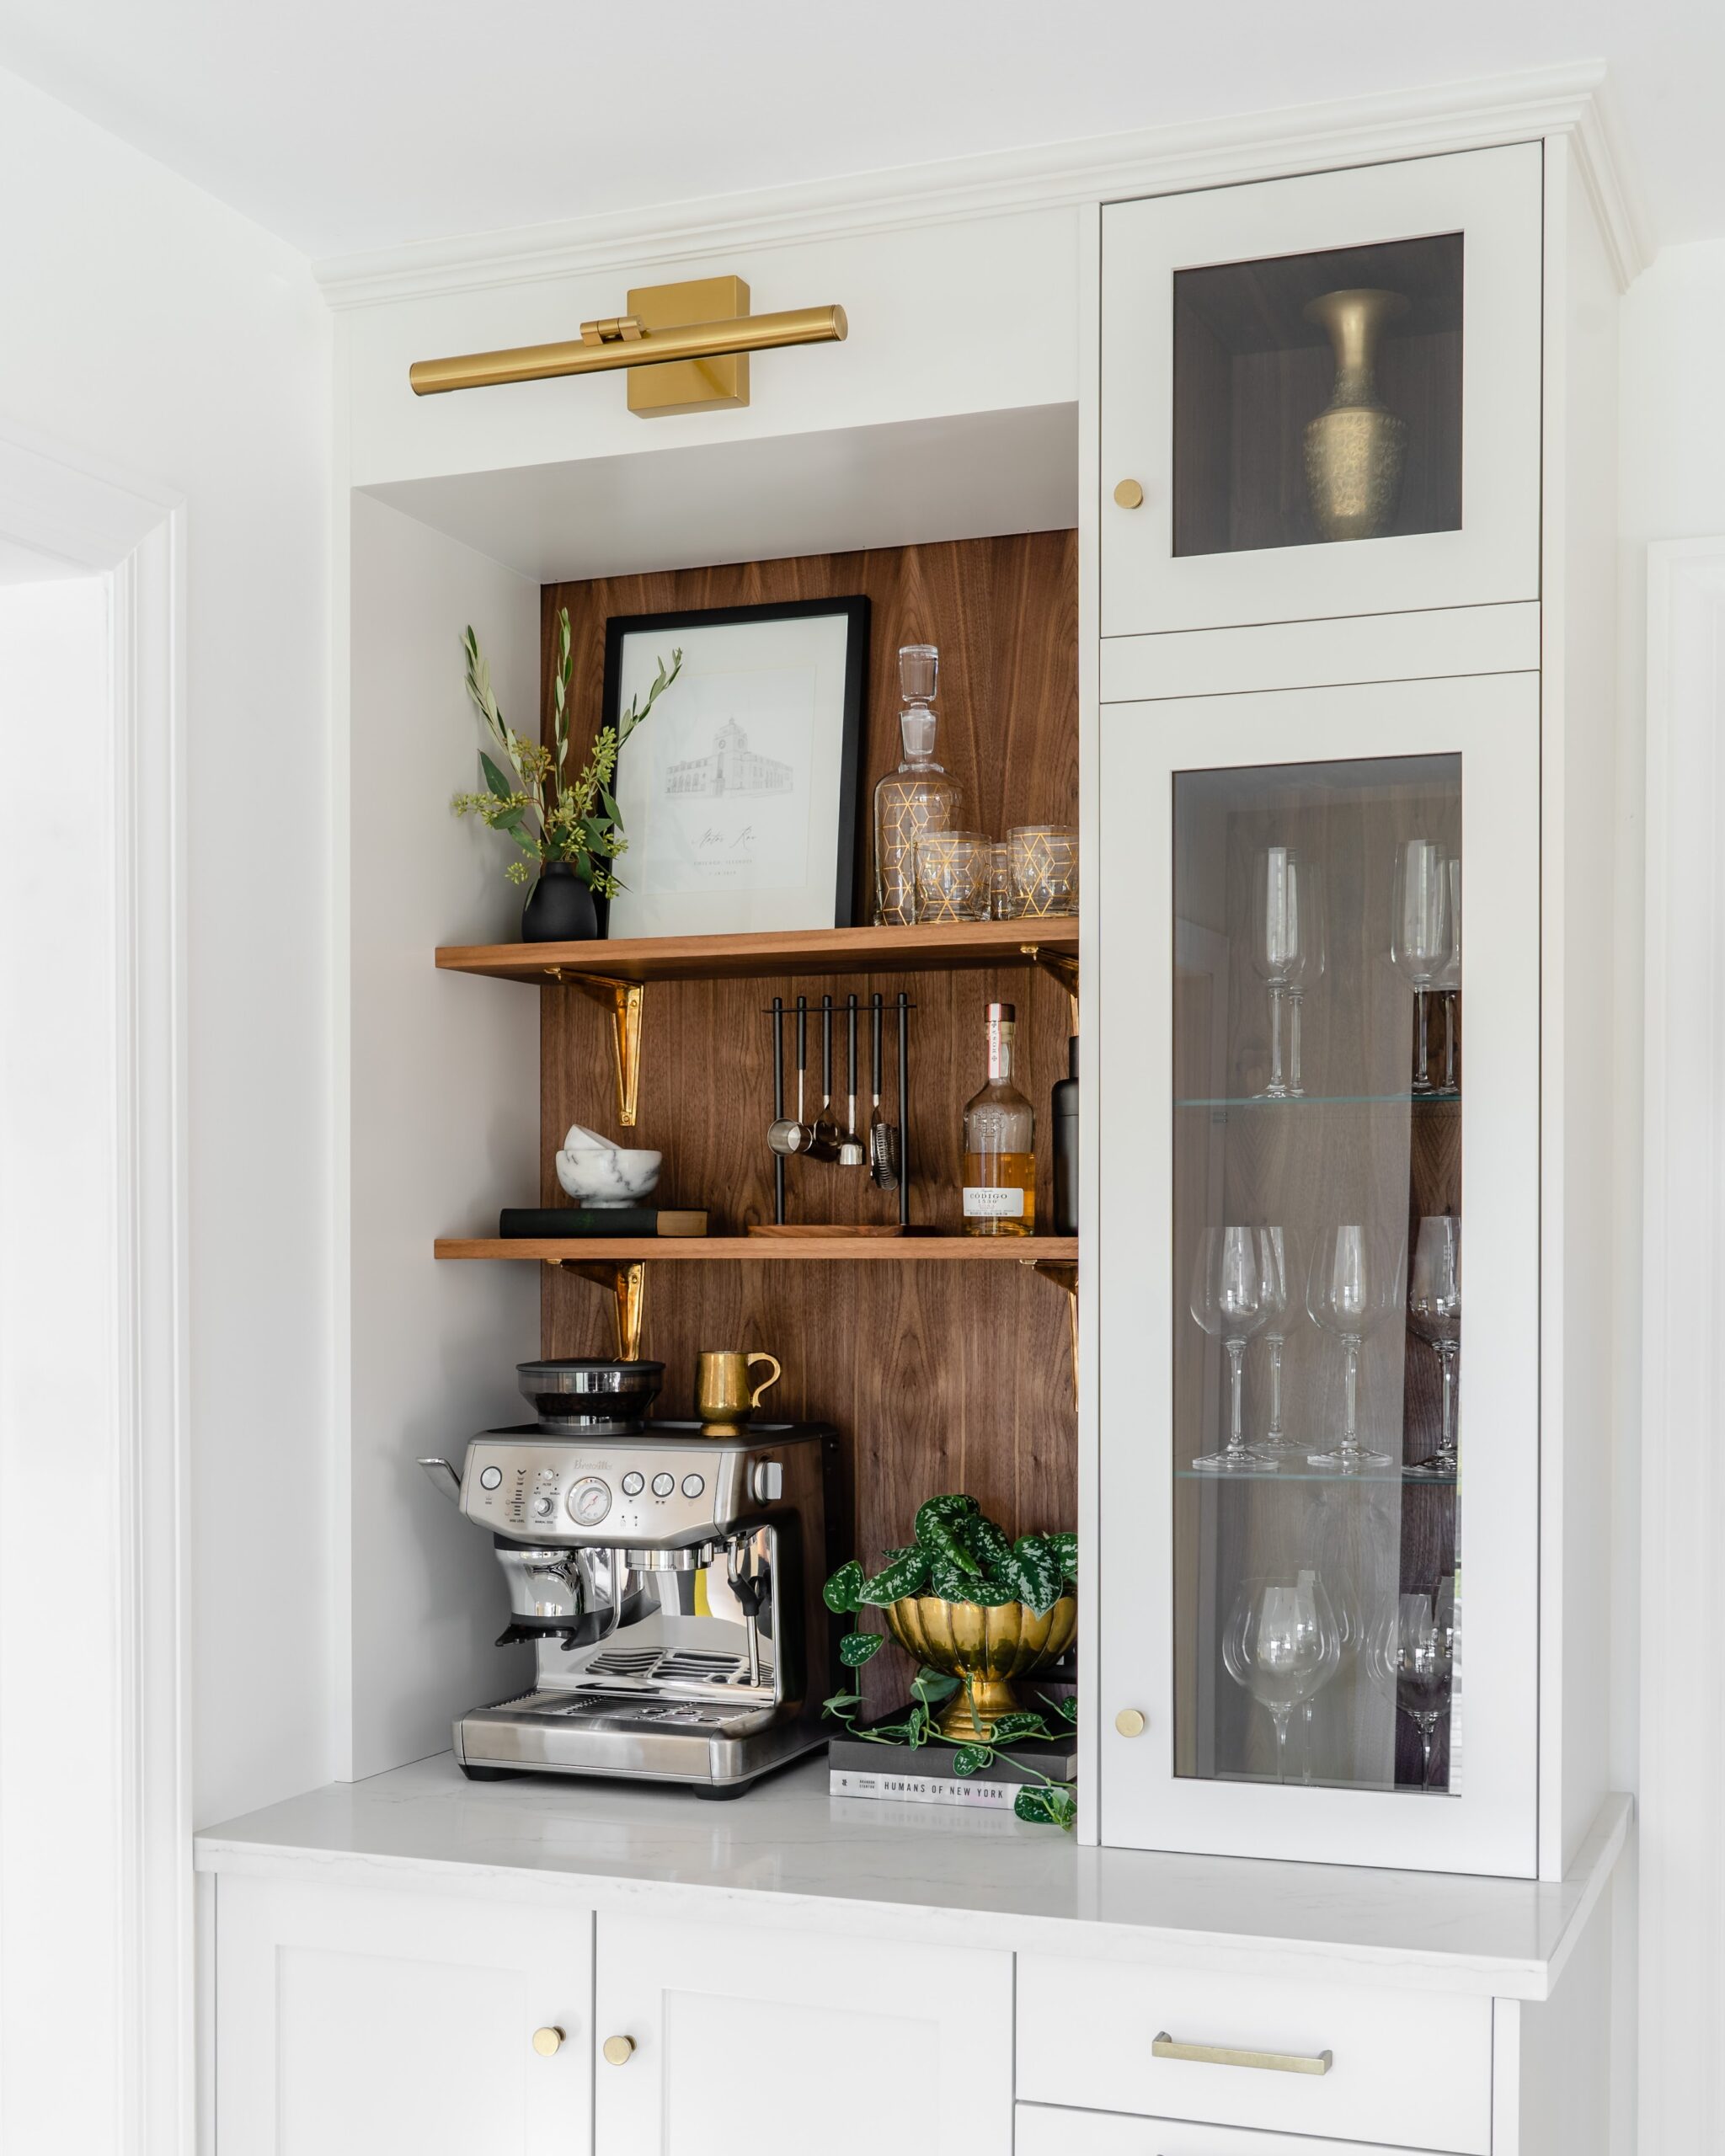
We added a coffee bar to the existing built-in desk area. It has a mix of cabinets with glass fronts and open shelving to store all of our coffee and bar accessories.
Kitchen DIY Projects
In case you missed any of our kitchen projects over the last 6 months, here are all of the phases and projects we completed for our kitchen renovation:
- Kitchen Design Plan
- Kitchen Materials and Budget Breakdown
- Kitchen Demo and Removing Soffits
- Patching Drywall at our Kitchen Soffits
- DIY English Inspired Custom Kitchen Island
- DIY Install of IKEA Kitchen Cabinets
- Painting our DIY Kitchen Island
- Stuga Engineered Wood Floors
- Painting our Kitchen Cabinets
- Affordable Cabinet Hardware
- Custom Walnut Coffee Bar
- DIY Plaster Range Hood
We’ve been using our completed kitchen for about a month now and we are so in love. As I mentioned earlier, some days we have a hard time believing we did this ourselves via DIY. We hope that we can help to inspire you to take on larger projects. With some hard work and a lot of research, you’d be surprised at how much you can achieve, including our kitchen renovation!

I love how you oversized the range hood and made it such a focal point! The whole kitchen looks beautiful!