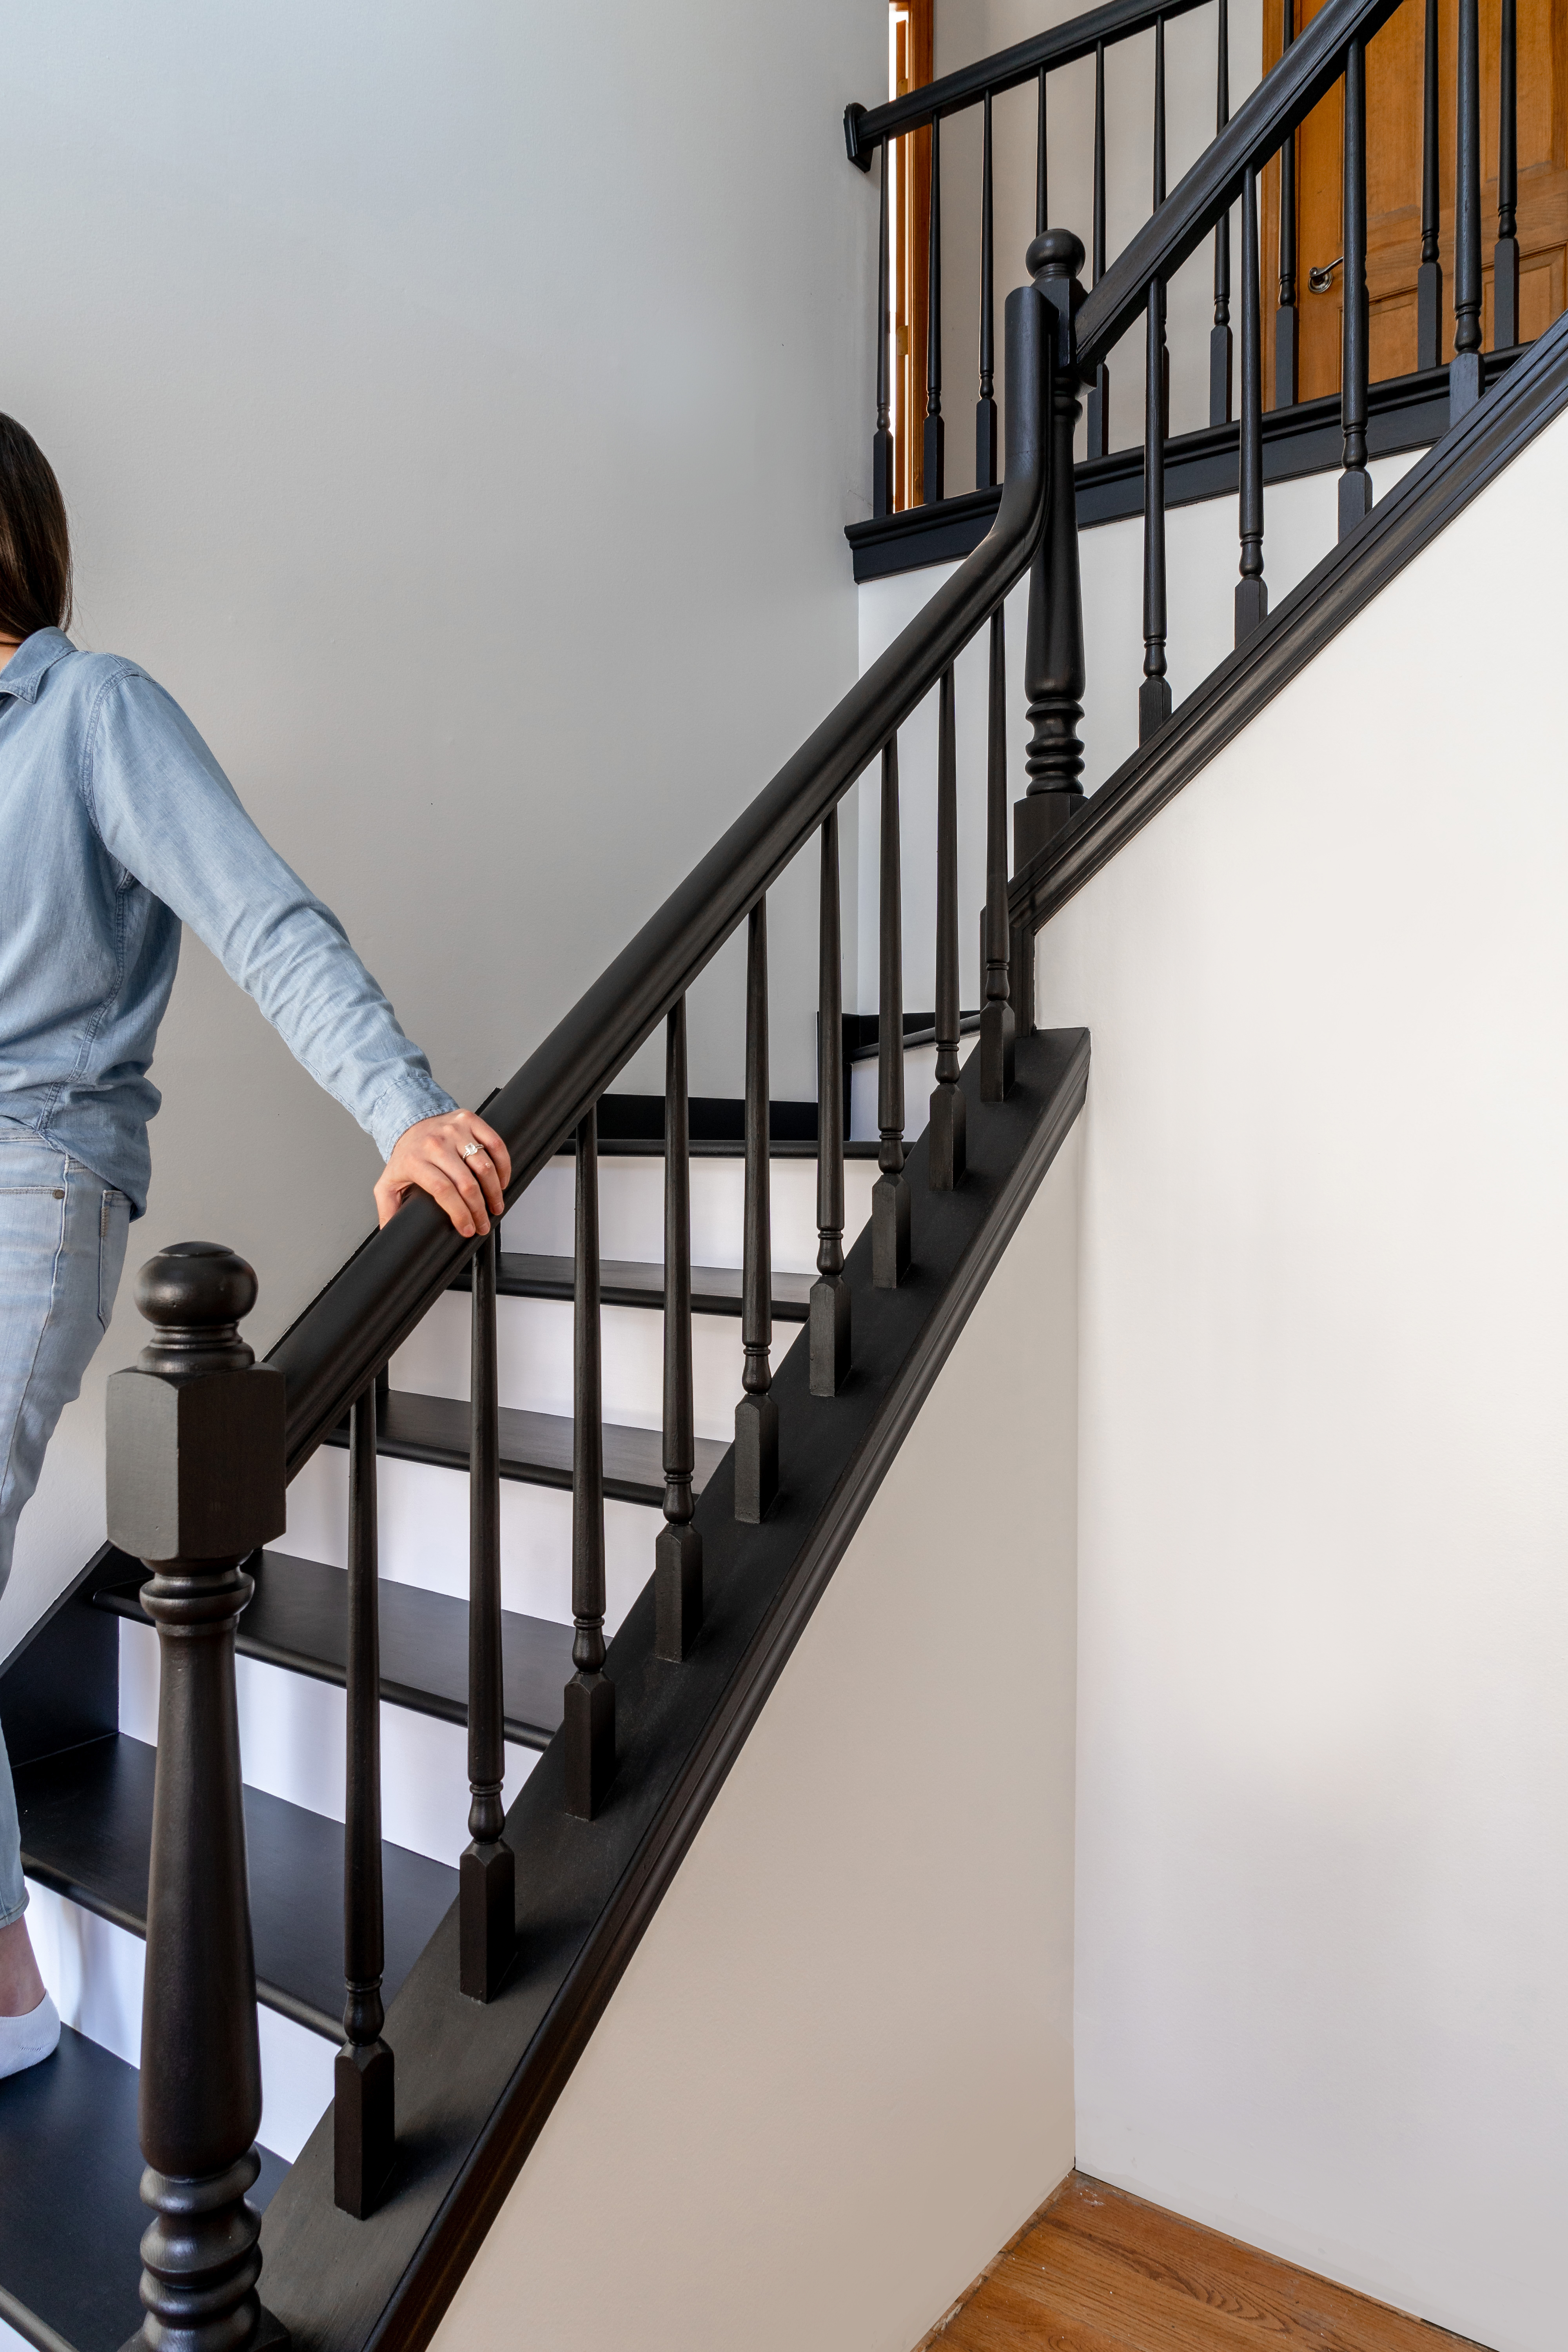
We’re finishing our stair project by painting our staircase, railing and banister black and white. We’ll be rolling on high-traffic paint. If you missed the first part of our stair project, upgrading our stair from carpet to wood, you can read about it in this blog post.
We’ll break down all of the products we used to prep, prime, and paint our stair. We’ve also got an entire YouTube video that walks through the process of painting our stair black and white, linked above.
Because we were working with a stained wood stair, the prep and priming stages are probably the most important. We started by sanding the entire stair including the railing, treads, risers, and skirts. We then wood filled in any areas that needed touch up (our stair is 30 years old and had a lot of wear and tear) and knots in the wood. You’ll then need to sand again with about a 60 grit sandpaper to smooth out the wood filler.
After this you’re almost ready for primer. At this point I thoroughly cleaned the entire stair with Krud Kutter, before following up with a tack cloth to remove any dust or particles. Again, the prep stages of painting something like this are extremely important. After days of tedious prep, we were ready to finally get painting.
When painting over a stained wood it is important to use a stain blocking primer. For our stair we used the Zinsser BIN shellac-based primer because it both blocks the stain from penetrating through the paint and has great adhesion to surfaces. With two people, priming our entire staircase took about 4 hours. After the primer had a chance to dry we followed up with a light sanding using 220 grit sandpaper.
Now we’re ready to paint and we’re essentially going to repeat the same process as priming. Sand, tack cloth, paint, repeat. We already did a light sand after the primer, so all we need to get painting is to tack cloth the entire stair again and make sure its very clean.
For the paint at the railing and treads we opted to use Sherwin William’s ArmorSeal Tread-Plex paint in the color Tricorn Black. It is made for traffic surfaces and provides an extra durable finish without a protective top-coat. At the risers, because they will have less wear, we opted to use BEHR Premium Alkyd Satin Enamel in White, which we will also be using at all of our finishing trim throughout.
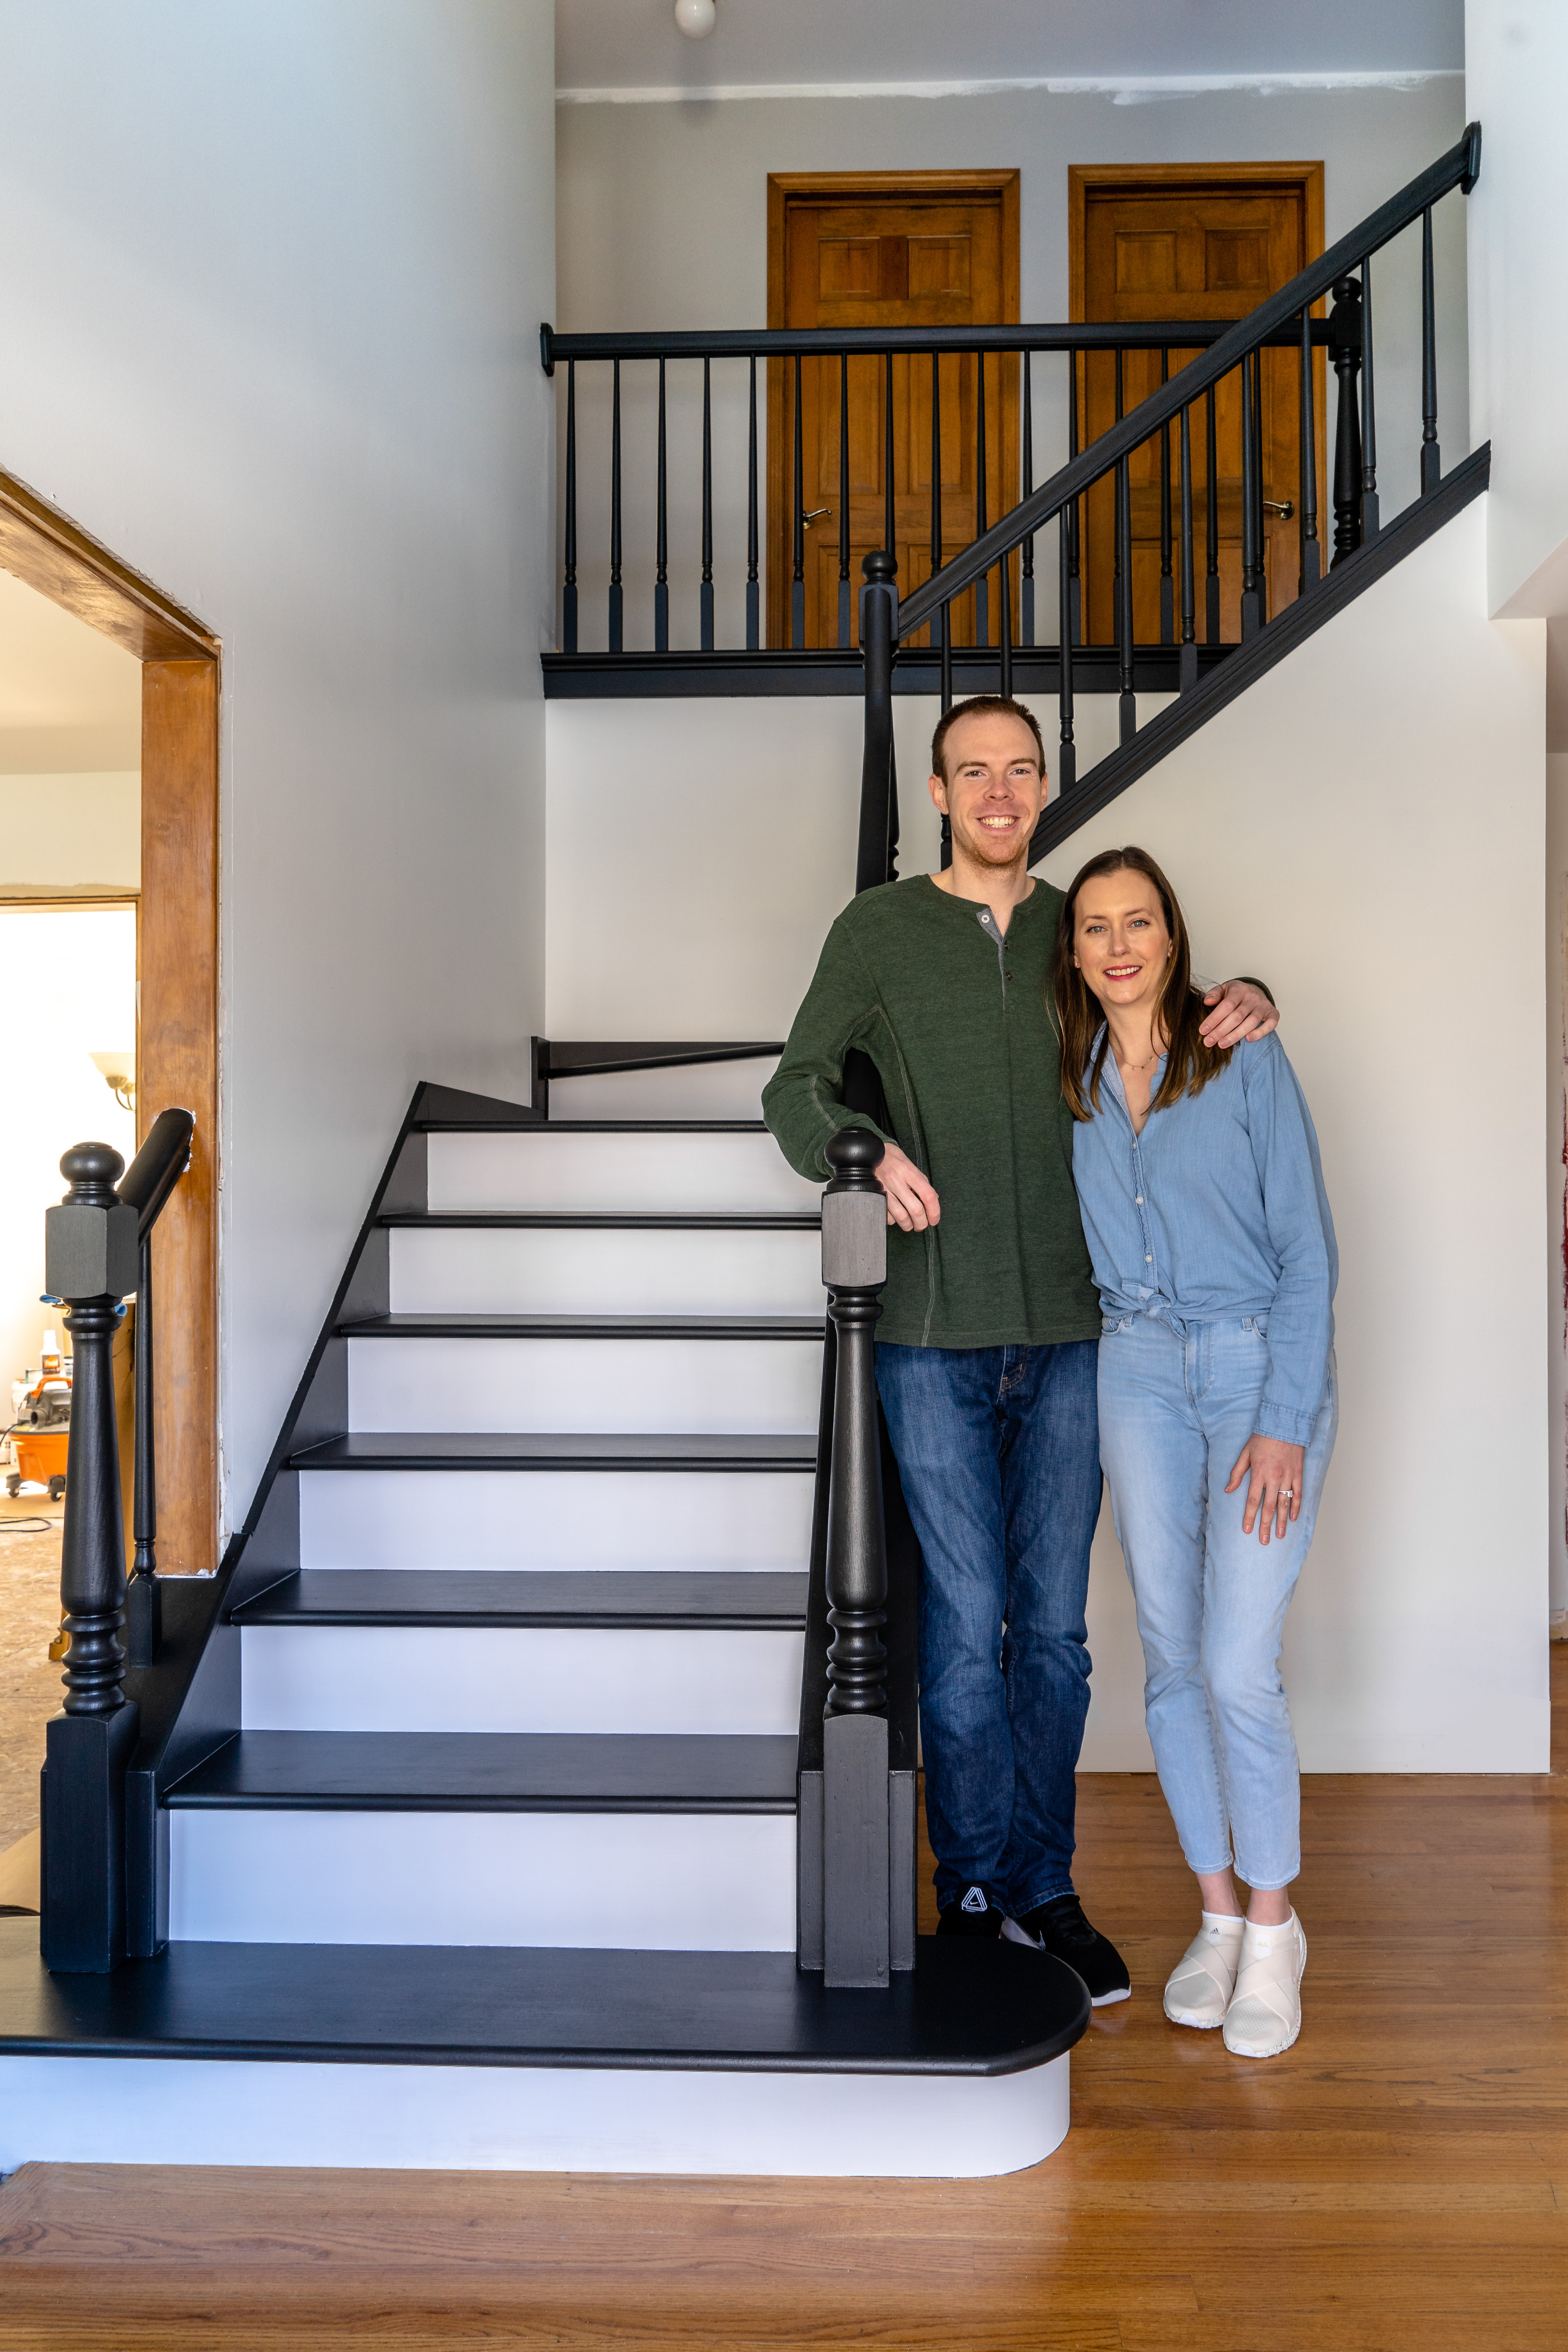
We ended up painting 3 coats of paint to each part of the stair – taking approximately 4 hours each with two people, plus the additional time for a light sand and tack cloth between coats. It is a time consuming process but very worth it. We painted it using purdy brushes and the finish is extremely smooth and even, no regrets!
