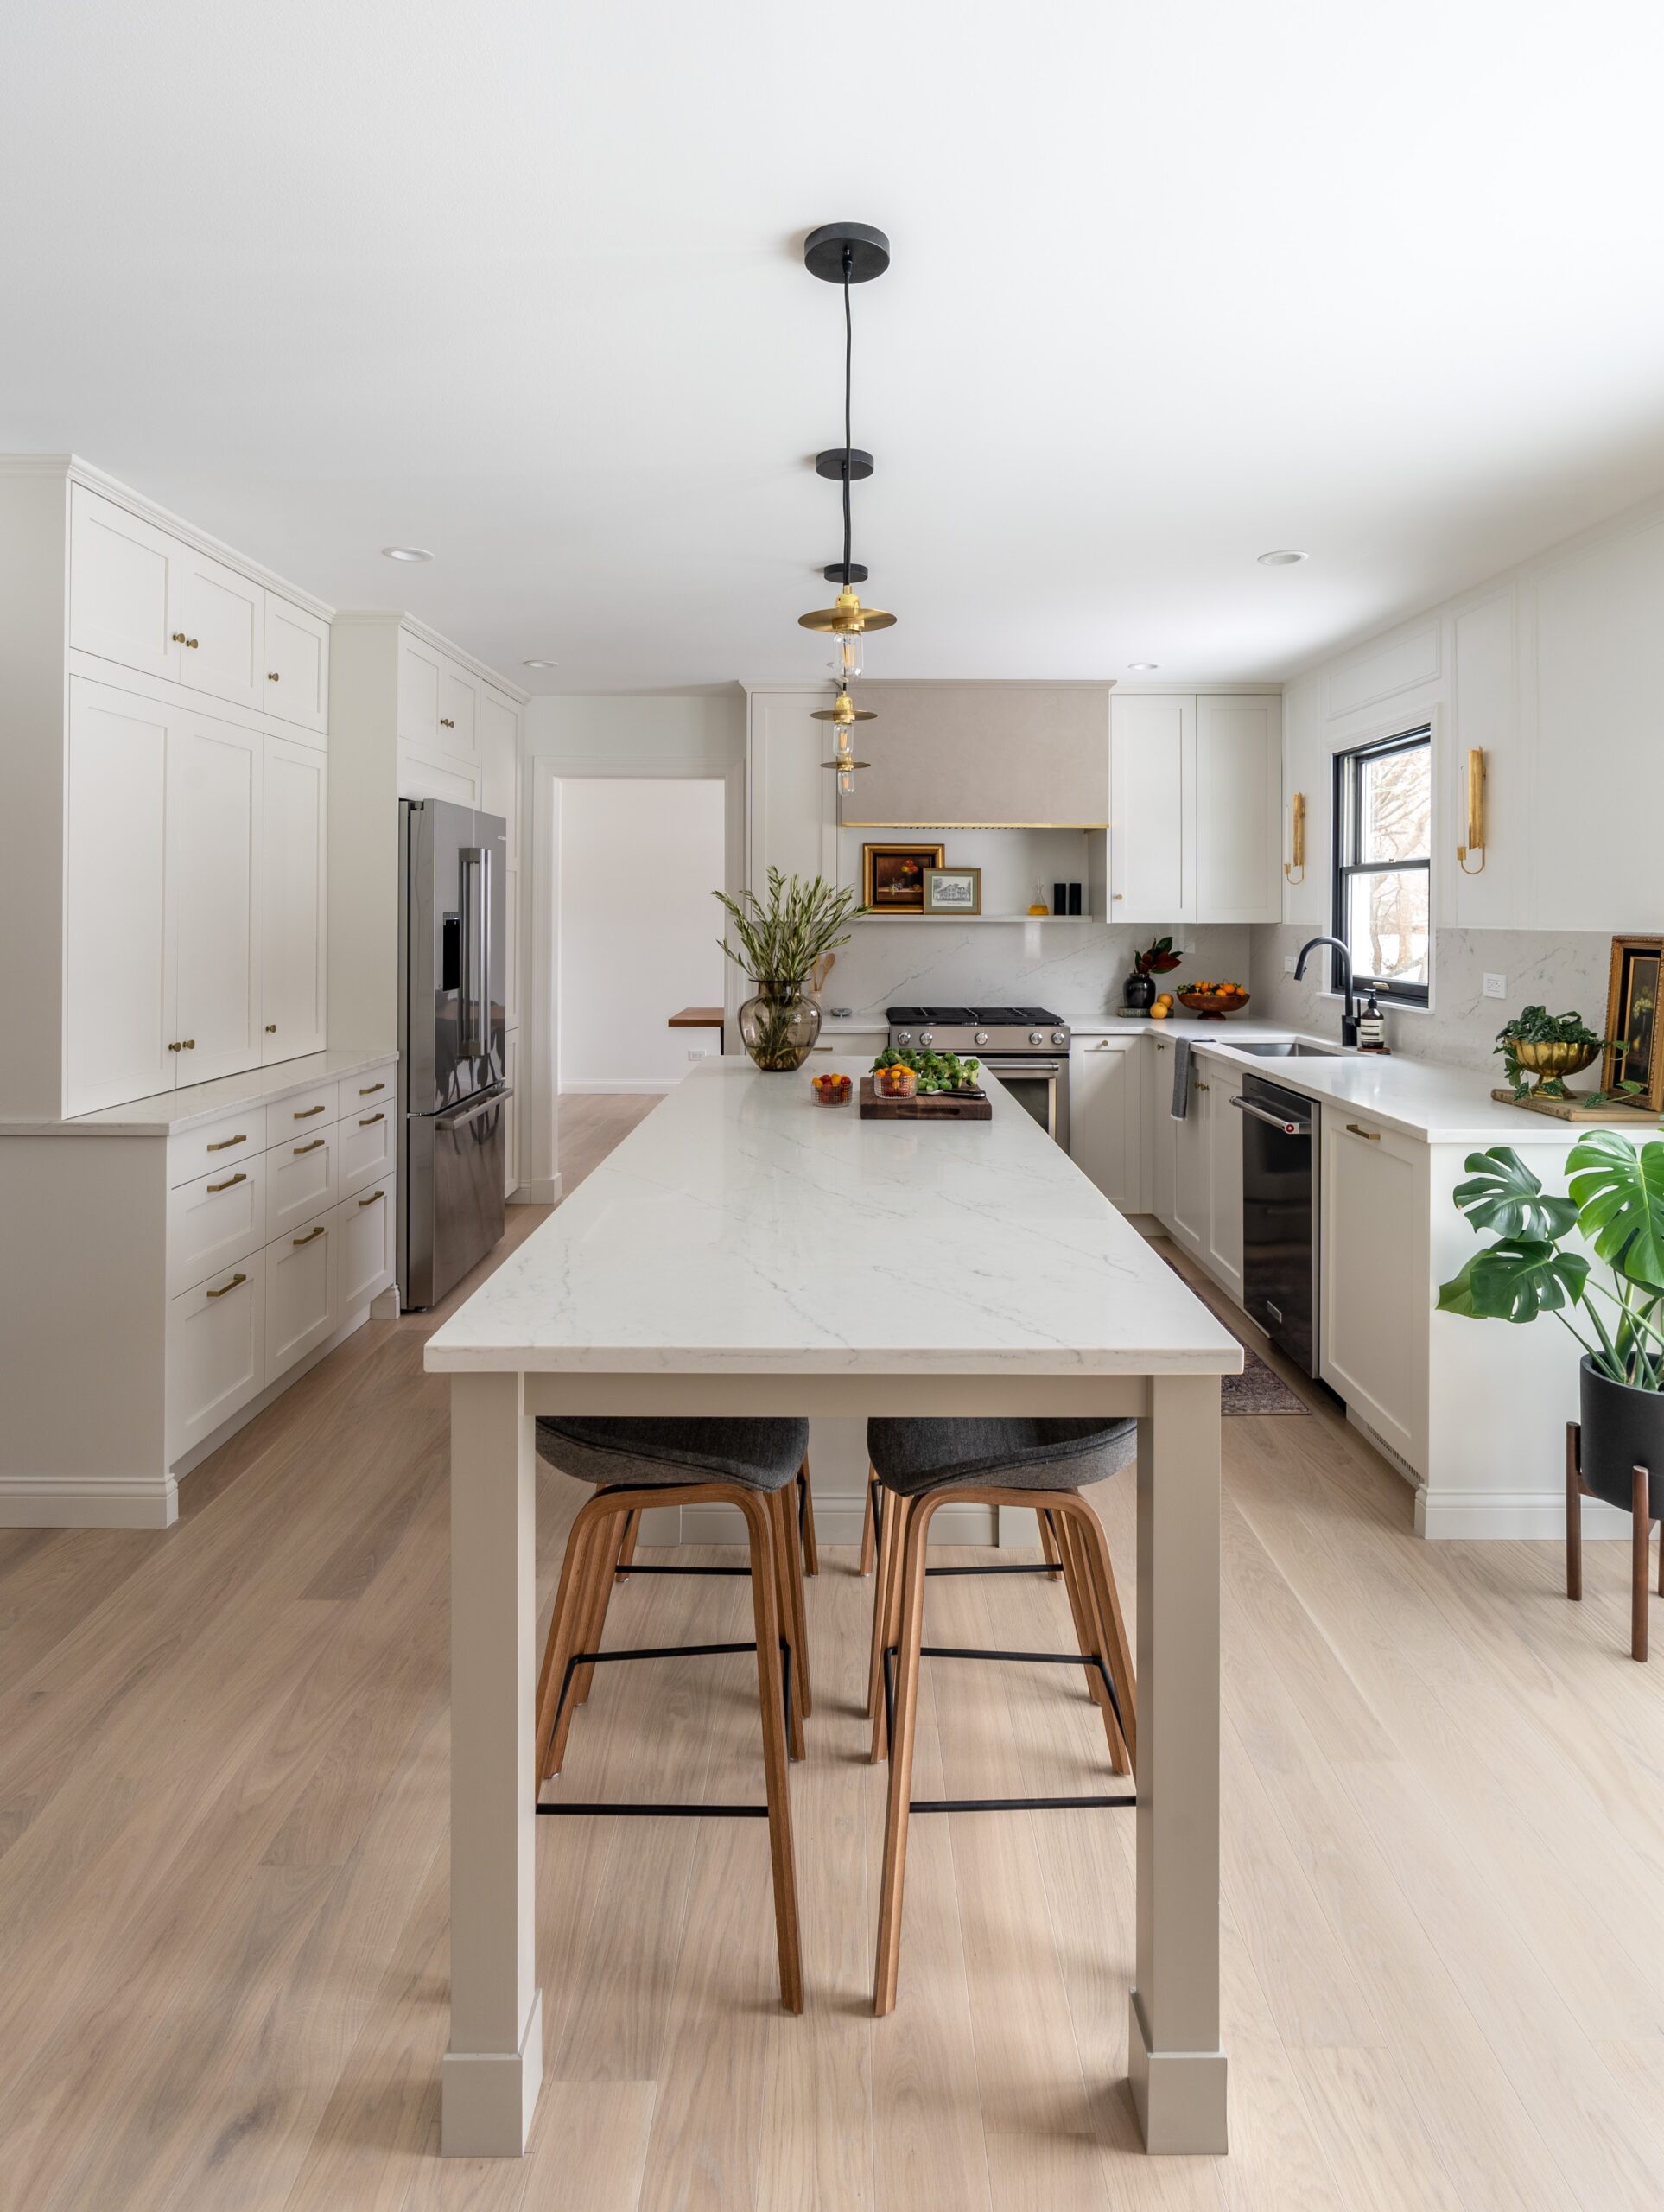
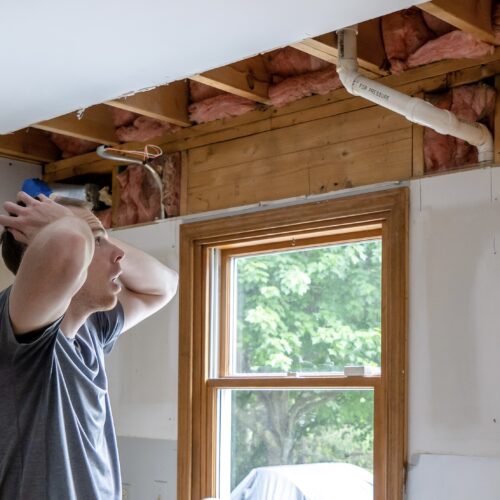
We just completed most of our kitchen demo, the largest part of it being removing our existing kitchen soffits! If you missed that you can check out our blog post and vlog here. It is time to start putting this kitchen back together and it begins with patching drywall. We have never done any drywall work before, so this will be interesting. Like most projects, this proved to be more work than we originally anticipated but once we got the hang of it we were able to get all of the kitchen drywall patched.
If you’re interested in seeing how we patched the drywall at the demo’d kitchen soffits, we have a full YouTube vlog on the process. In this vlog we also start the process of picking up paint samples for potential cabinet paint colors for our new kitchen!
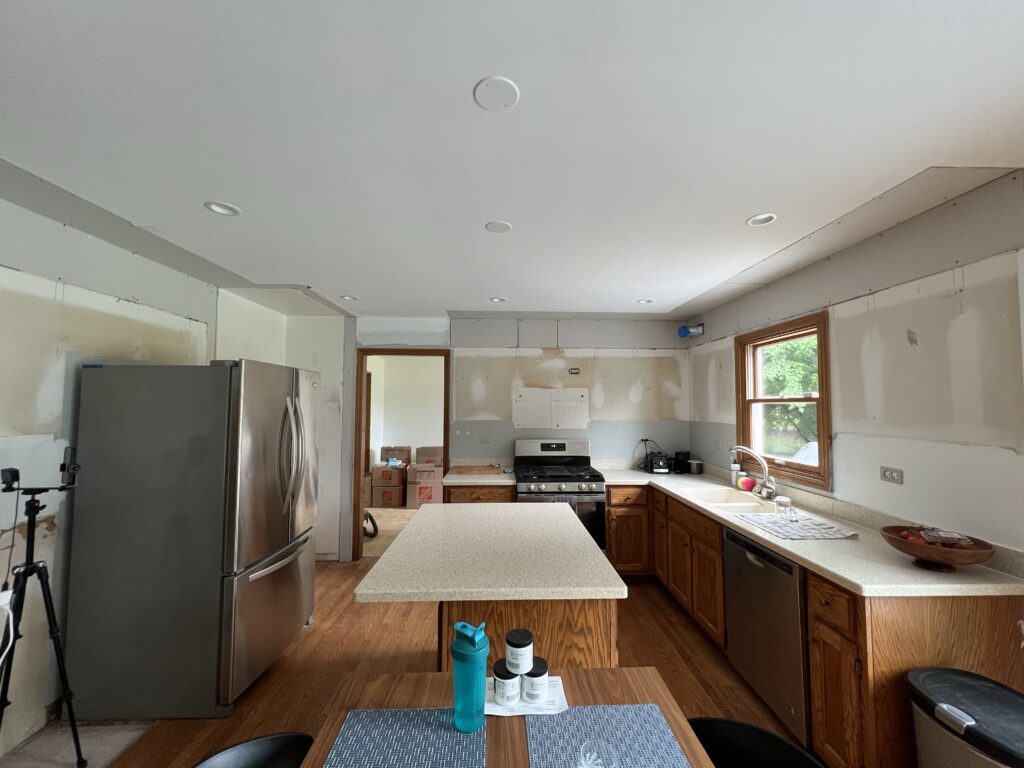
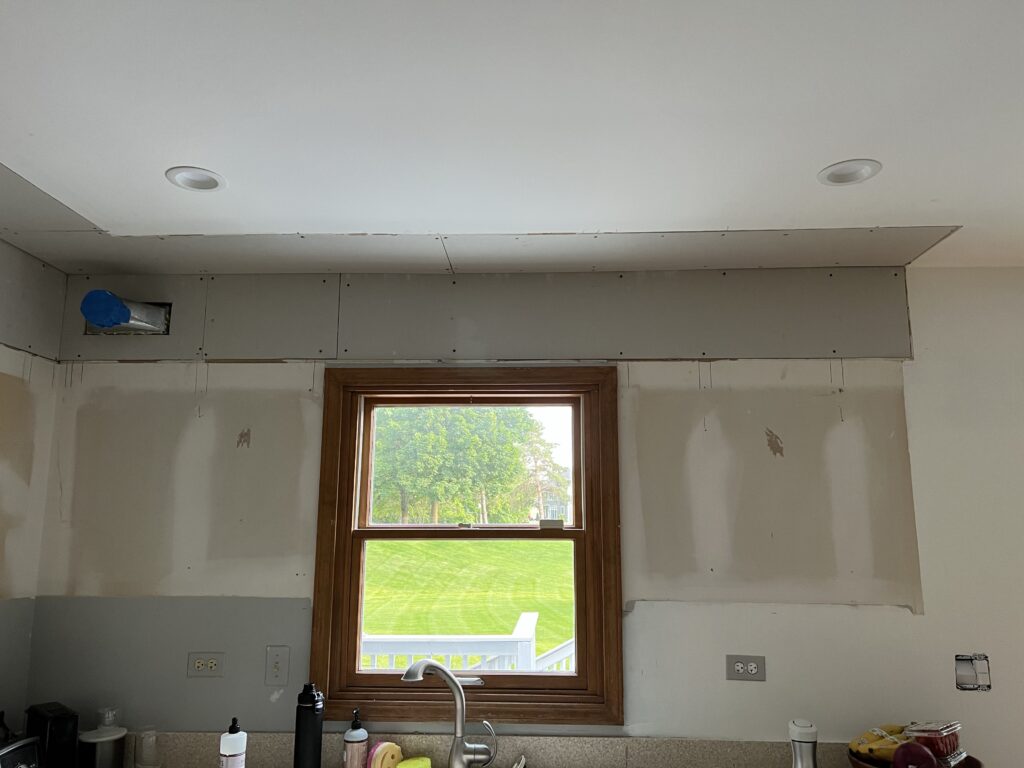
For patching the drywall, we picked up the drywall from Home Depot but you can get it at any home improvement stores. We also picked up both drywall screws and a drywall bit, which helps to countersink the screws into the drywall. We decided to patch all of the drywall ourselves but to hire out the tape and mudding portion of the project, using a local dry-waller, which cost us $1,500.00. It was money well spent because he got the job done in 3 days and the quality of the work was really good (definitely way better than anything we would have been able to accomplish).
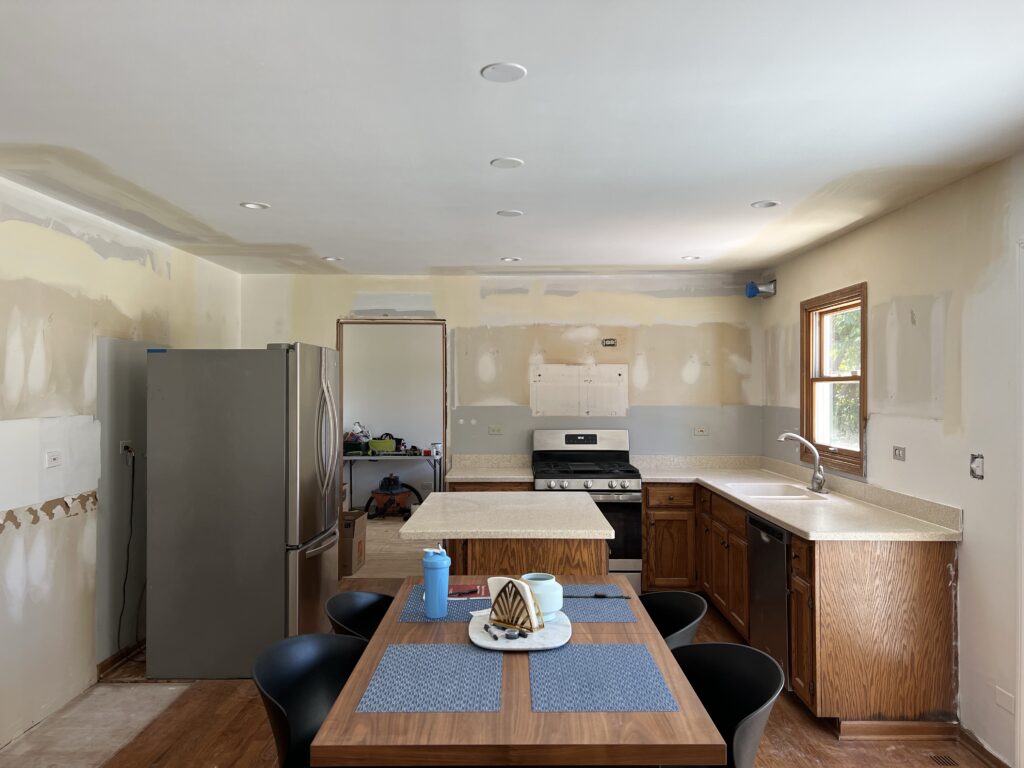
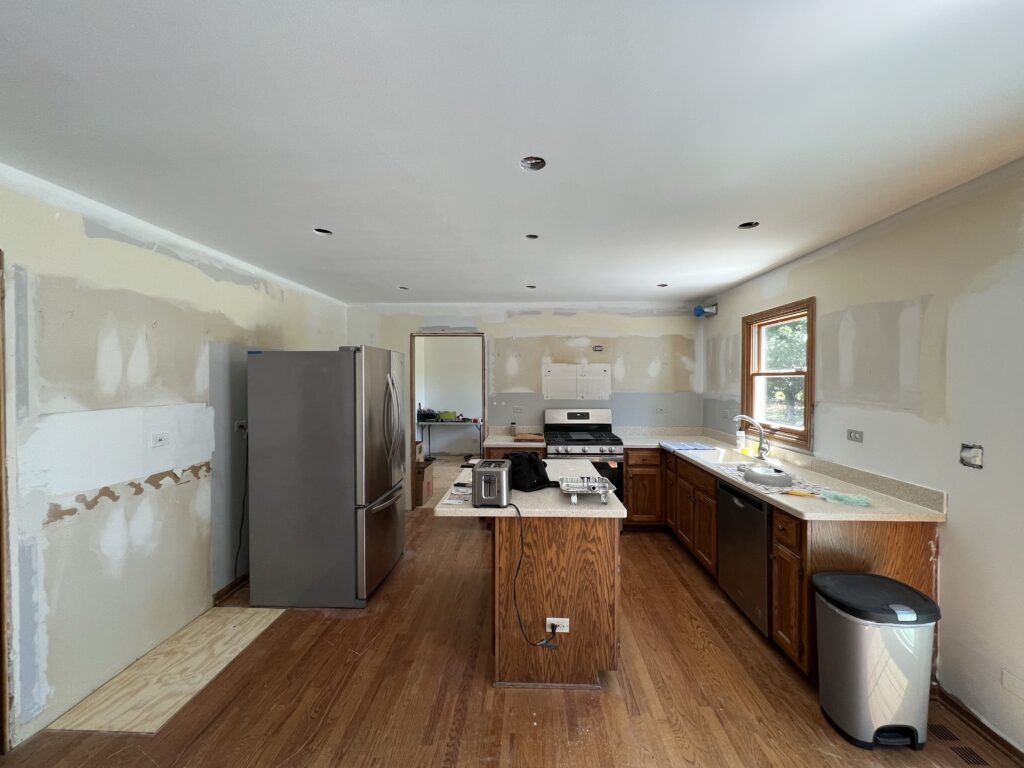
A quick tip if its your first time patching drywall, make sure you measure and cut your sheets of drywall so it always ends on the centerline of a stud. This ensures you always have something to attach the drywall to!
If you have any questions about the drywall process, feel free to leave a comment or reach out to us!
