Discover how to transform your home with box trim and antique mirrors. Learn the step-by-step process of incorporating picture frame molding into your room for added character and sophistication!
THIS PAGE MAY CONTAIN AFFILIATE LINKS FROM WHICH I RECEIVE A SMALL COMMISSION.
Are you looking to add some character and elegance to your home? Look no further because we’ve got some box trim & picture frame molding inspiration for you! Let’s dive into how you can achieve a similar transformation in your own home.
Tools & Products Used in this Project:
- Corner Clamps
- Paint Sprayer
- Miter Saw
- Brad Nailer
- Laser Level
- Wood Glue
- Wood Filler
- Paint Brush
- Antique Mirror
- Mirror Adhesive
- Molding Adhesive
- Primer: Benjamin Moore Fresh Start Primer, Acrylic
- Wall Paint: Benjamin Moore Regal Select, Eggshell, Classic Gray
- Molding Paint: Benjamin Moore Advance, Satin, Classic Gray
Recap: Family Room Renovation
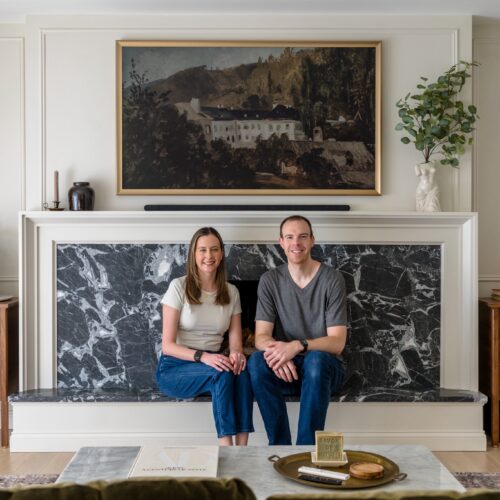
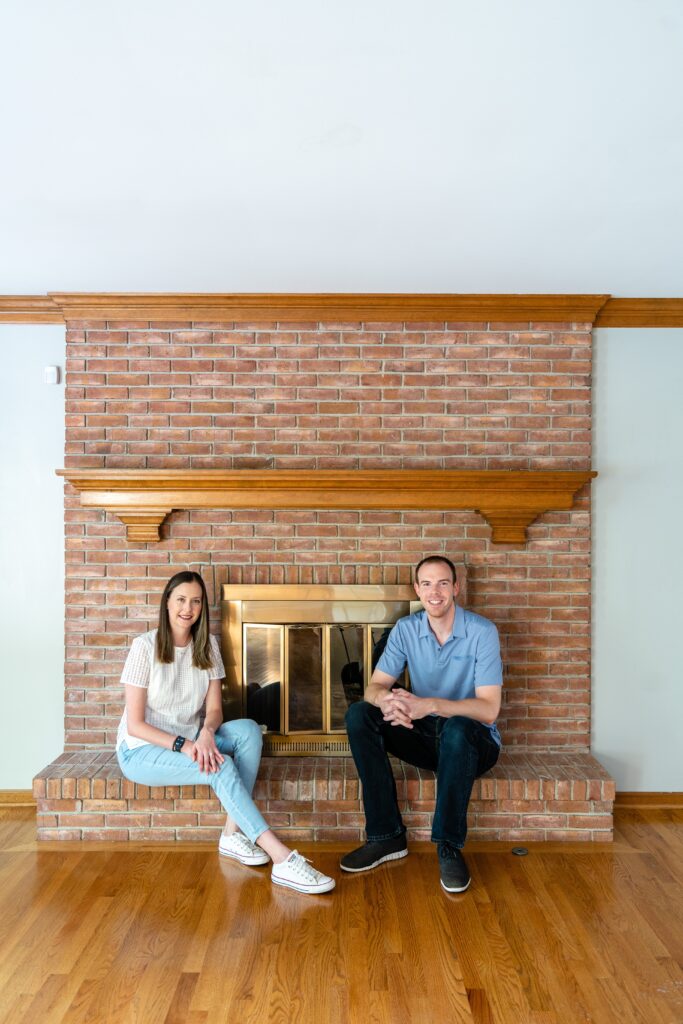
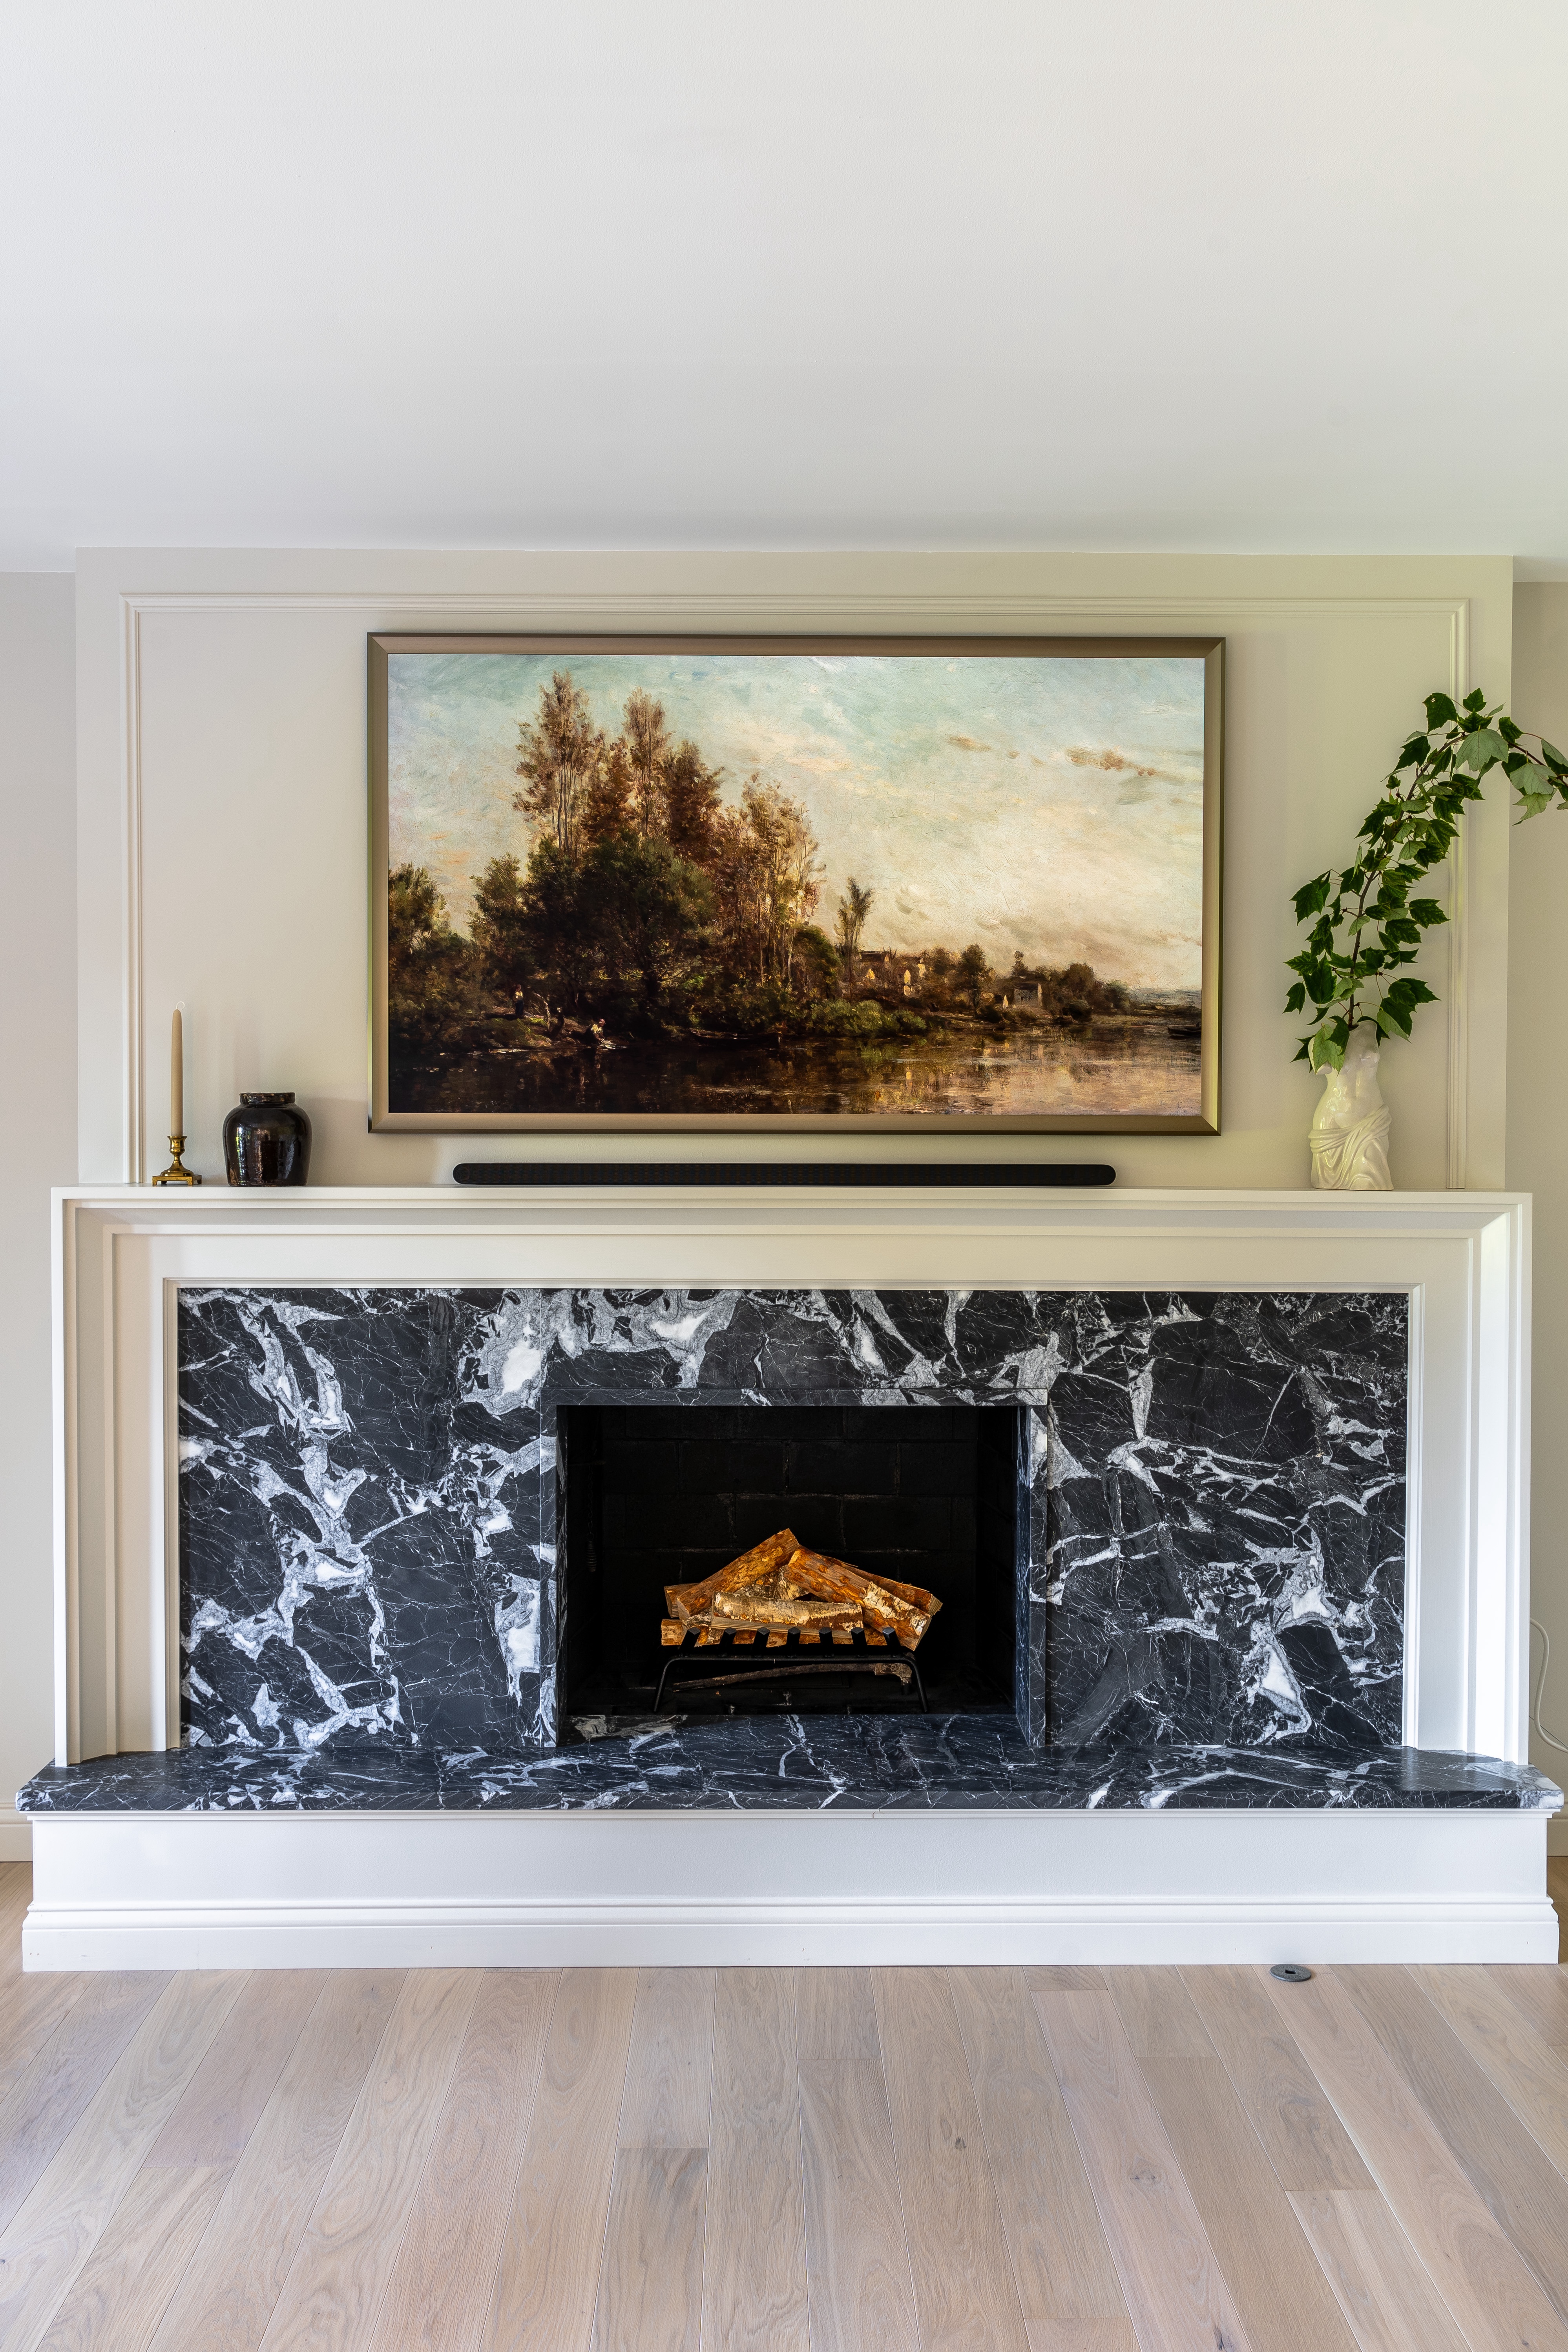
We’ve been in the process of renovating our existing family room for a couple months now. We’ve completed a few large projects so far! These projects include framing over our existing fireplace, building a timeless wood fireplace mantle, completing our DIY marble fireplace, upgrading our existing bay window, and building walnut storage cabinets from scratch. To finish off the room and take the design one step further, we want to add box trim and antique mirrors accent walls.
Design Plan
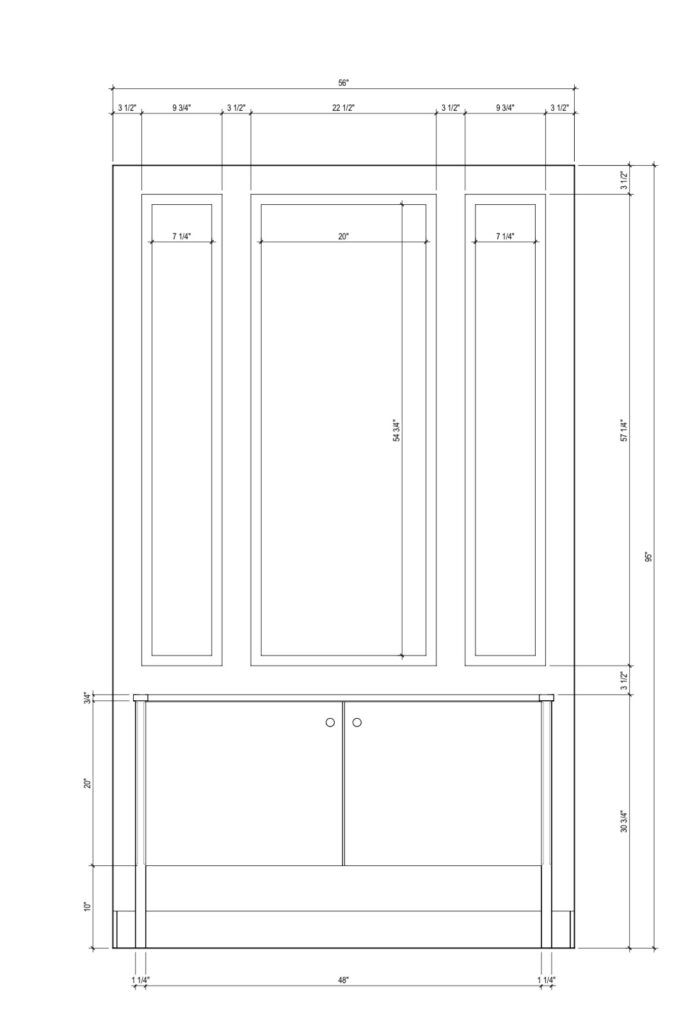
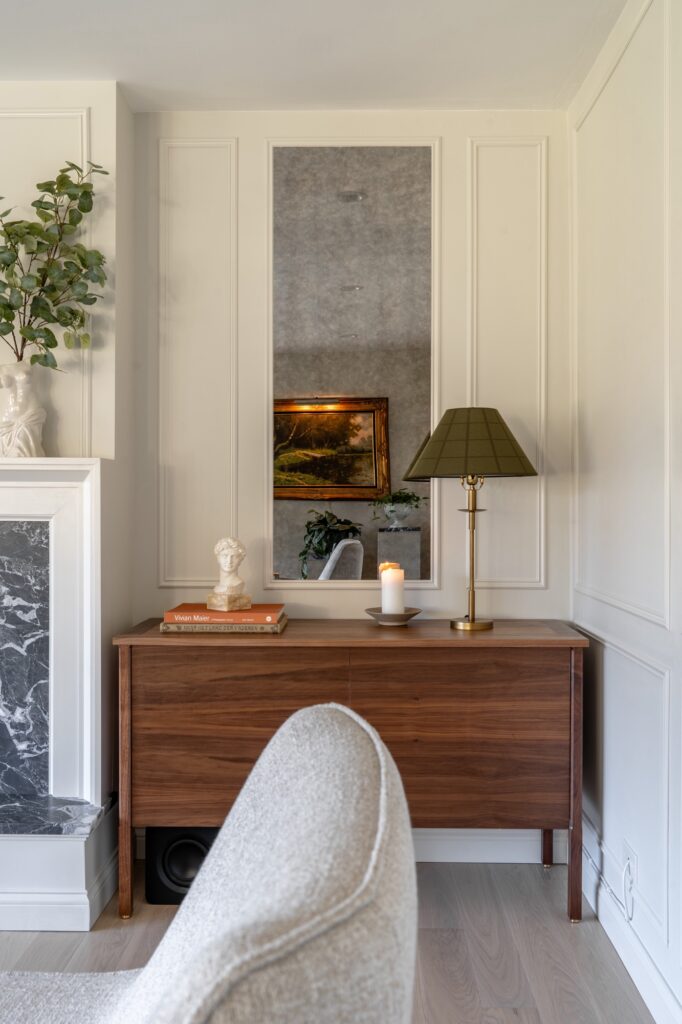
The design plan involves placing box trim and antique mirrors above the walnut cabinets on either side of the fireplace. These mirrors, framed with box trim, serve as focal points, adding depth and interest to the space. Additionally, box trim will fill our large blank wall, providing architectural detail without competing with other elements in the room.
Sourcing Materials
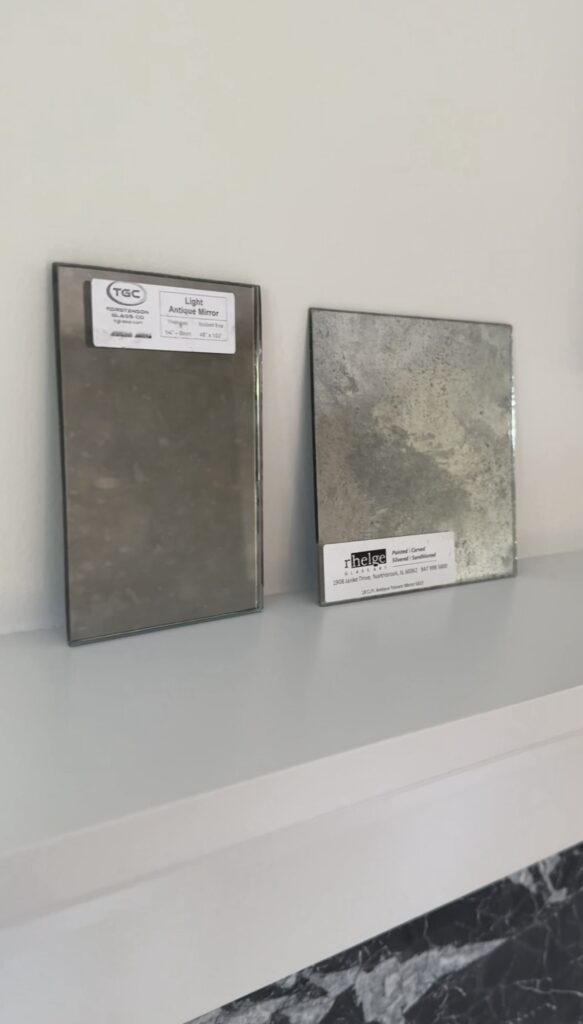
We’re going to be using the same box trim we used previously in our kitchen renovation. We got ours from a small local lumberyard. It is considered mini-chair rail and its 1-1/4″ x 5/16″ in size. For the antique mirror glass, we turned to a local glass company. We looked at a few samples for antique mirrors, but ultimately decided on Torstenson medium antique mirror glass. If you want to recreate this look but can’t find this glass, we found comparable antique mirror glass tiles on Amazon.
Preparation and Painting
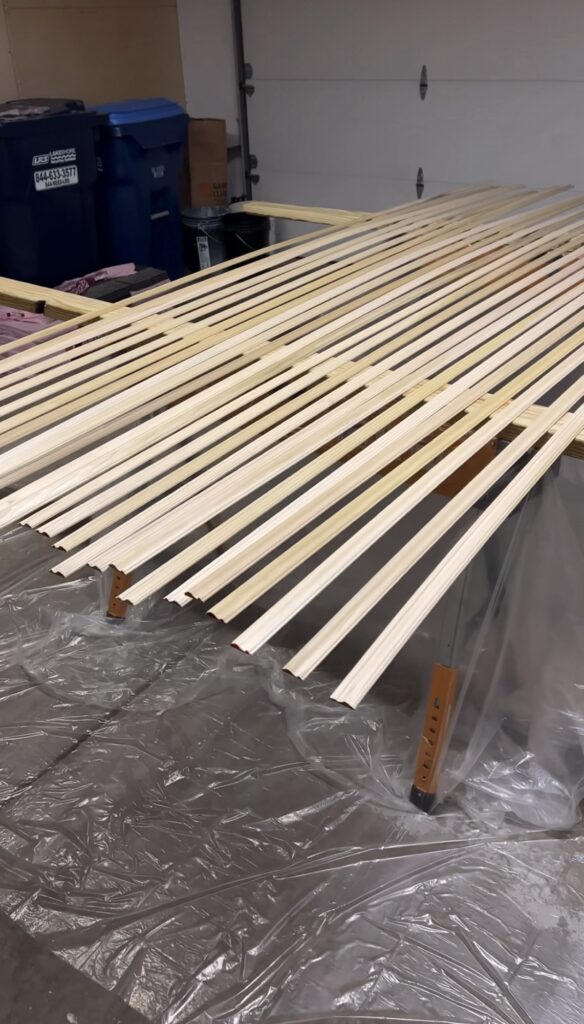
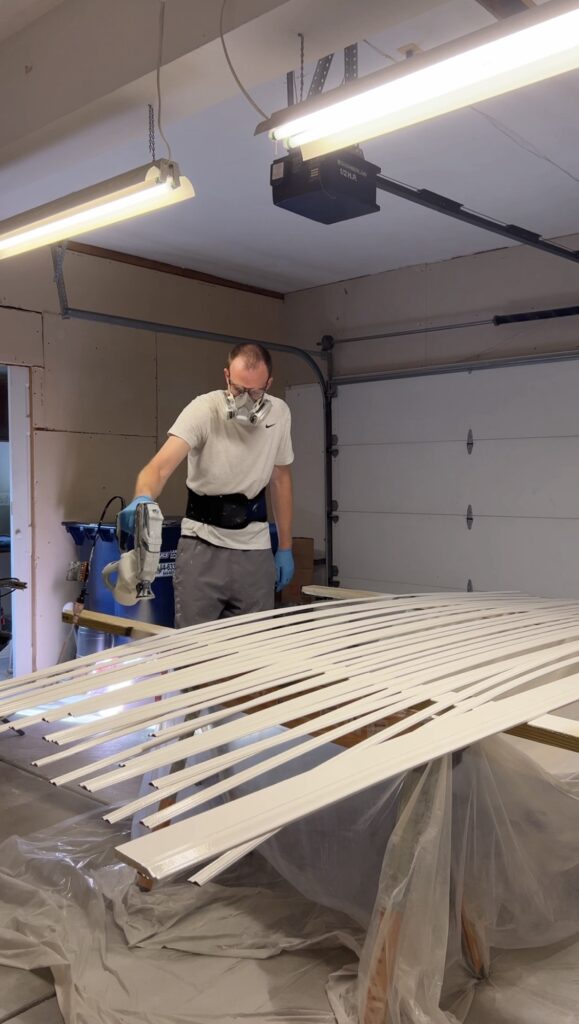
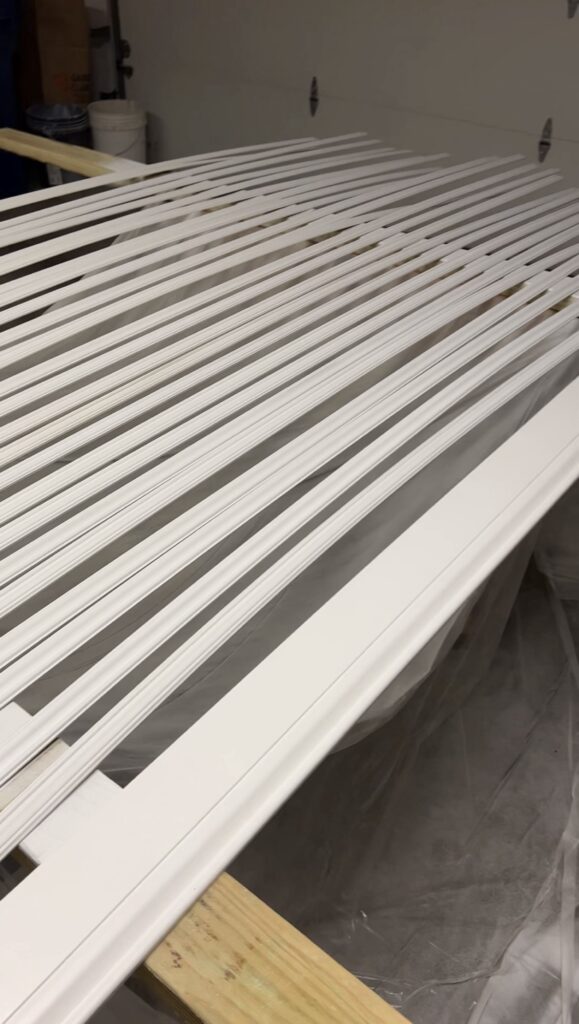
With materials in hand, it’s time to prep the box trim and mirrors for installation. The box trim receives a coat of Benjamin Moore Fresh Start primer followed by two coats of Benjamin Moore Advanced paint in the color classic gray. We always paint our trim before install because we typically like to use our paint sprayer. This isn’t necessary but it offers a great finish and is much faster than painting by hand.
Installation Process
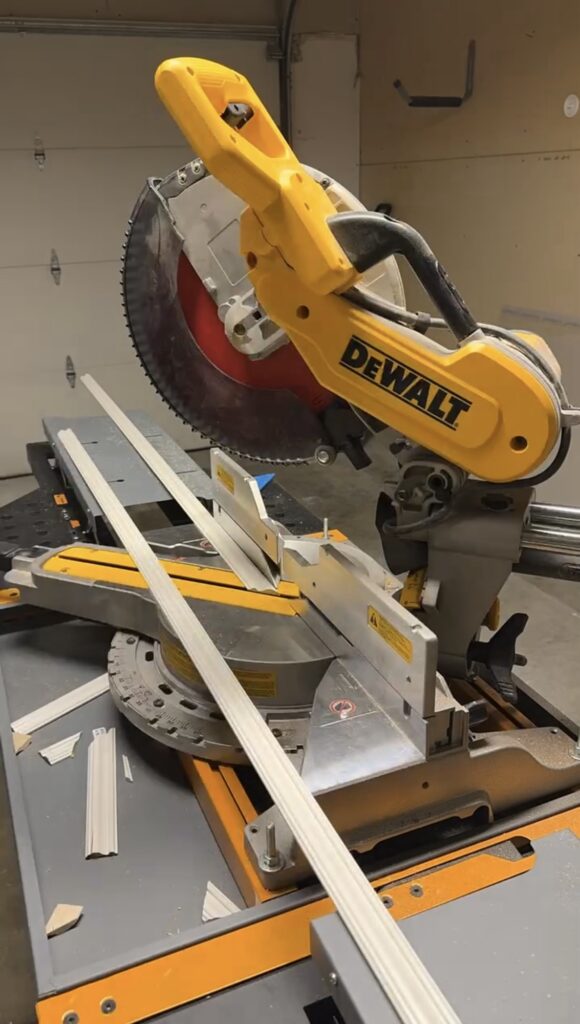
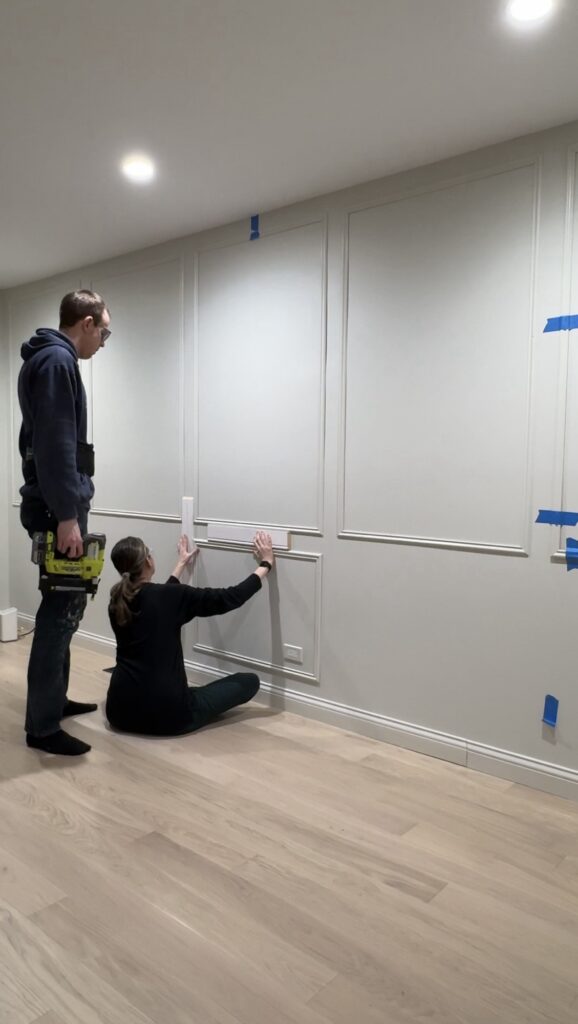
The installation begins with dry-fitting the box trim around the mirrors, ensuring precise measurements and alignment. For a project like this, we like to make a cut list. We planned out the whole wall, made a list of all the pieces needed, and cut them all at once. It can be a huge time saver.
After we had the pieces cut we were ready to start assembling our boxes. We also always pre-glue the trim corners and for the frames at the mirrors we’ll pre-glue 3 sides. Pre-gluing the trim corners simplifies the process, making it easier to attach the trim securely to the wall.
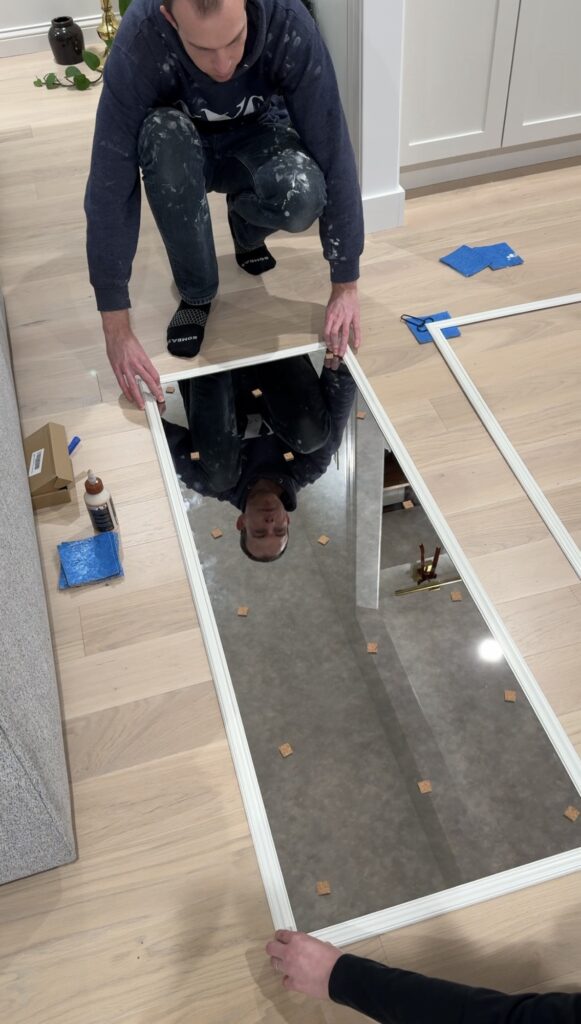
To attach the mirrors to the wall, we’re using PL Loctite Mirror Glue. For the glue, we simply followed the directions on the packaging. Once the mirrors are in place, ledger boards provide additional support while the adhesive sets, which we will remove once the mirror glue has cured.
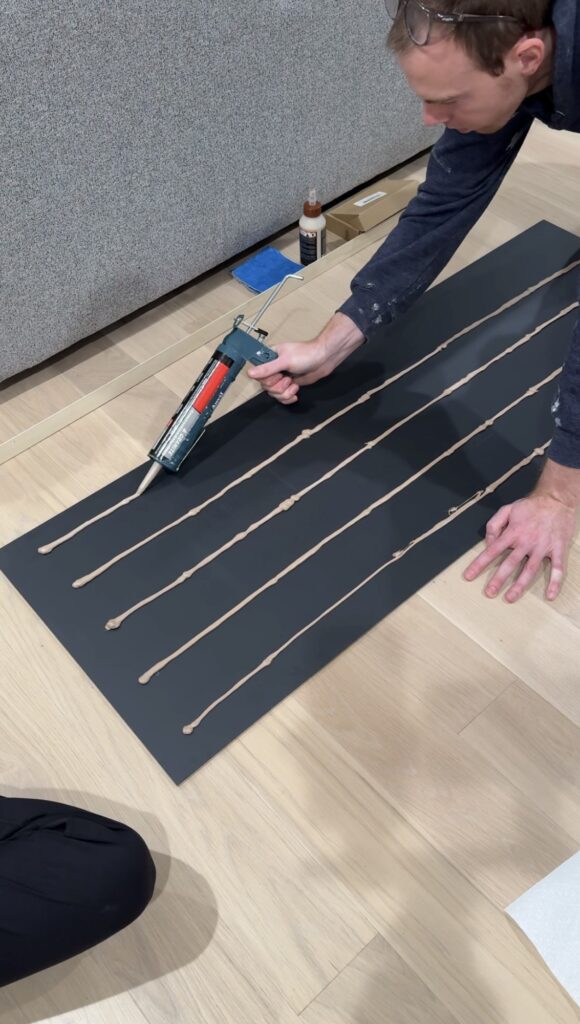
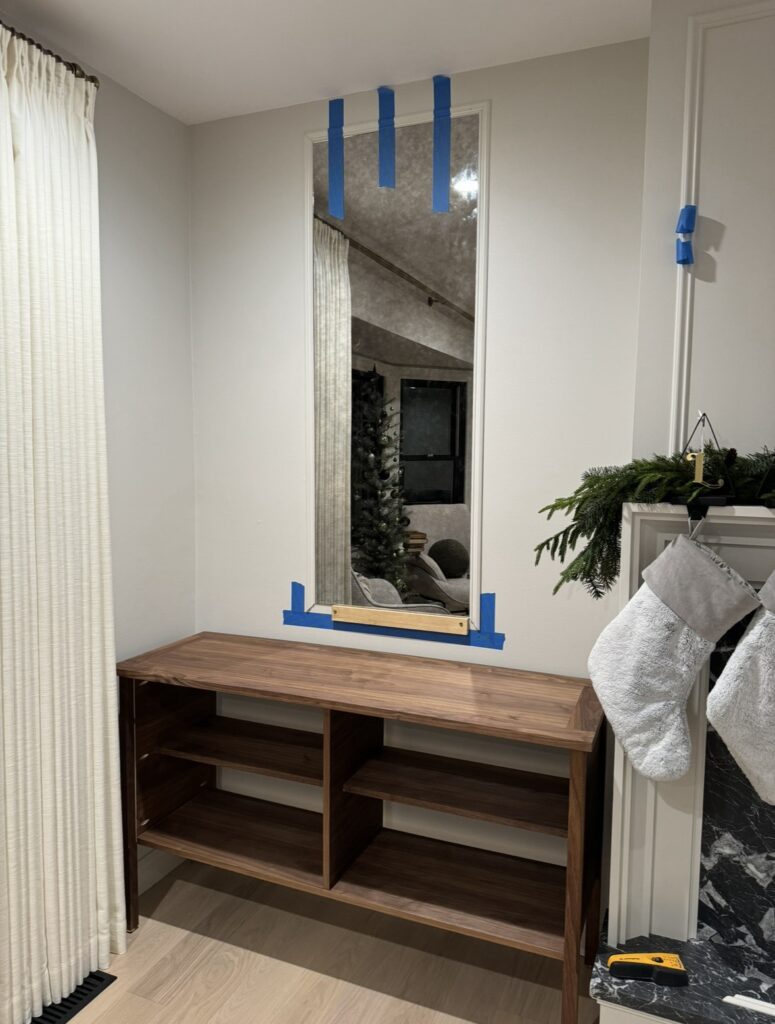
Completion and Final Touches
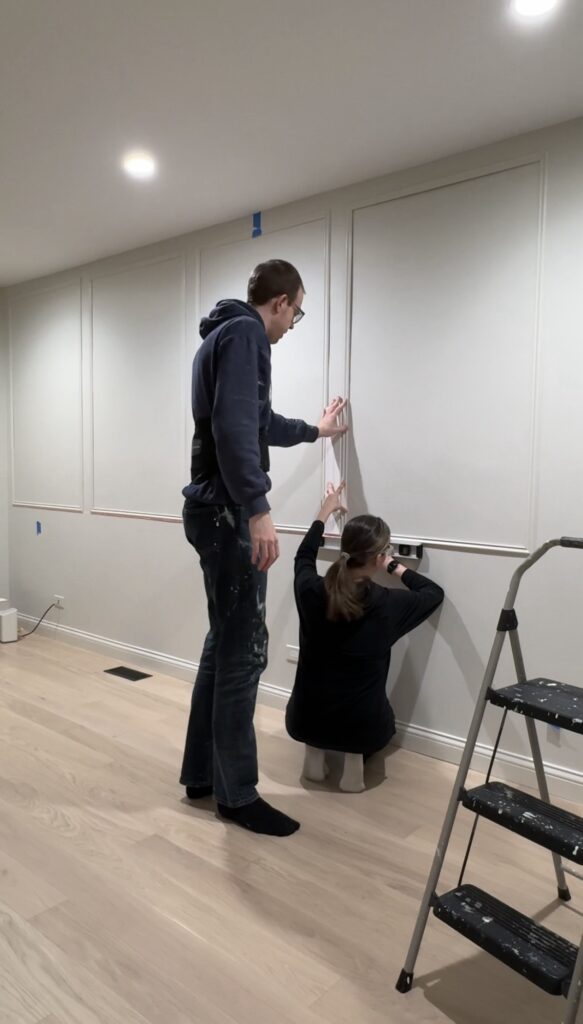
Once we wrapped up the picture frame molding and mirrors above the walnut cabinets we were ready to move onto our large accent wall. Our pre-cut pieces are assembled and installed using a spacing block technique for consistent spacing and alignment. Finally, caulking and painting to provide the finishing touches on the wall.
Our Box Trim & Antique Mirror Accent Walls
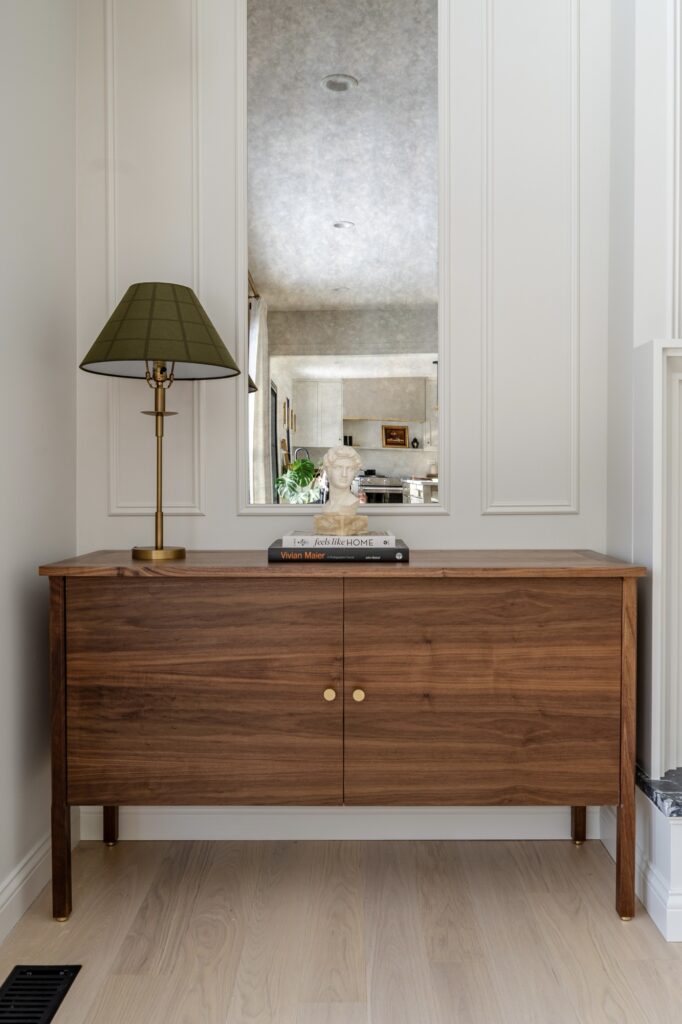
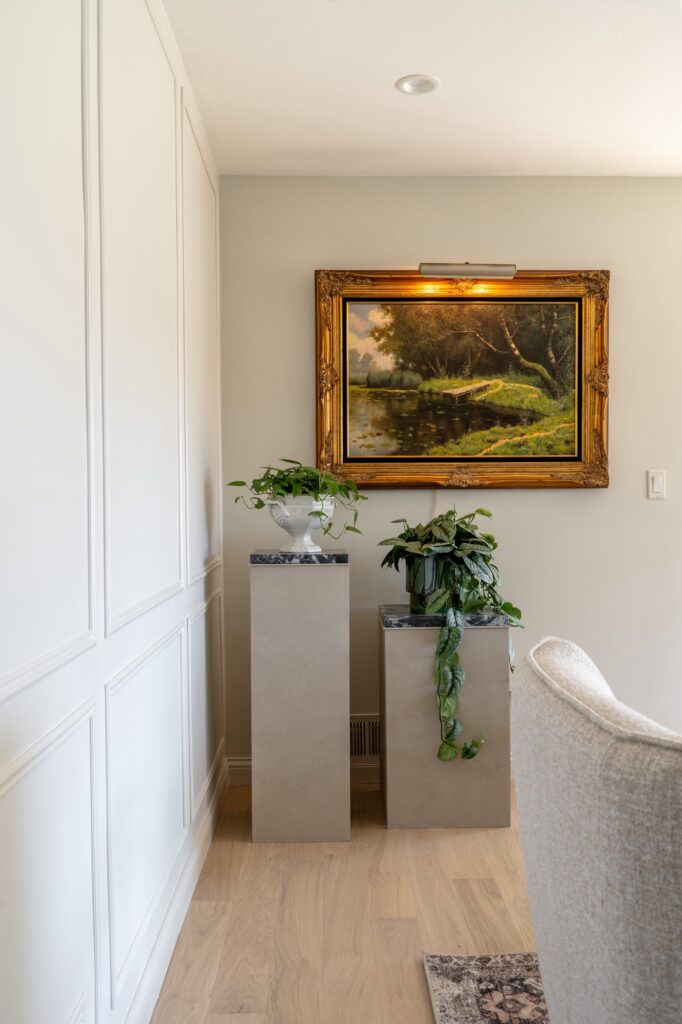
After months of hard work, the family room renovation is complete and here is a look at the completed box trim accent walls. The addition of box trim and antique mirrors has transformed the space, adding character, depth, and sophistication. Stay tuned for the full reveal!

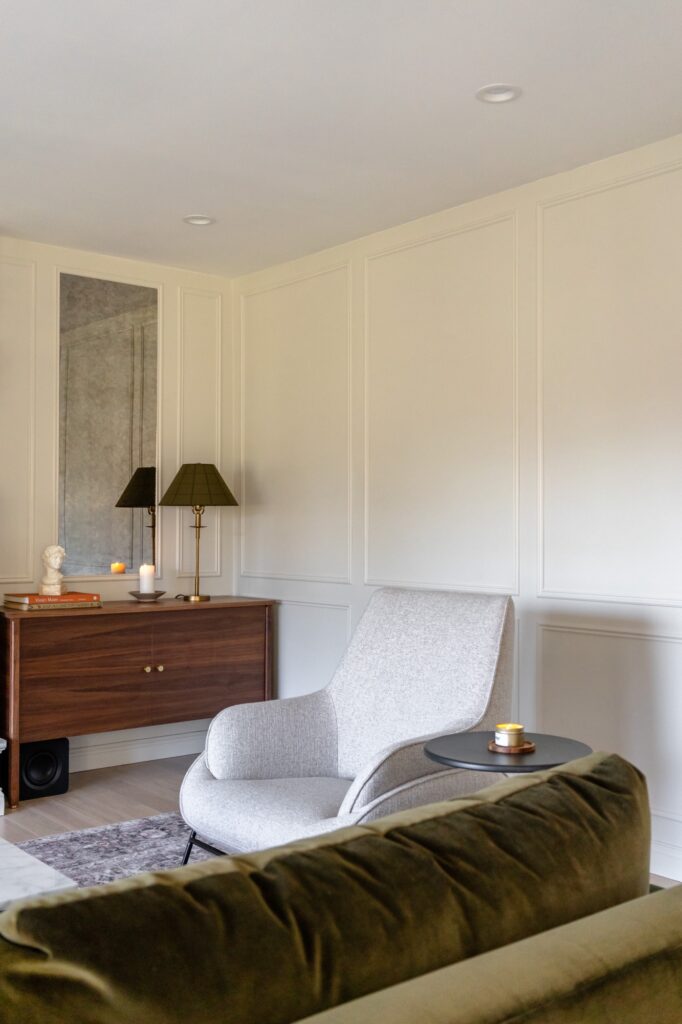
Family Room Reveal
It’s been a few months and our family room renovation is complete! If you’re interested, you can check out our blog post for the family room reveal or our YouTube video talking through all of the elements in the room!
